All Hail the Stale

Make your own Breadcrumbs

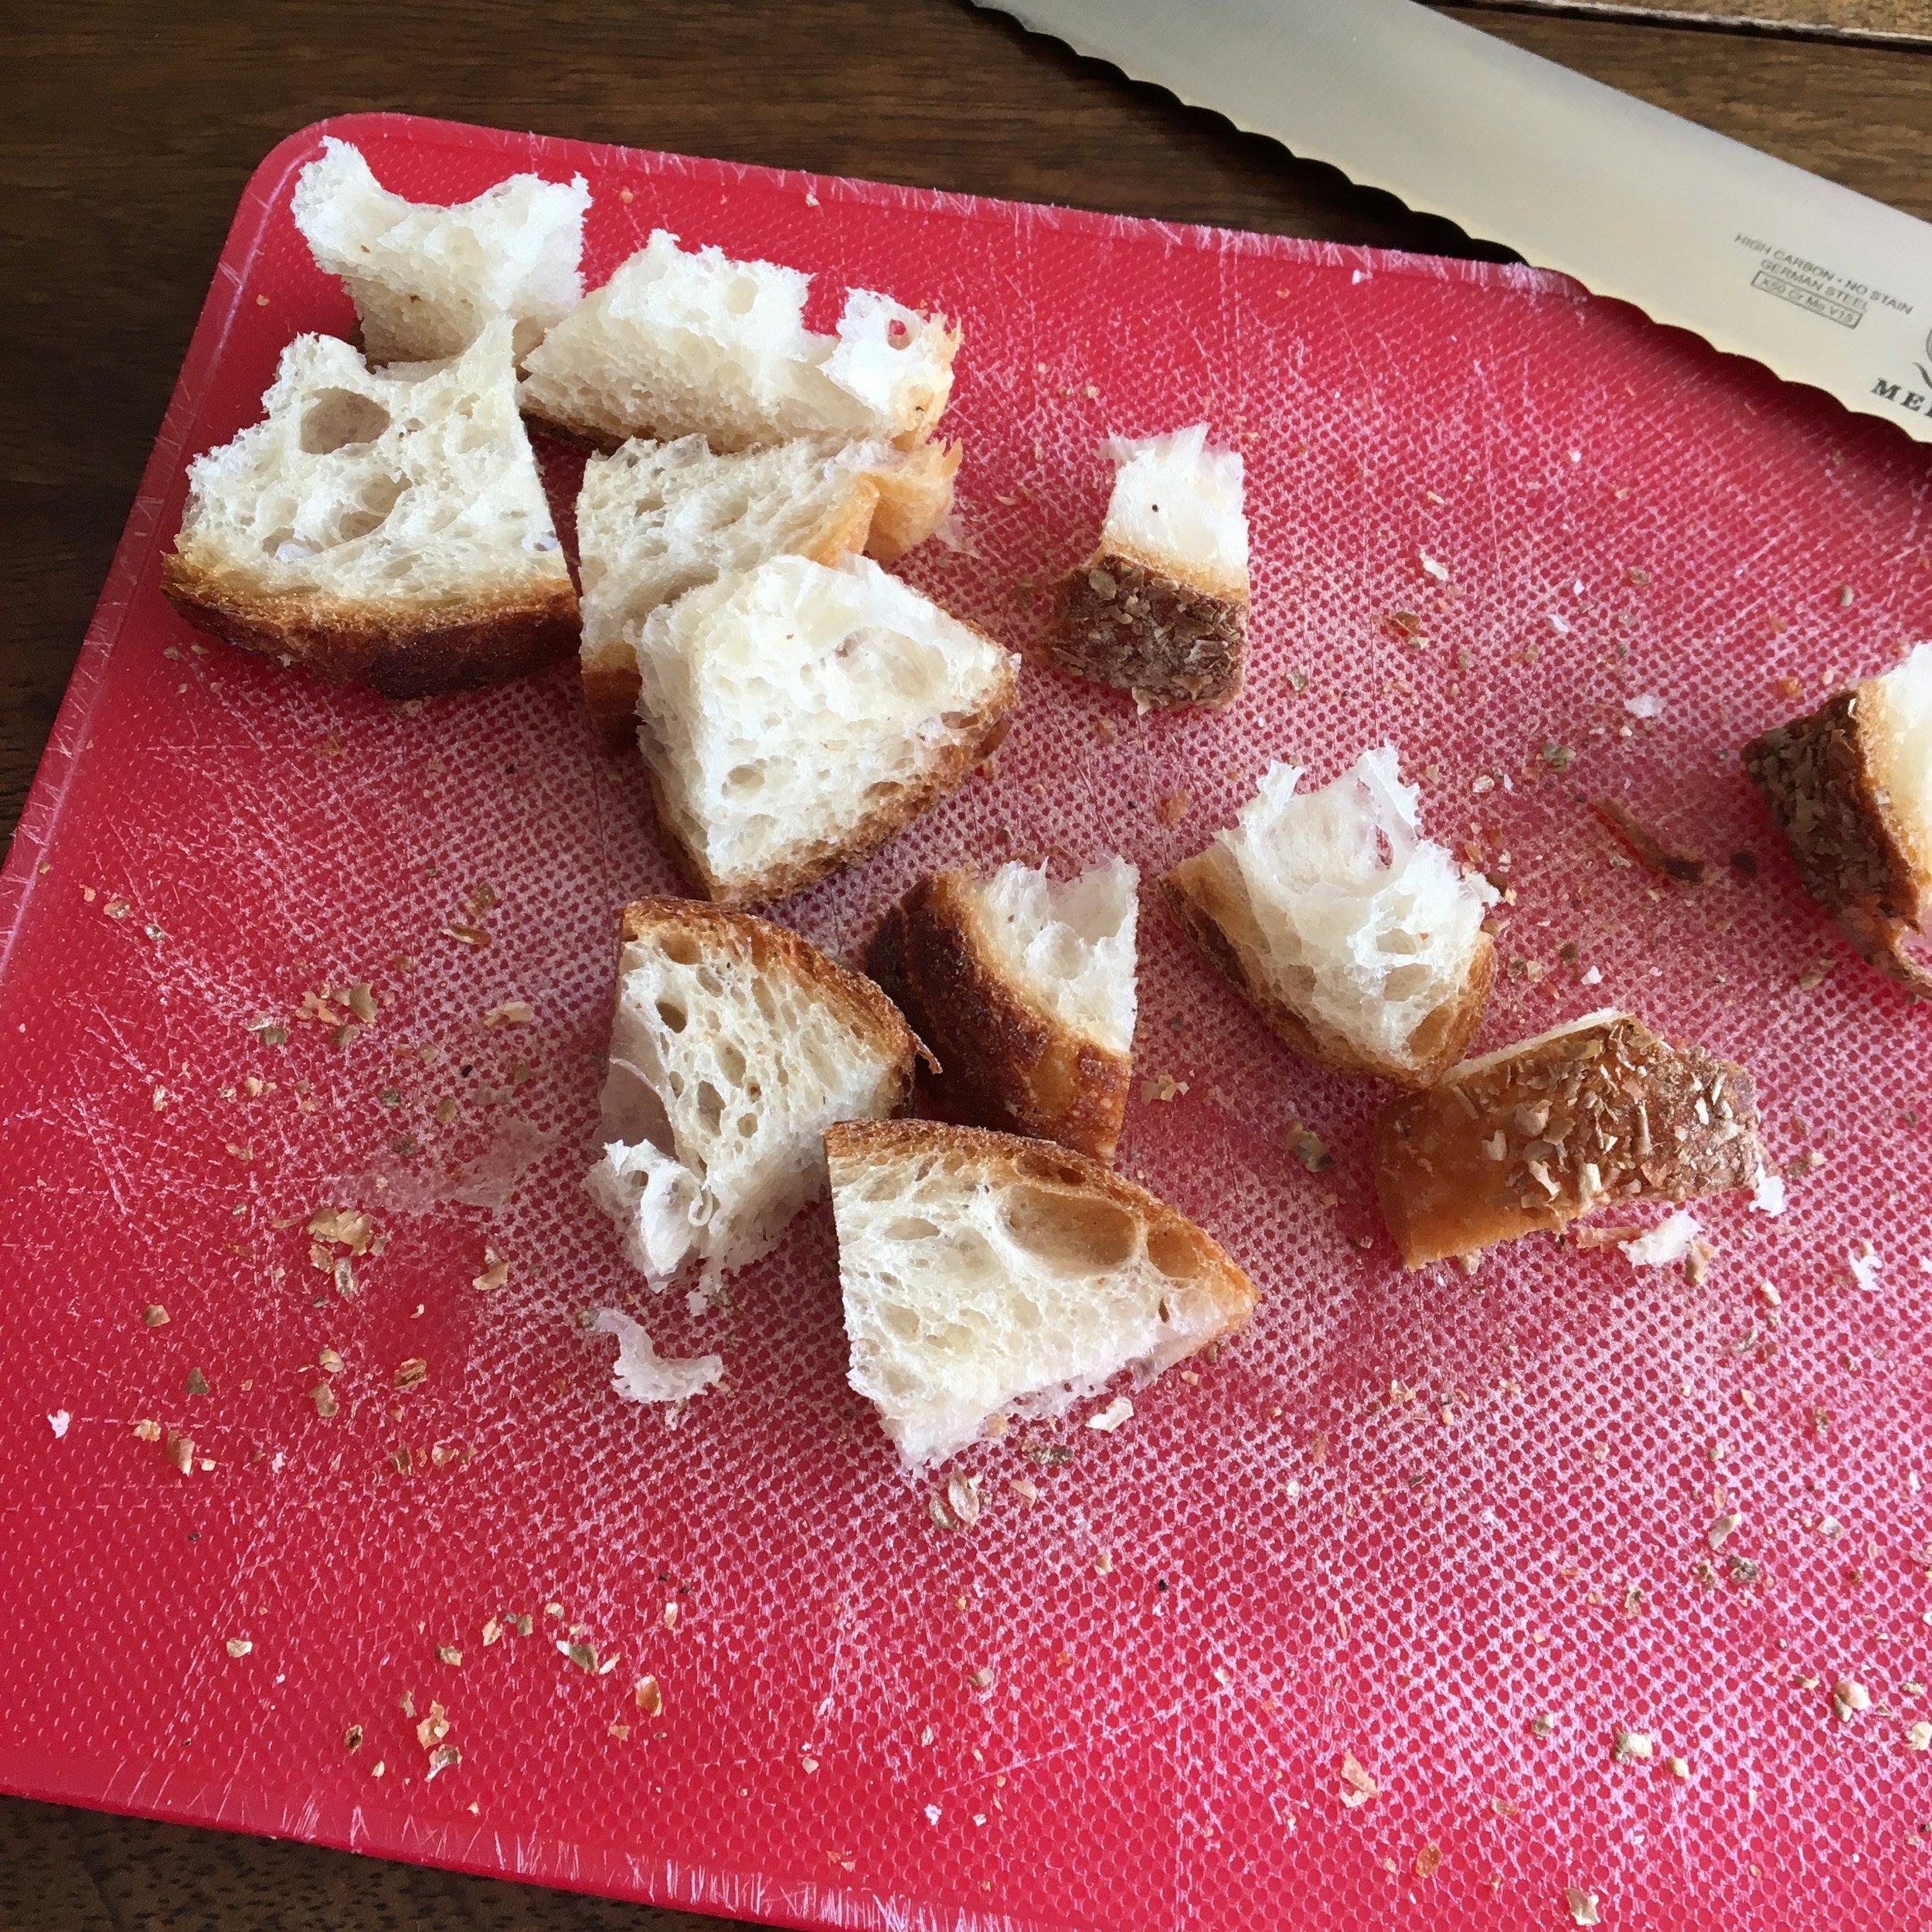
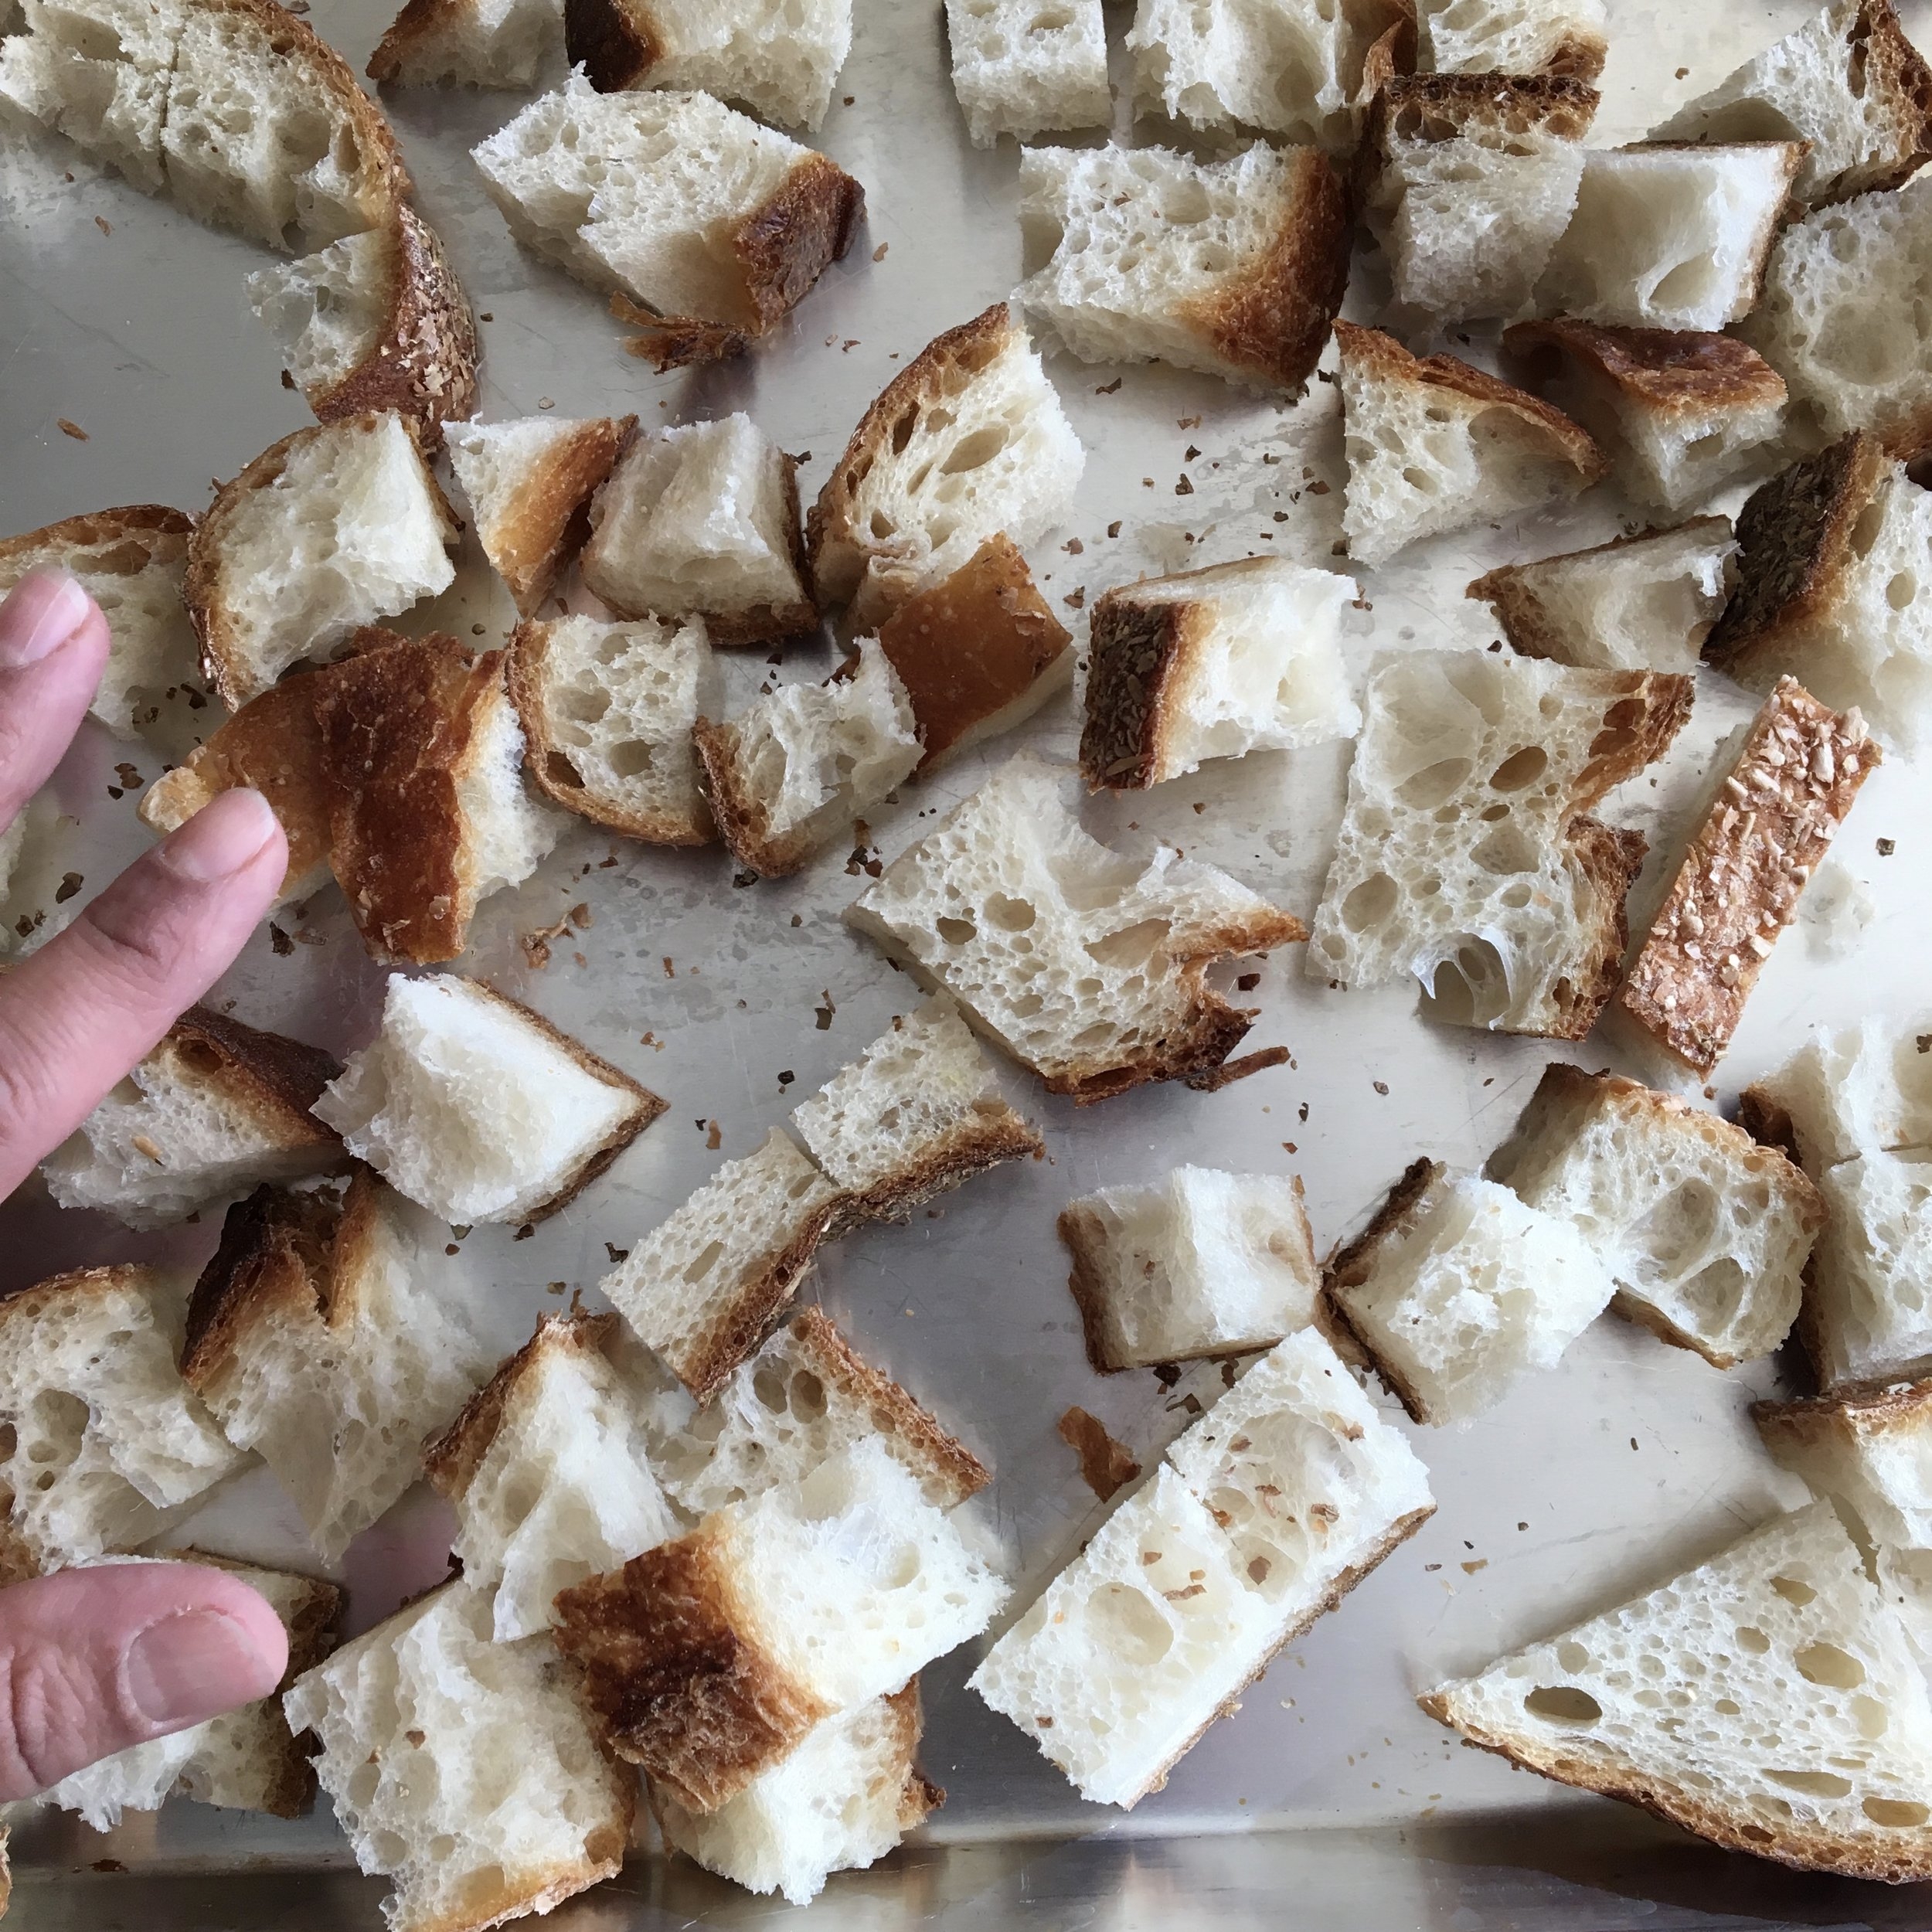
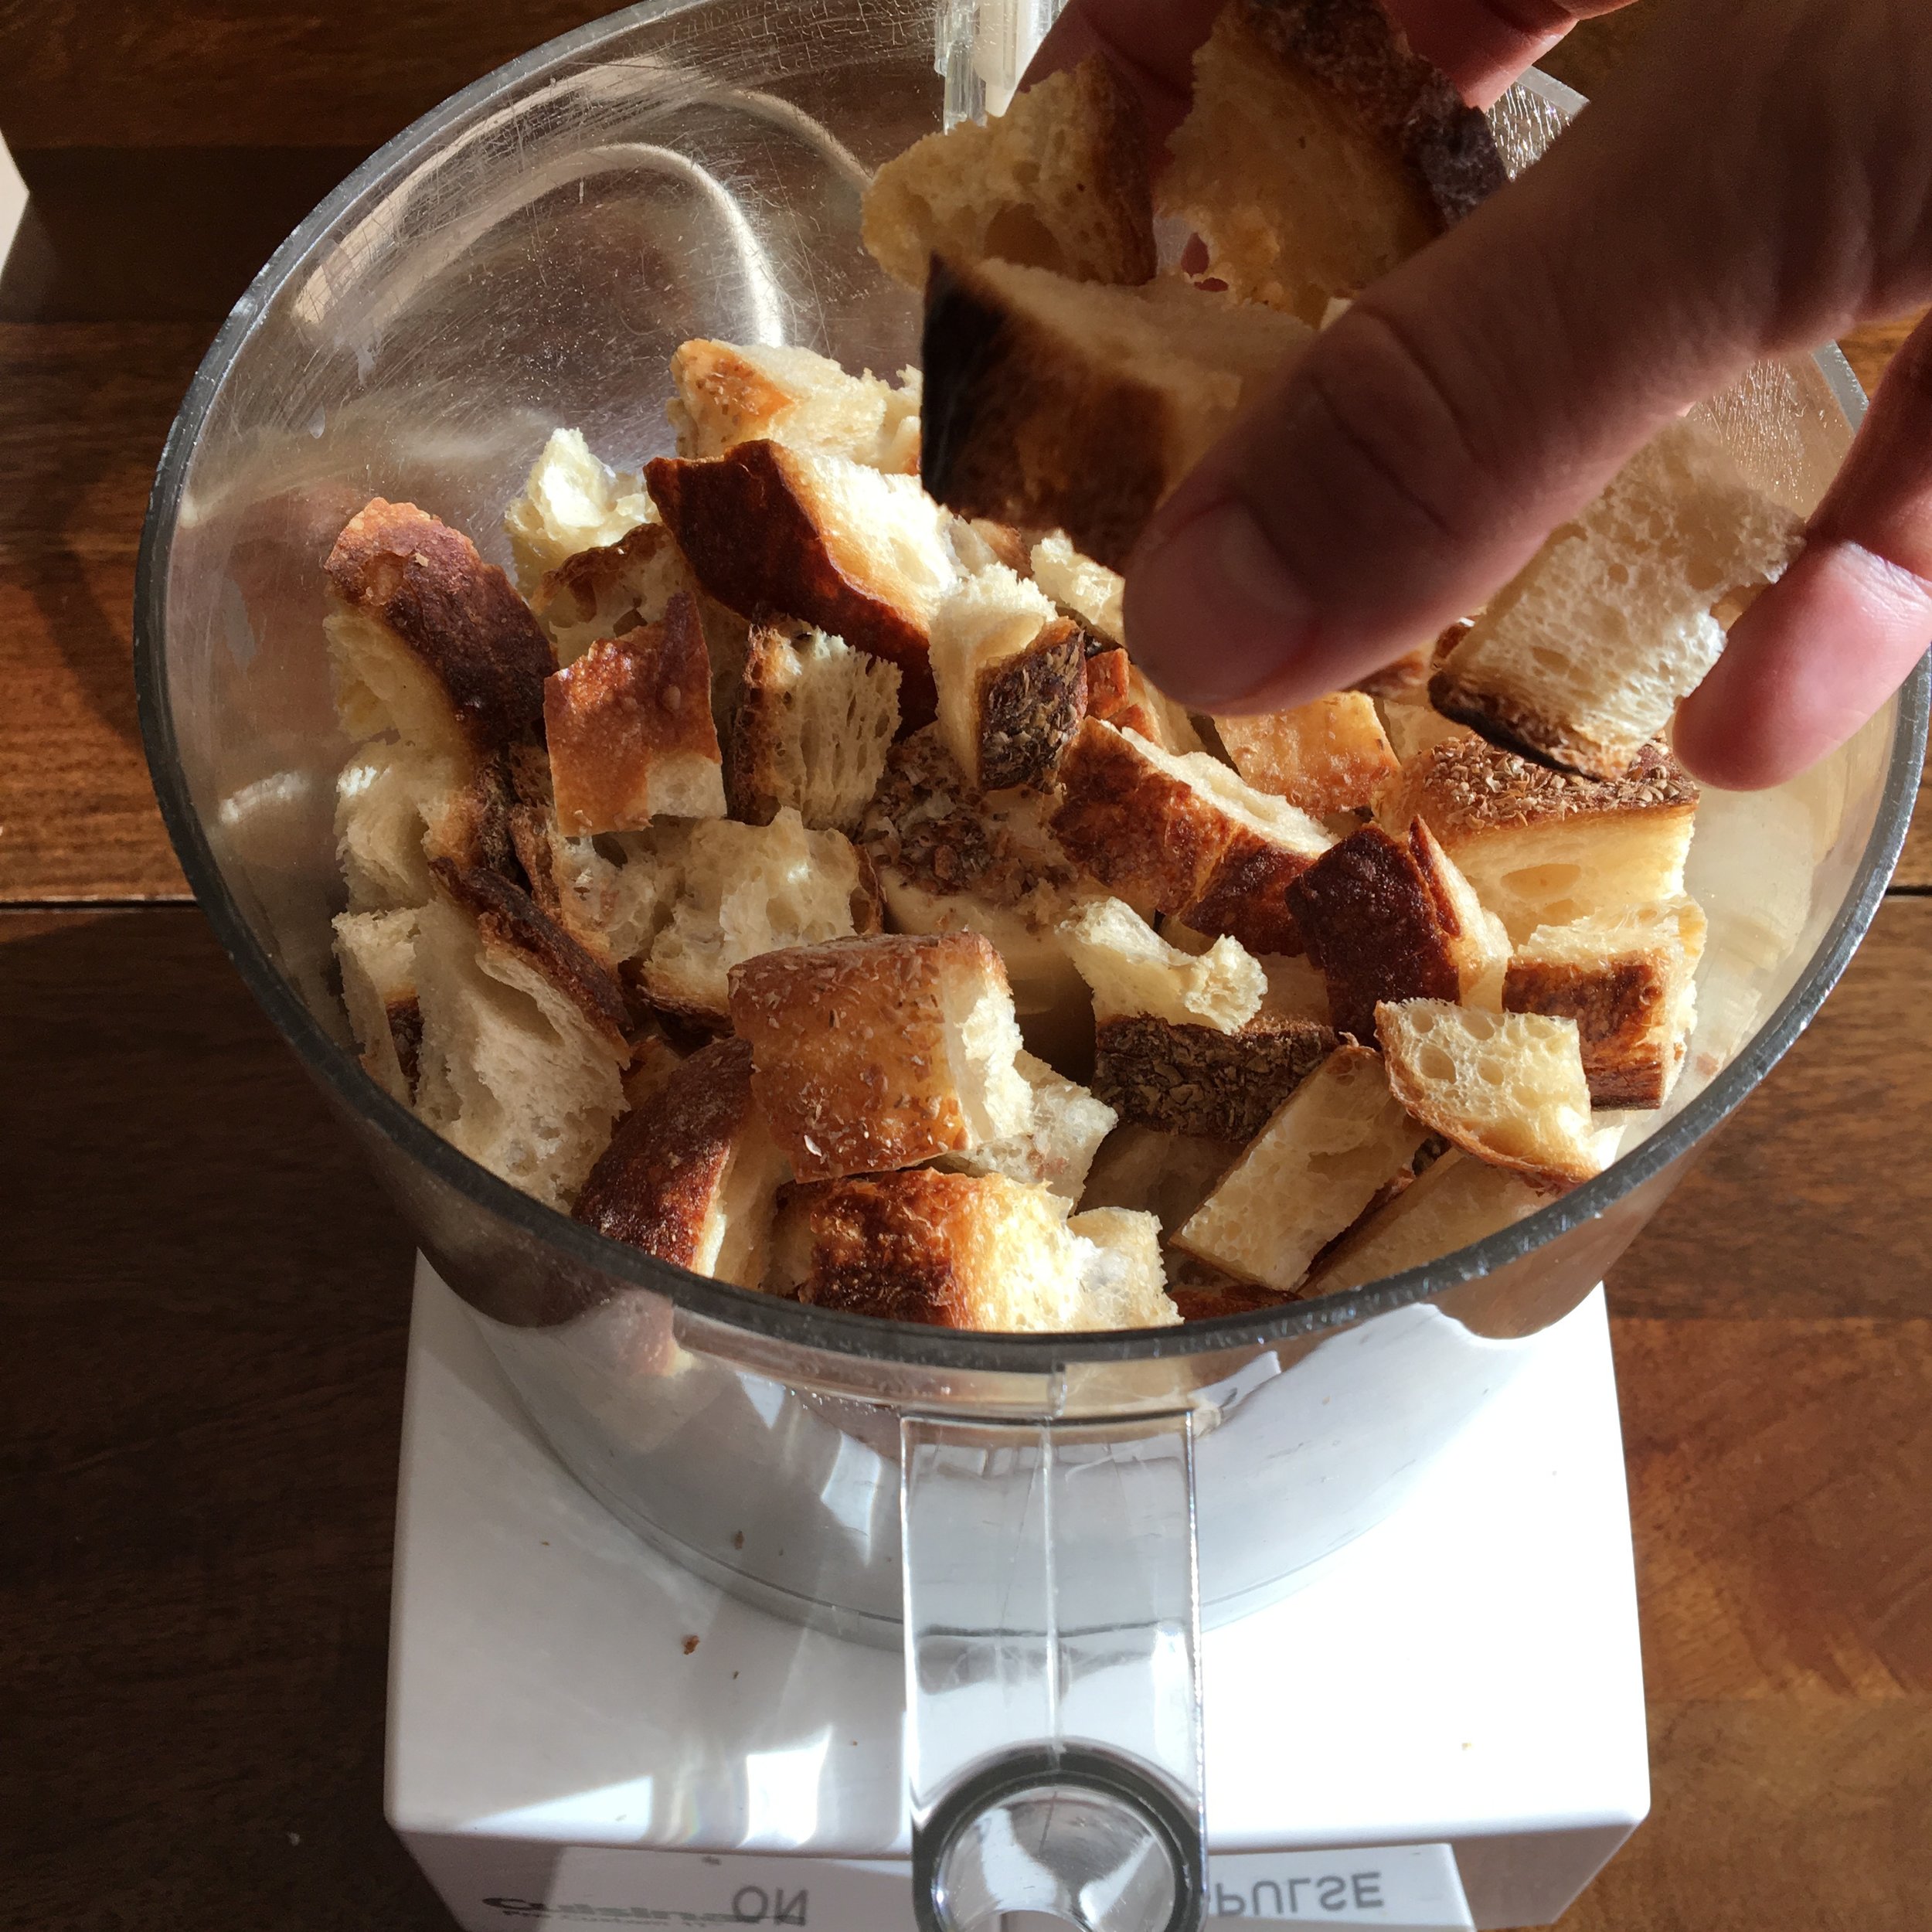
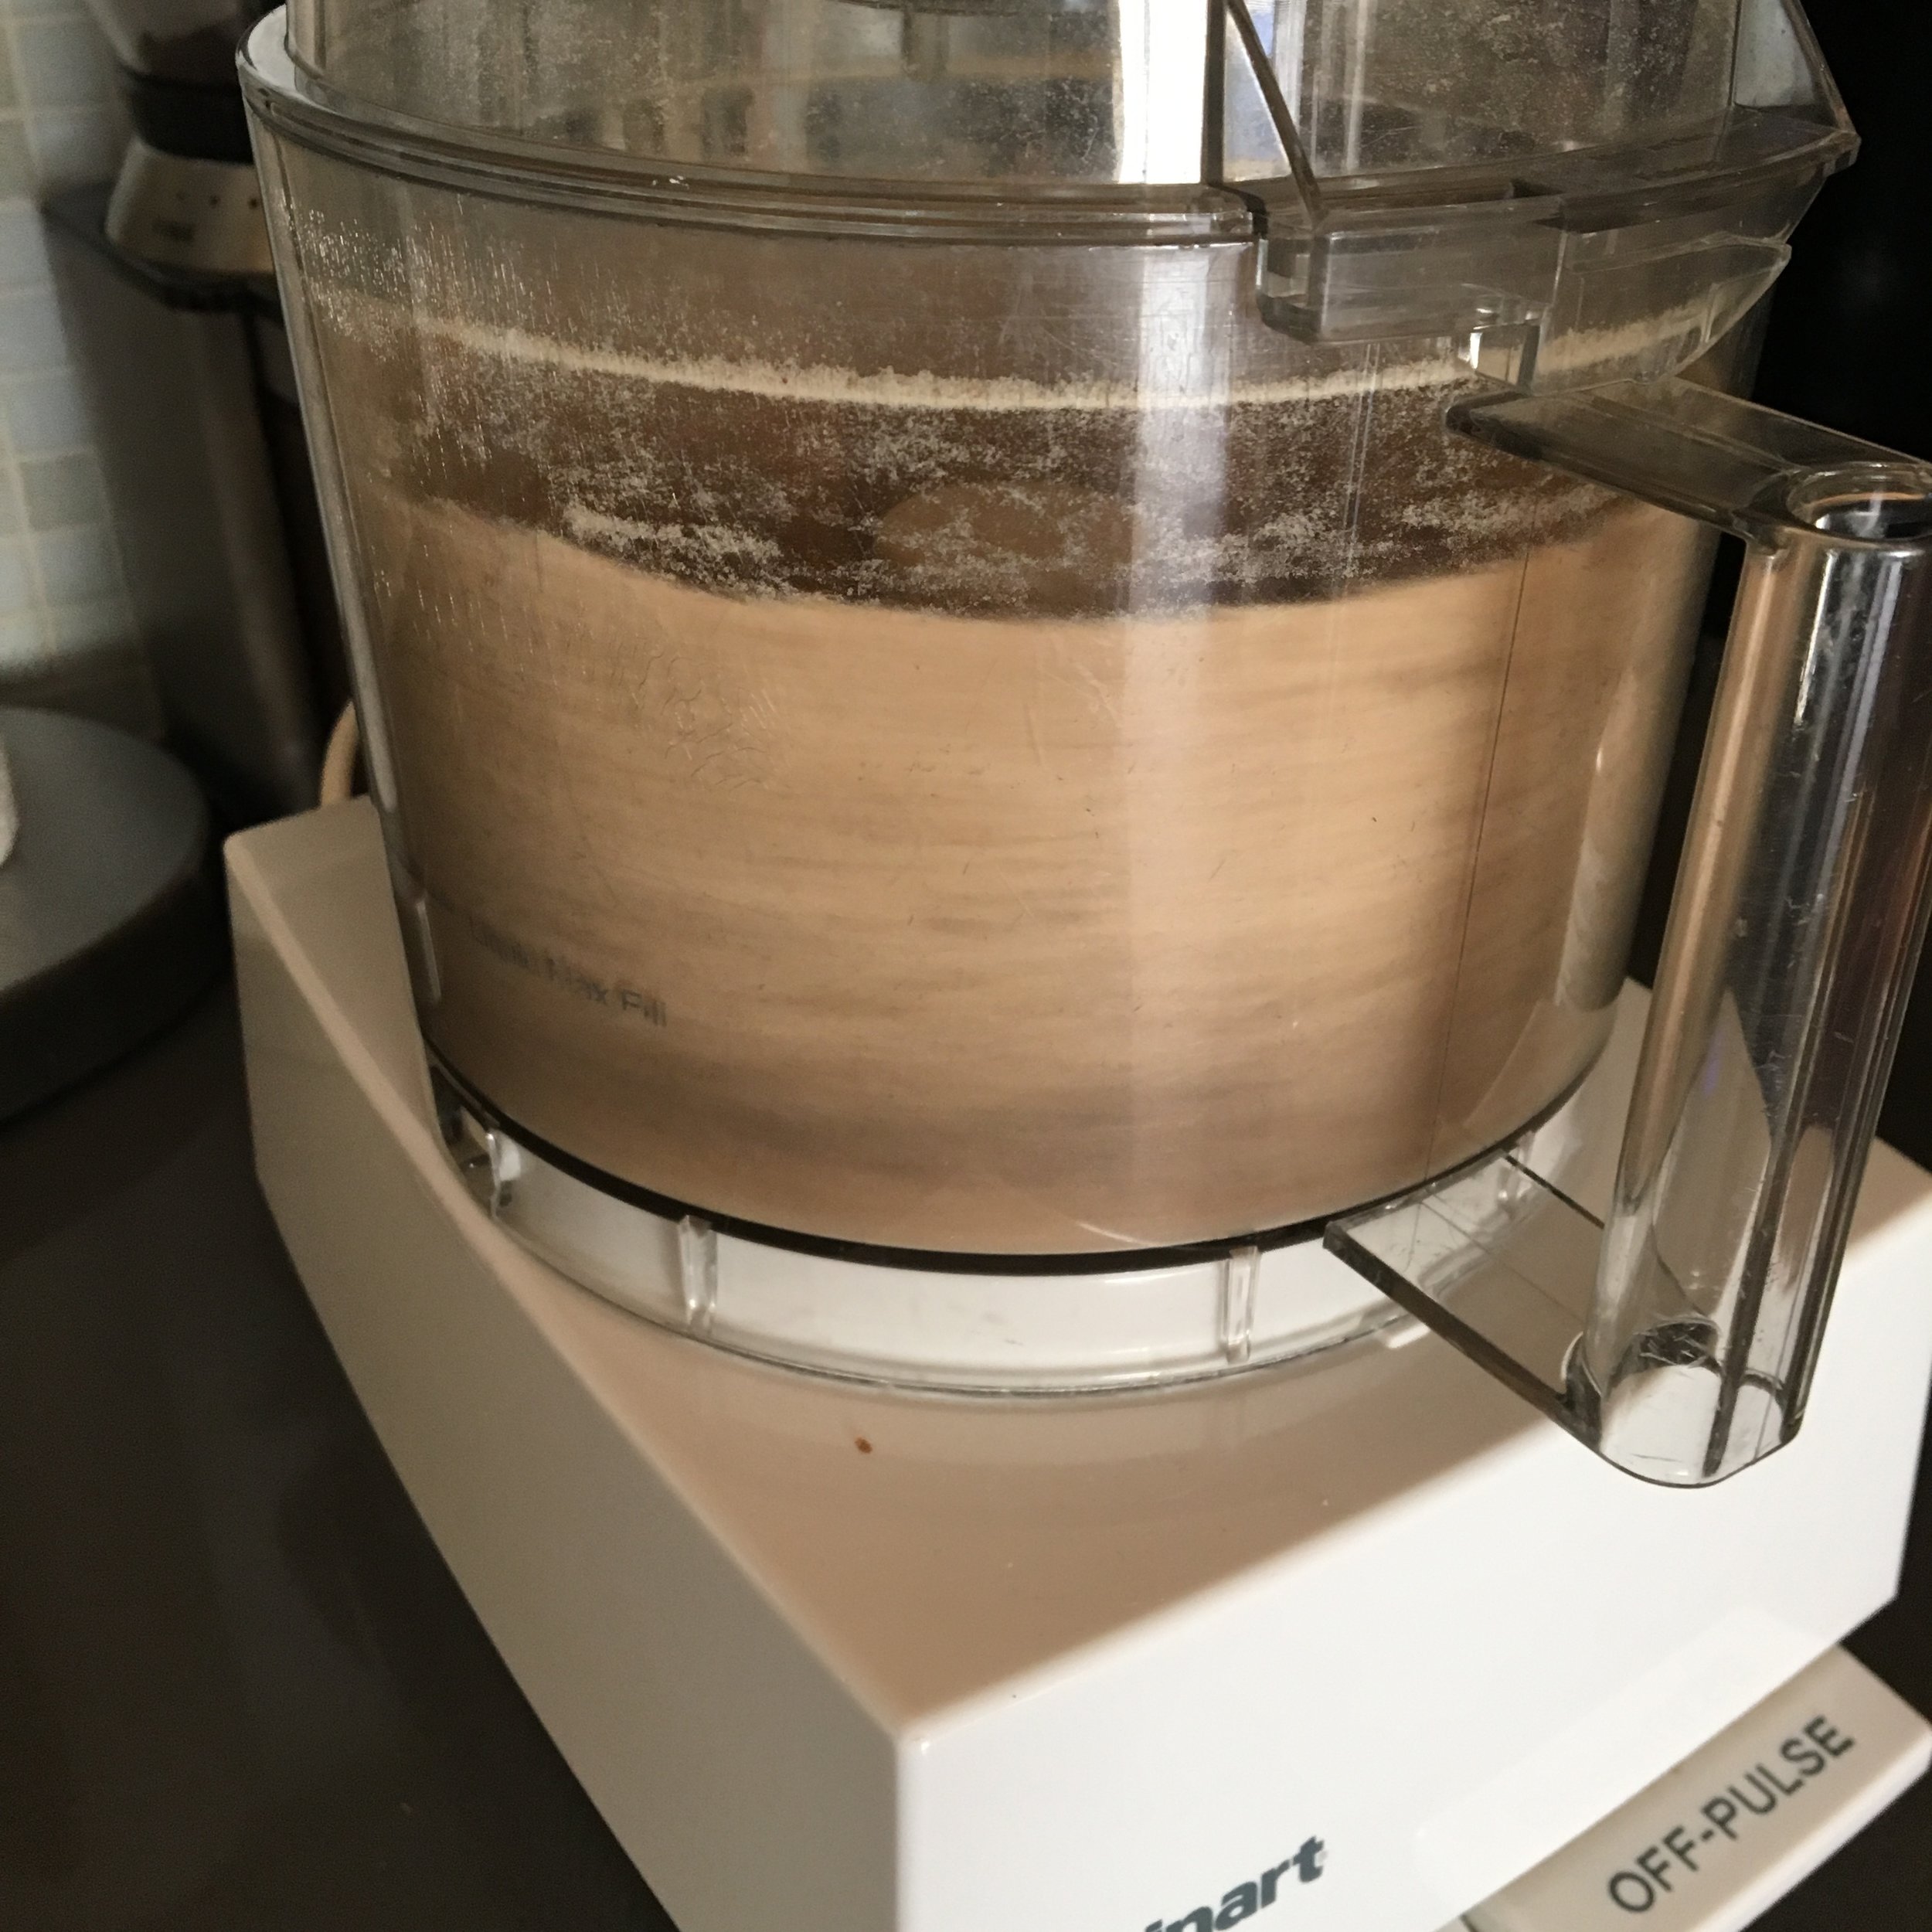
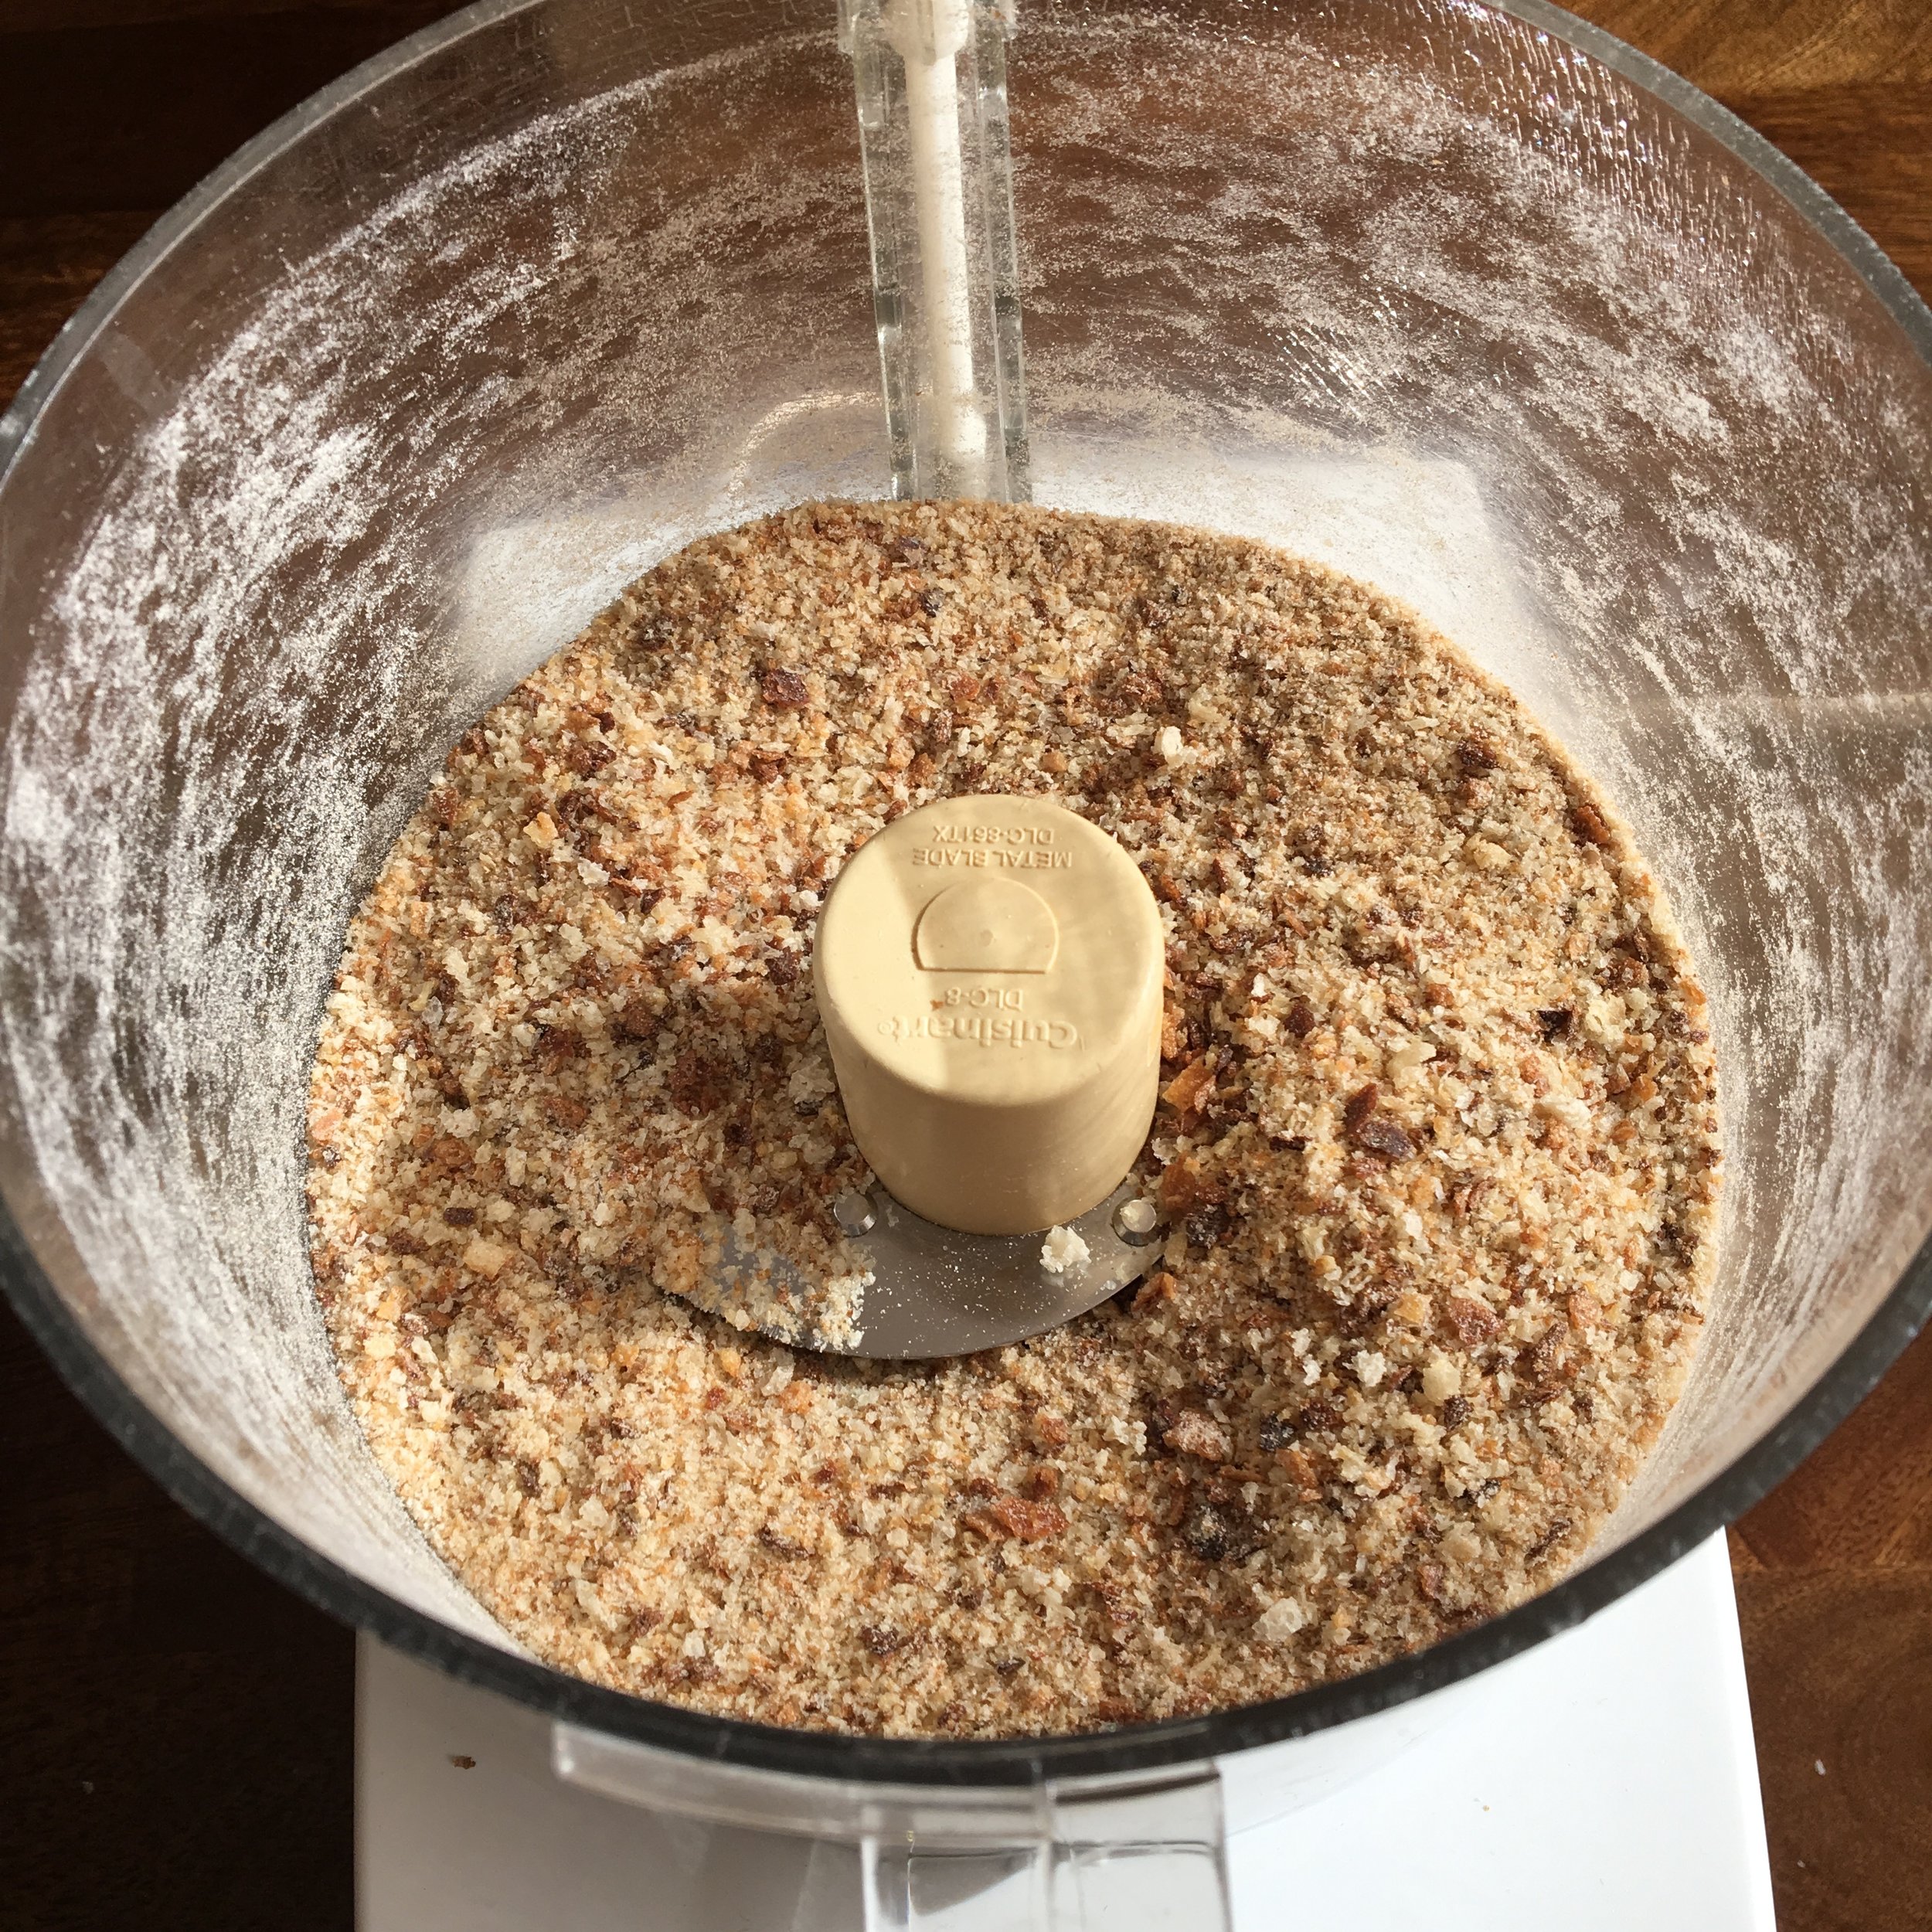
When life gives you stale bread, you take that brick and turn it into breadcrumbs. Did you know that a canister of store-bought breadcrumbs contains approximately 40 different ingredients, many unpronounceable? And those sawdust particles are rarely ever made from whole grains. Compare that to just 5 or 6 ingredients found in breadcrumbs made from a loaf of your favorite local bakery or home-baked bread. Why? It's all about the shelf life - how long can that canister sit in a warehouse, 18-wheeler, grocery store, and your pantry? With those ingredients, likely through the next nuclear winter. You don't need that, though. Do you?

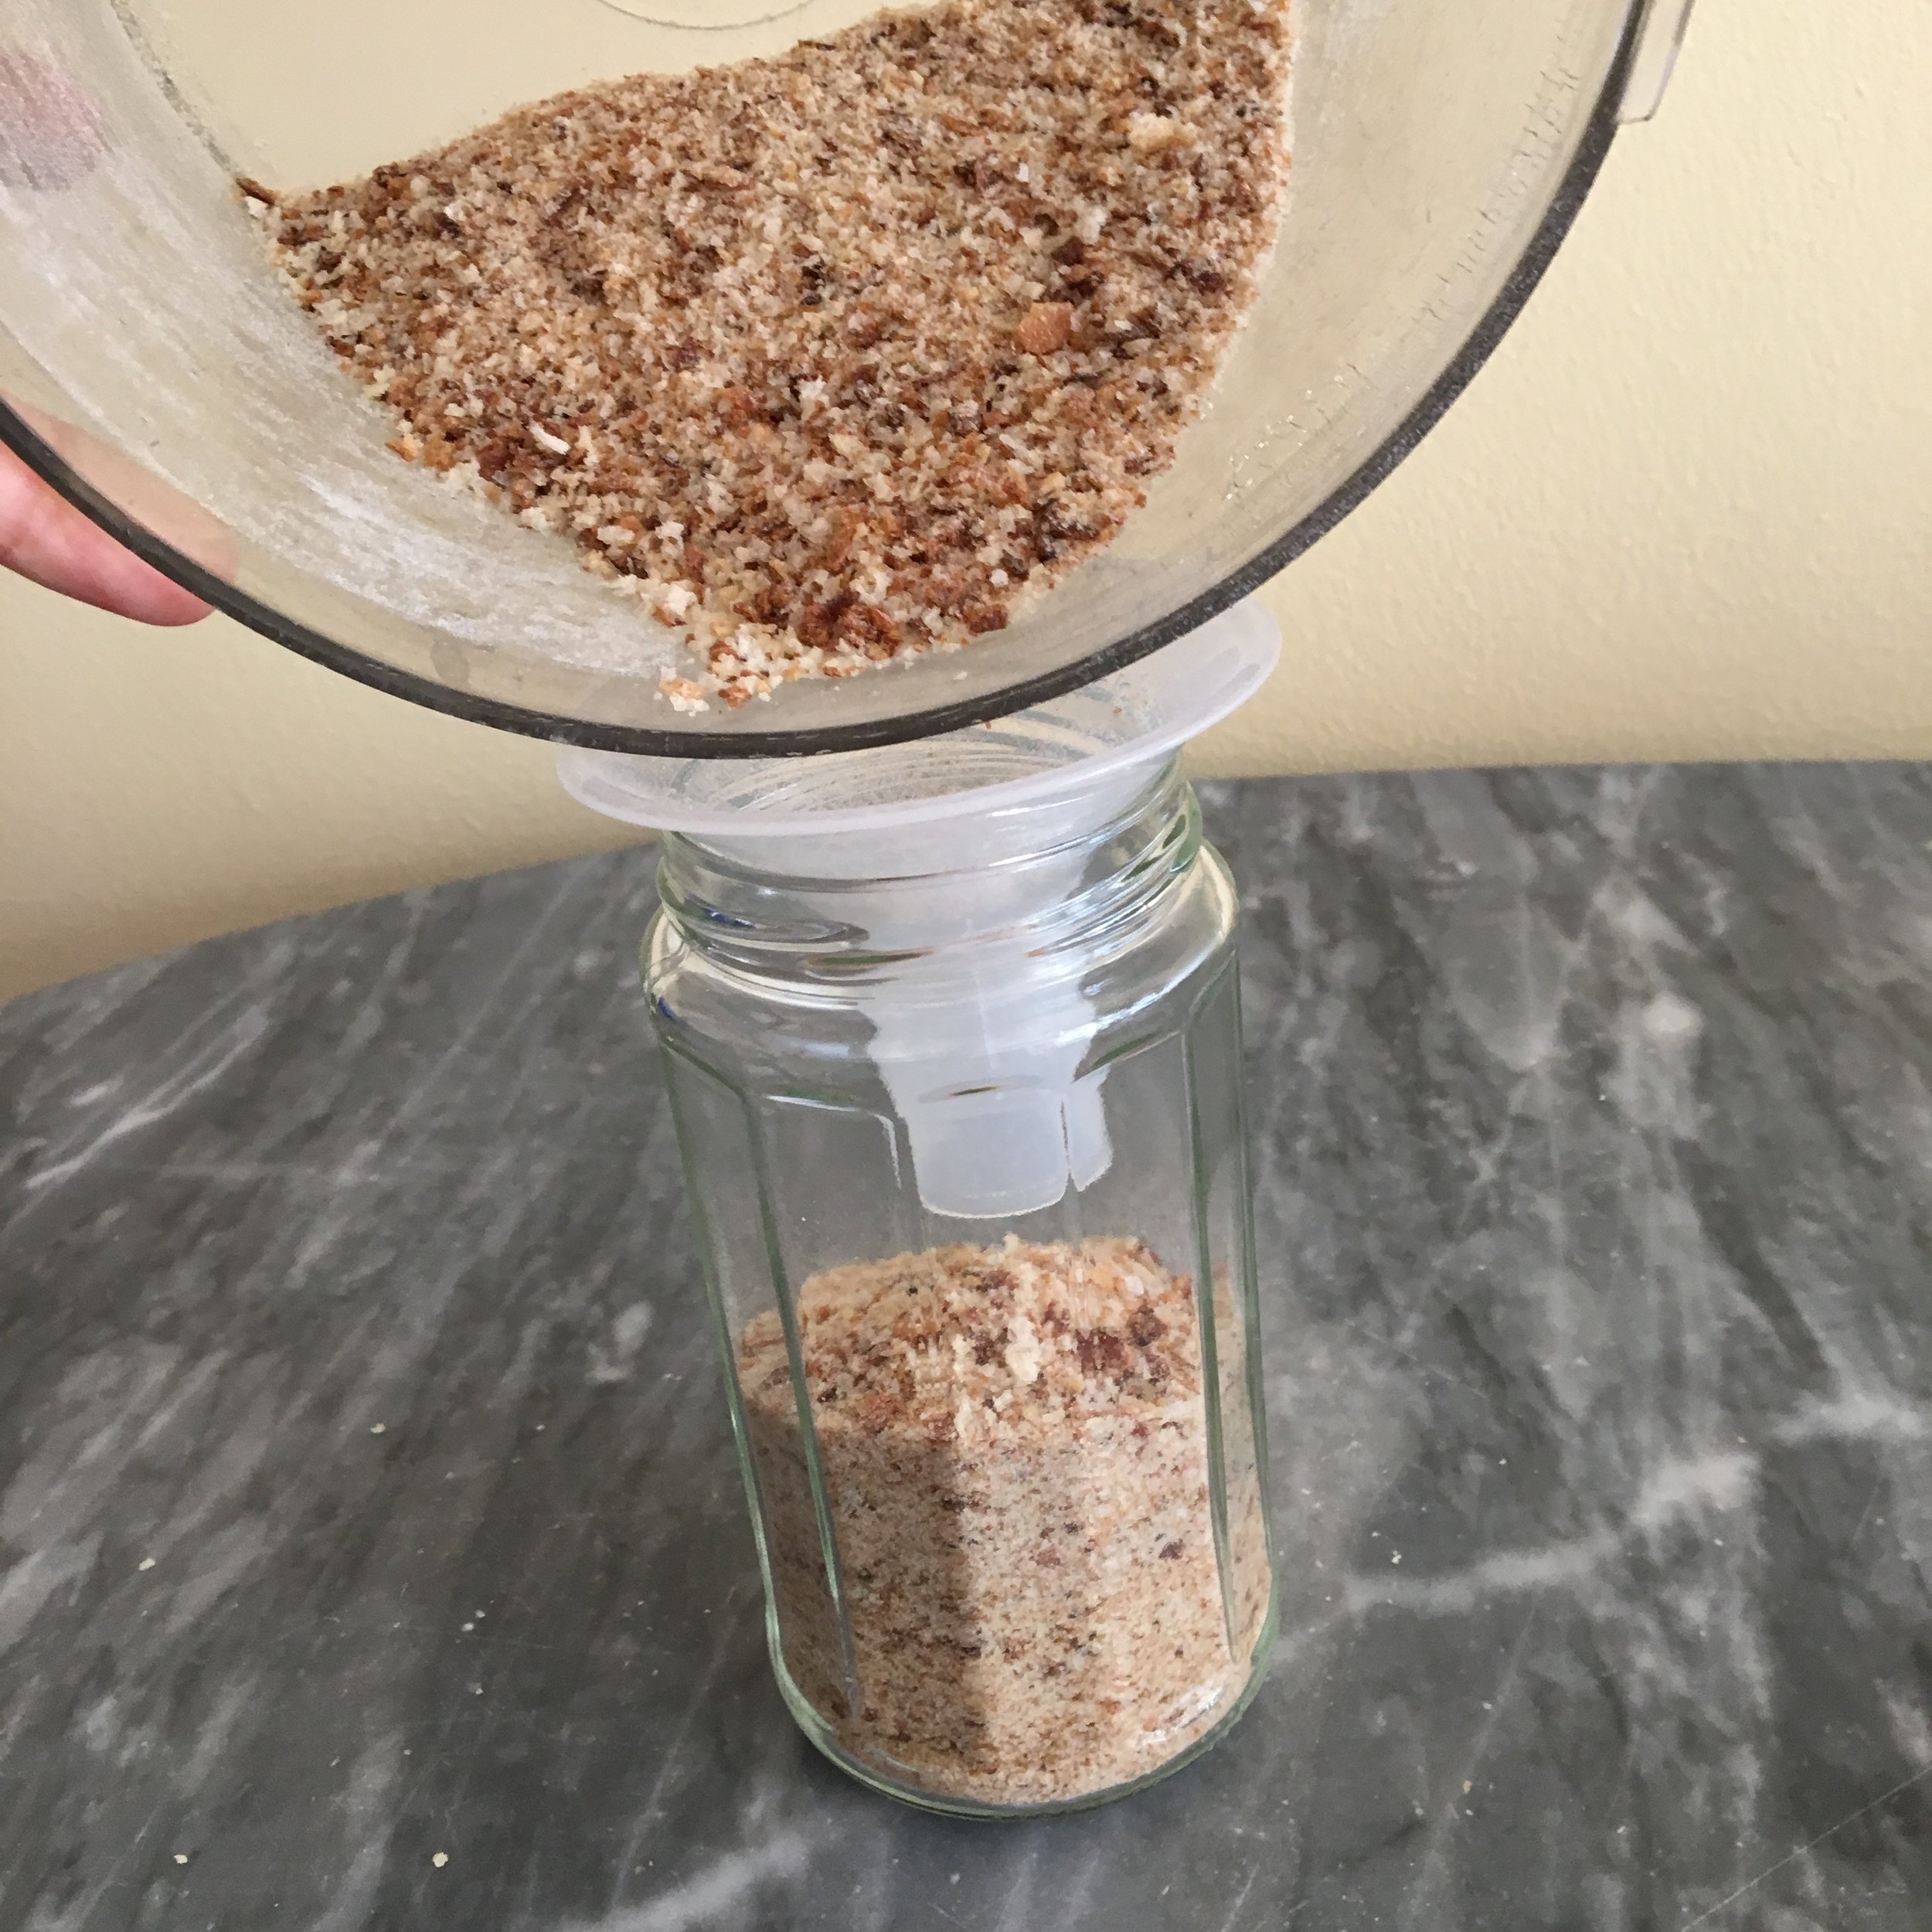
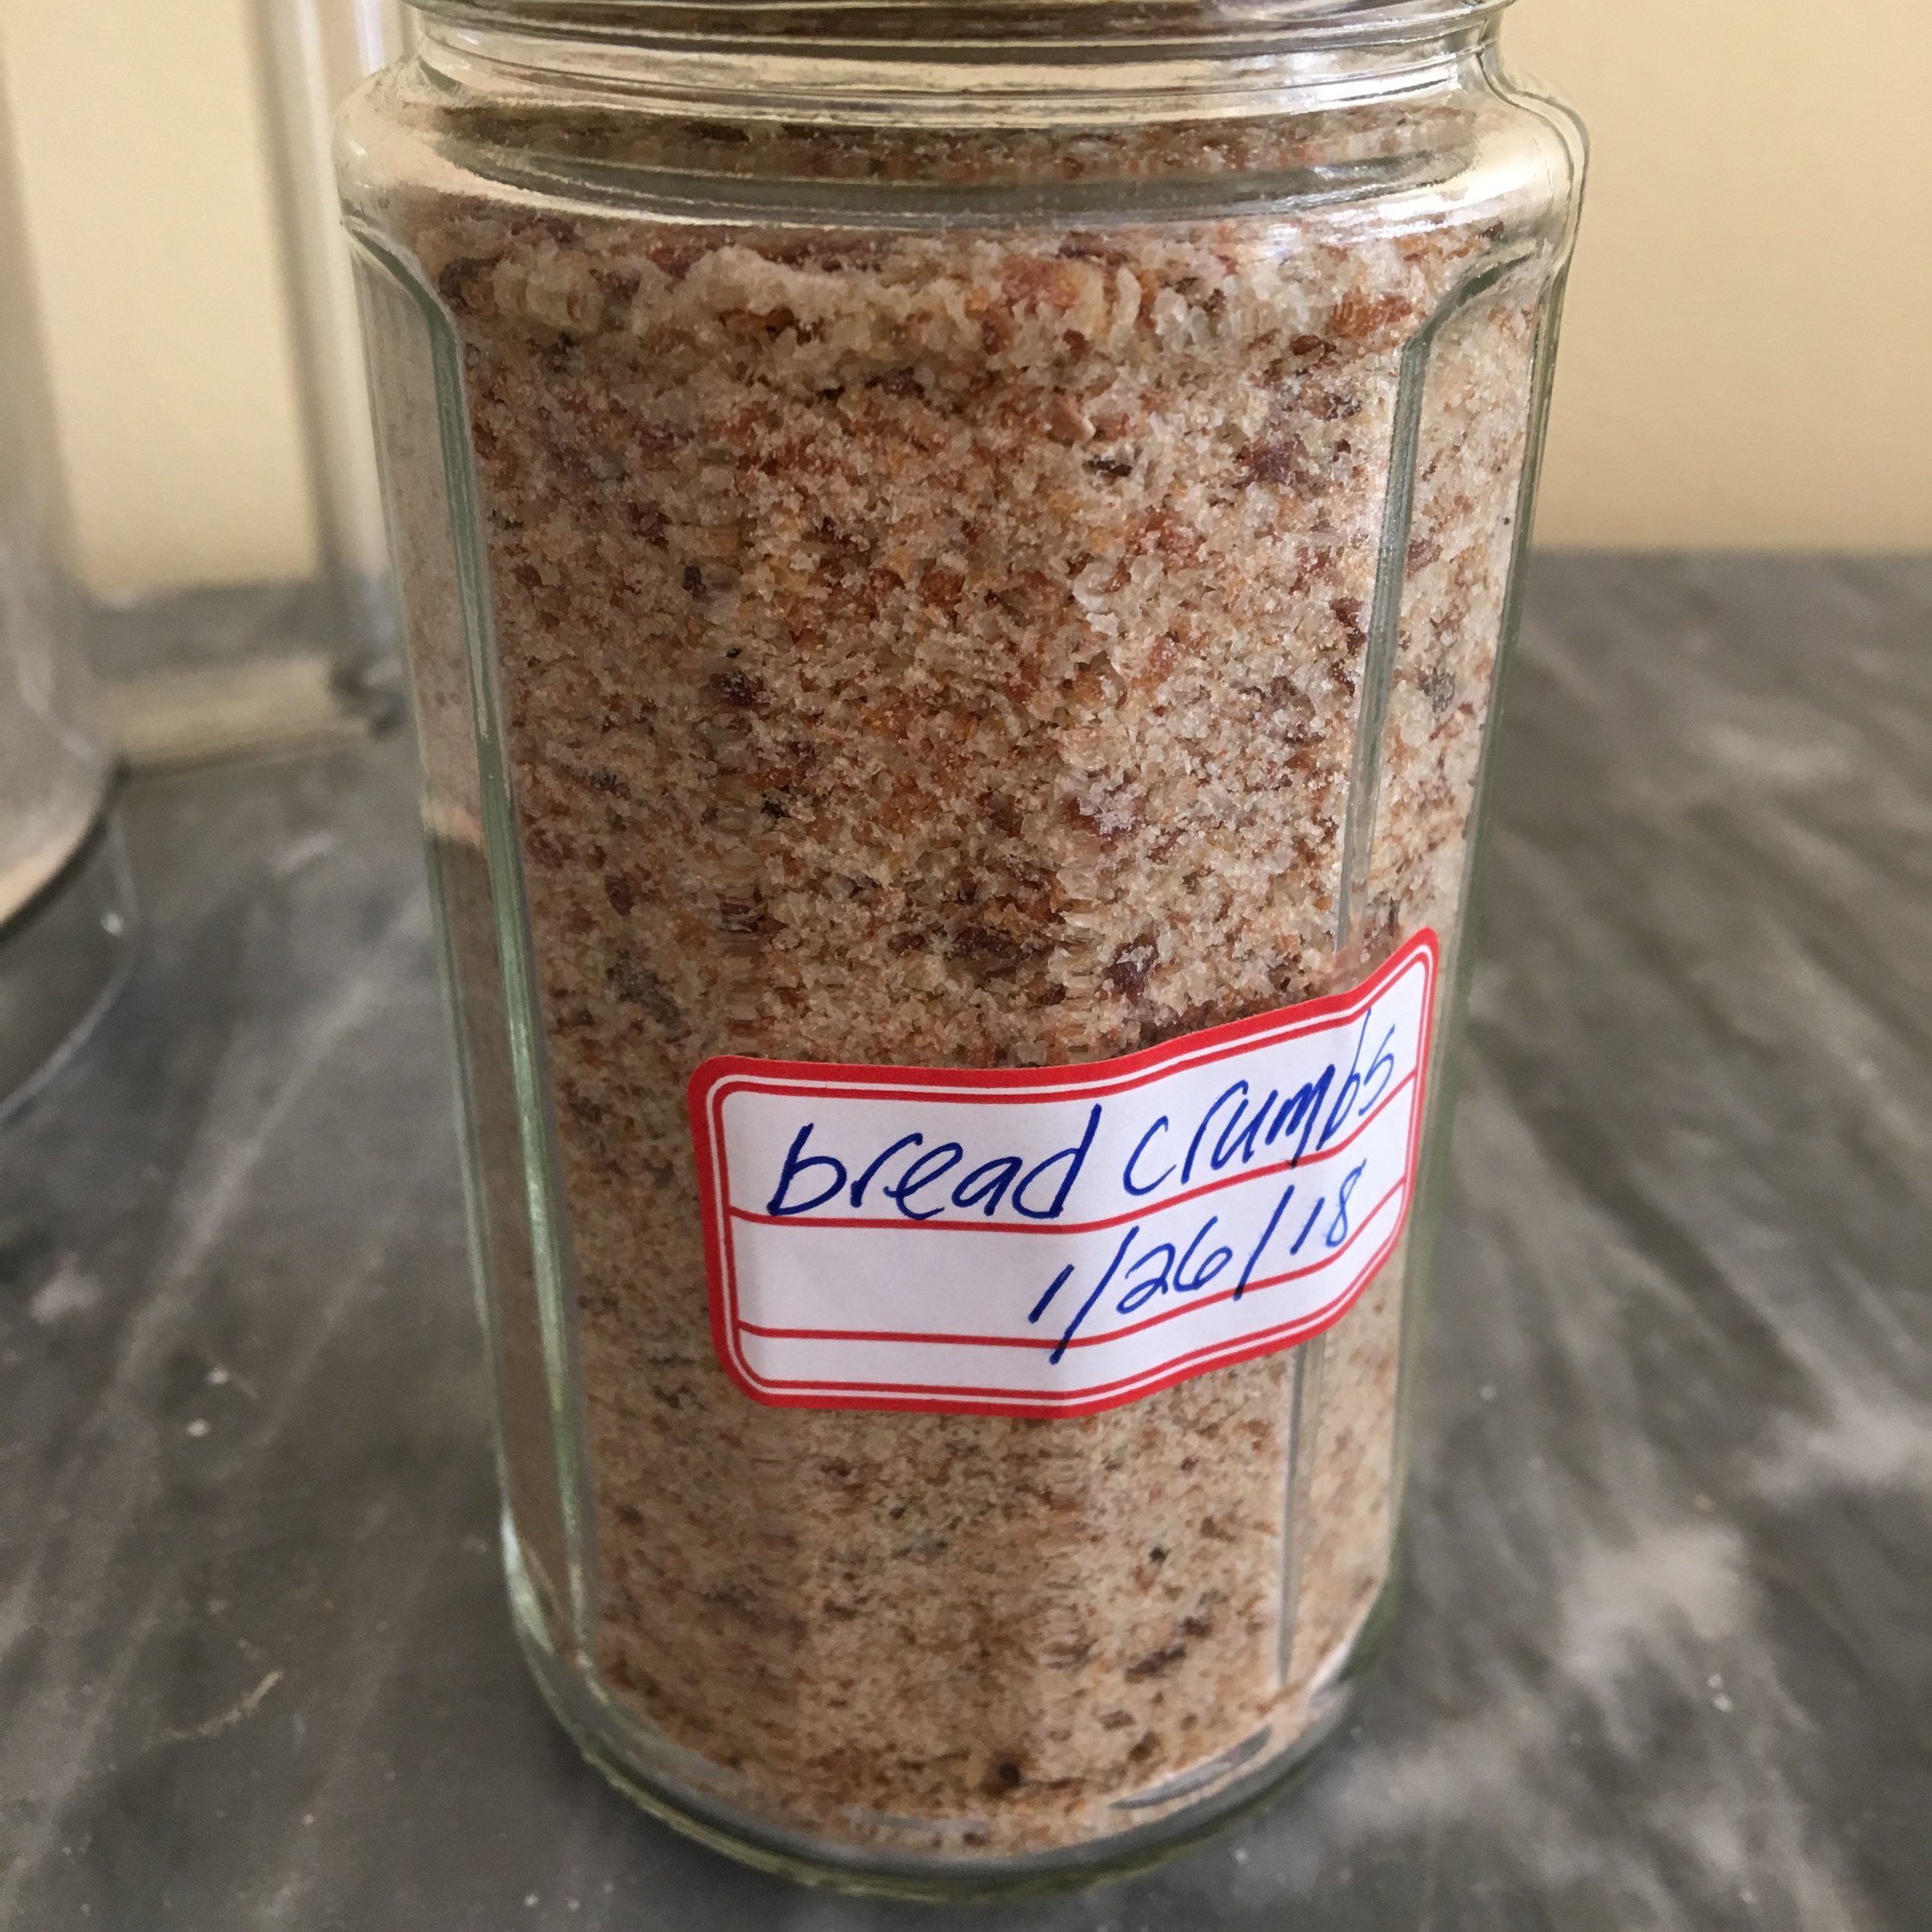
So make your own. They won't survive nuclear winter, but they will last at least a month or more in an airtight glass jar. It's so simple and you will feel so satisfied knowing you spared a dried out loaf from the garbage chute and now have a wholesome ingredient on hand. And your friends might refer to you as Martha Stewart. Wait, don't let that be the reason you don't try this at home. Please try this at home.


How to use them:

There are so many uses for homemade breadcrumbs. Here's just a few. Please share yours and I'll add to this list.

  • veggie burgers (black bean, lentil walnut, kasha potato, the list goes on and on)

  • stuffed mushrooms

  • breading or coating for croquettes

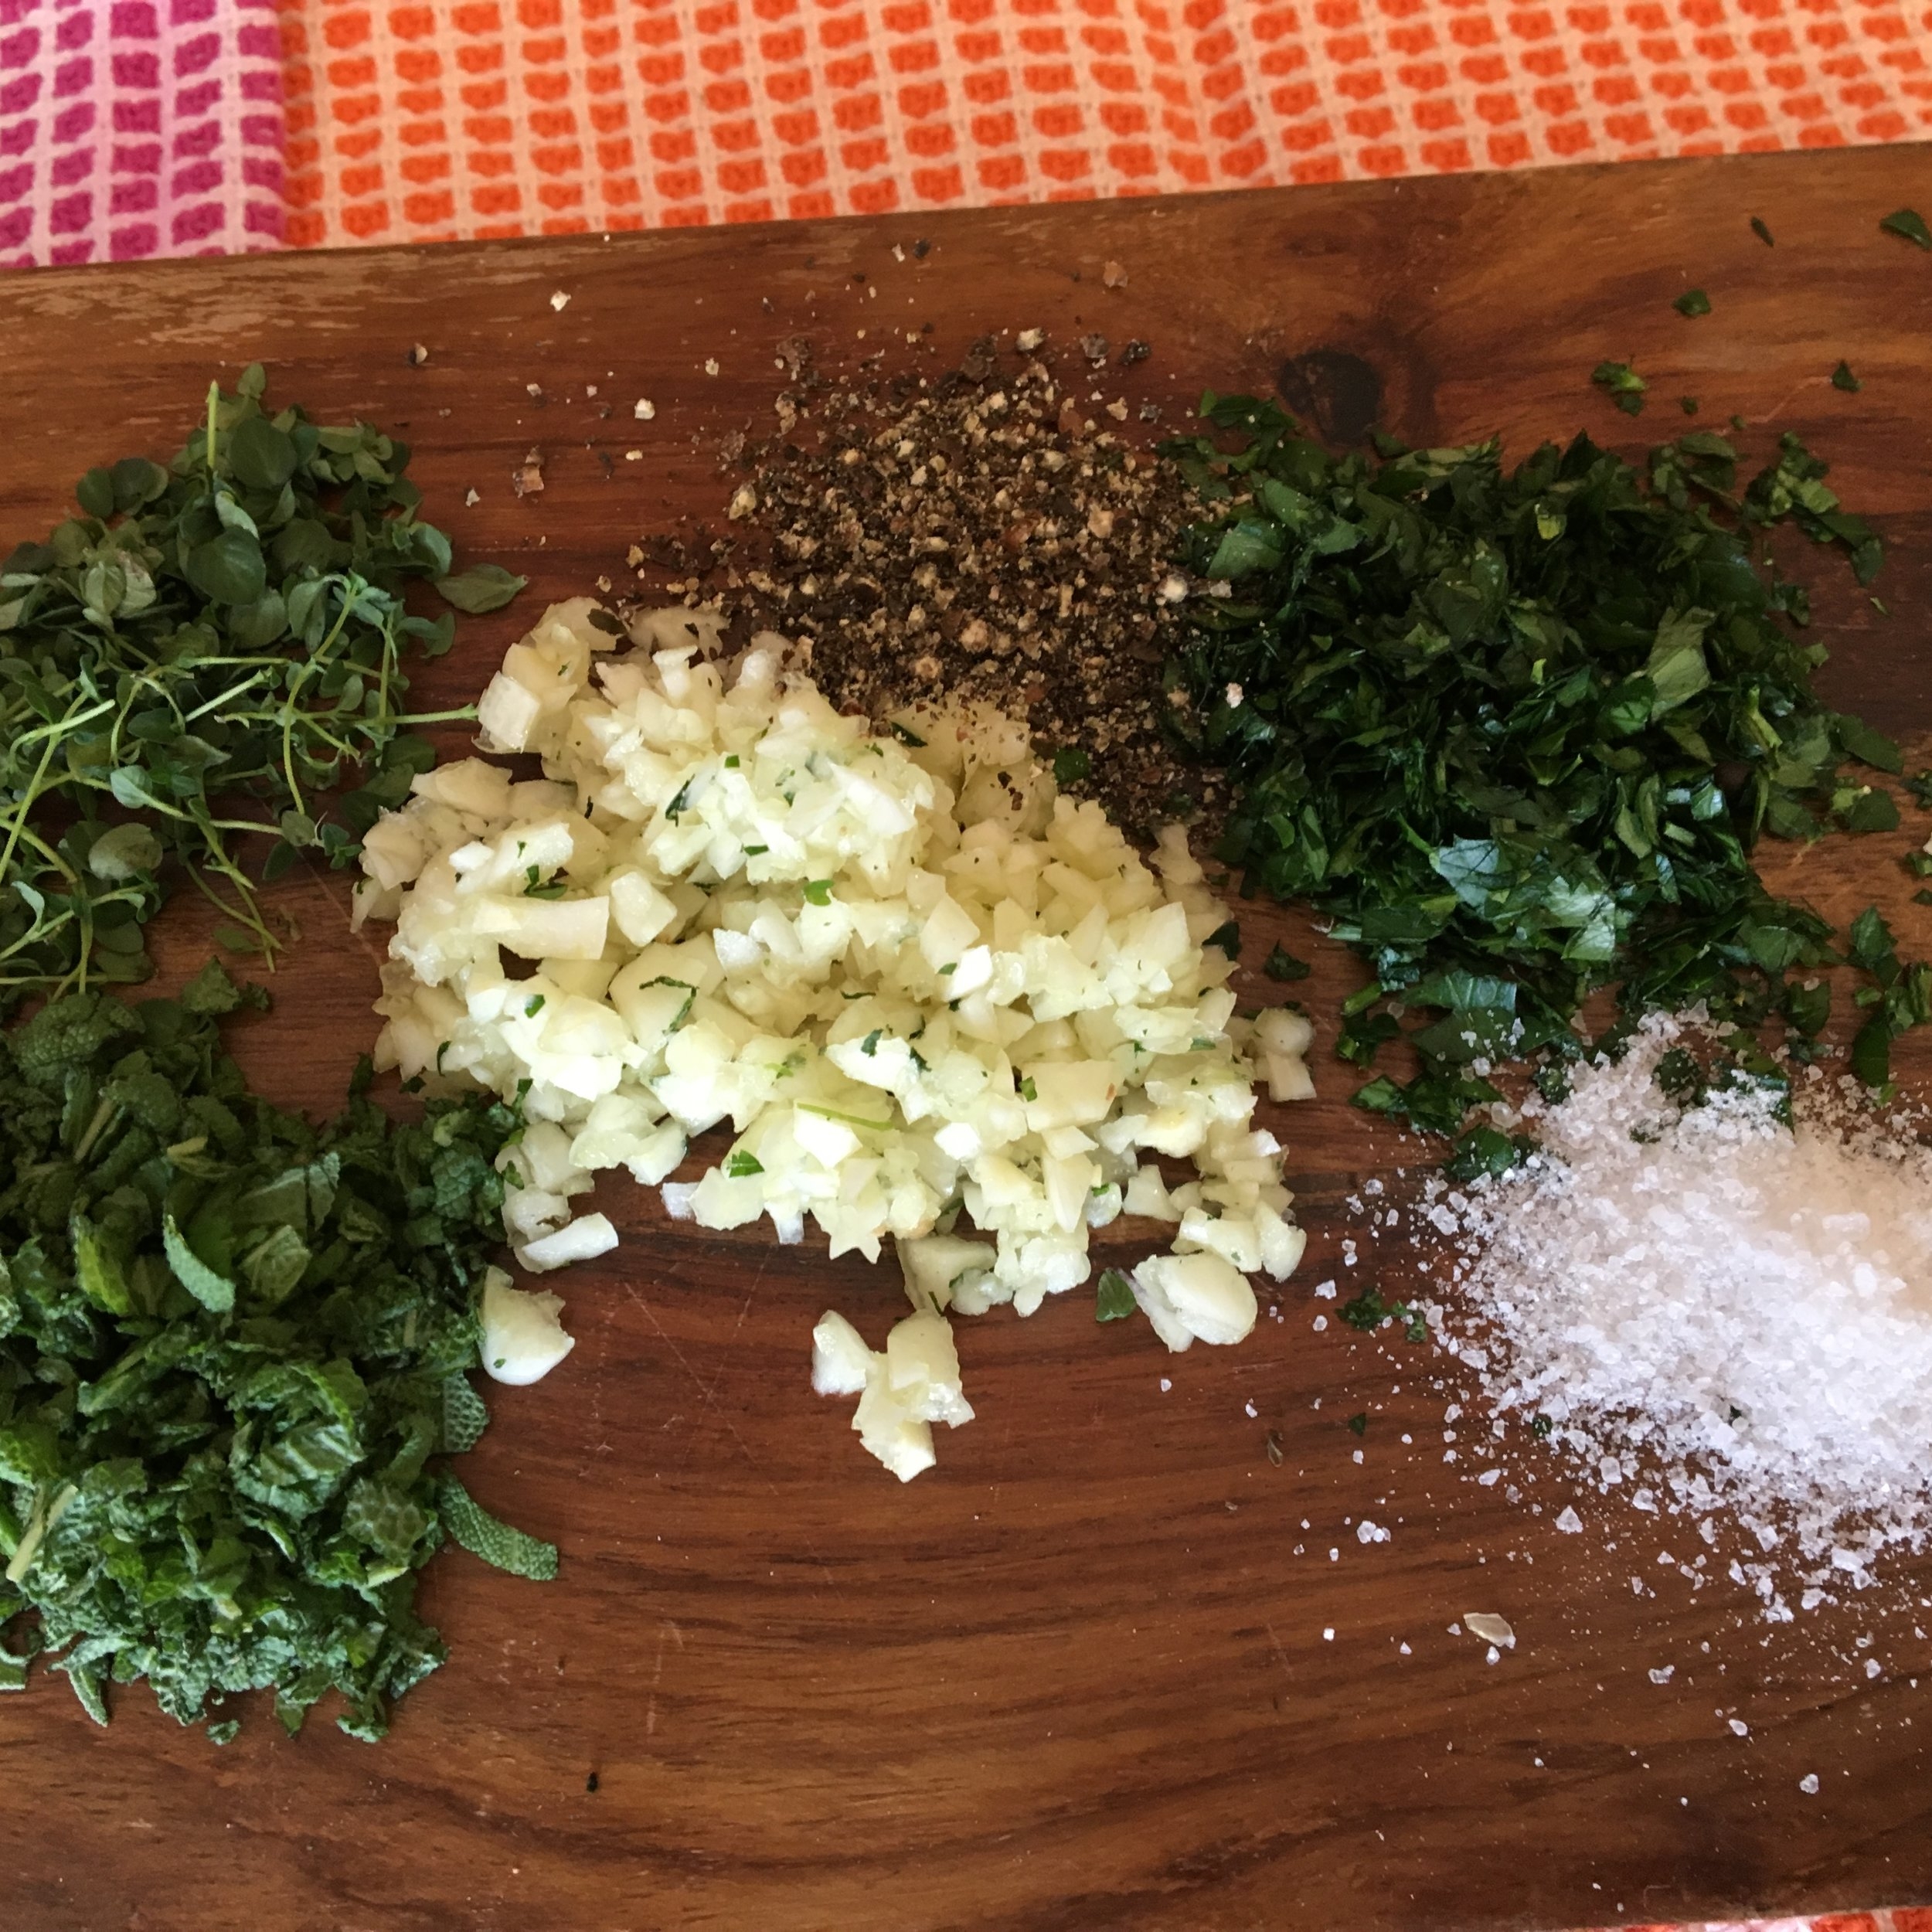
  • meatballs of all varieties (note that if you are mimicking the "Italian style" breadcrumbs used in classic meatballs, you will want to add a little dried parsley, oregano, basil and a pinch or two of salt)

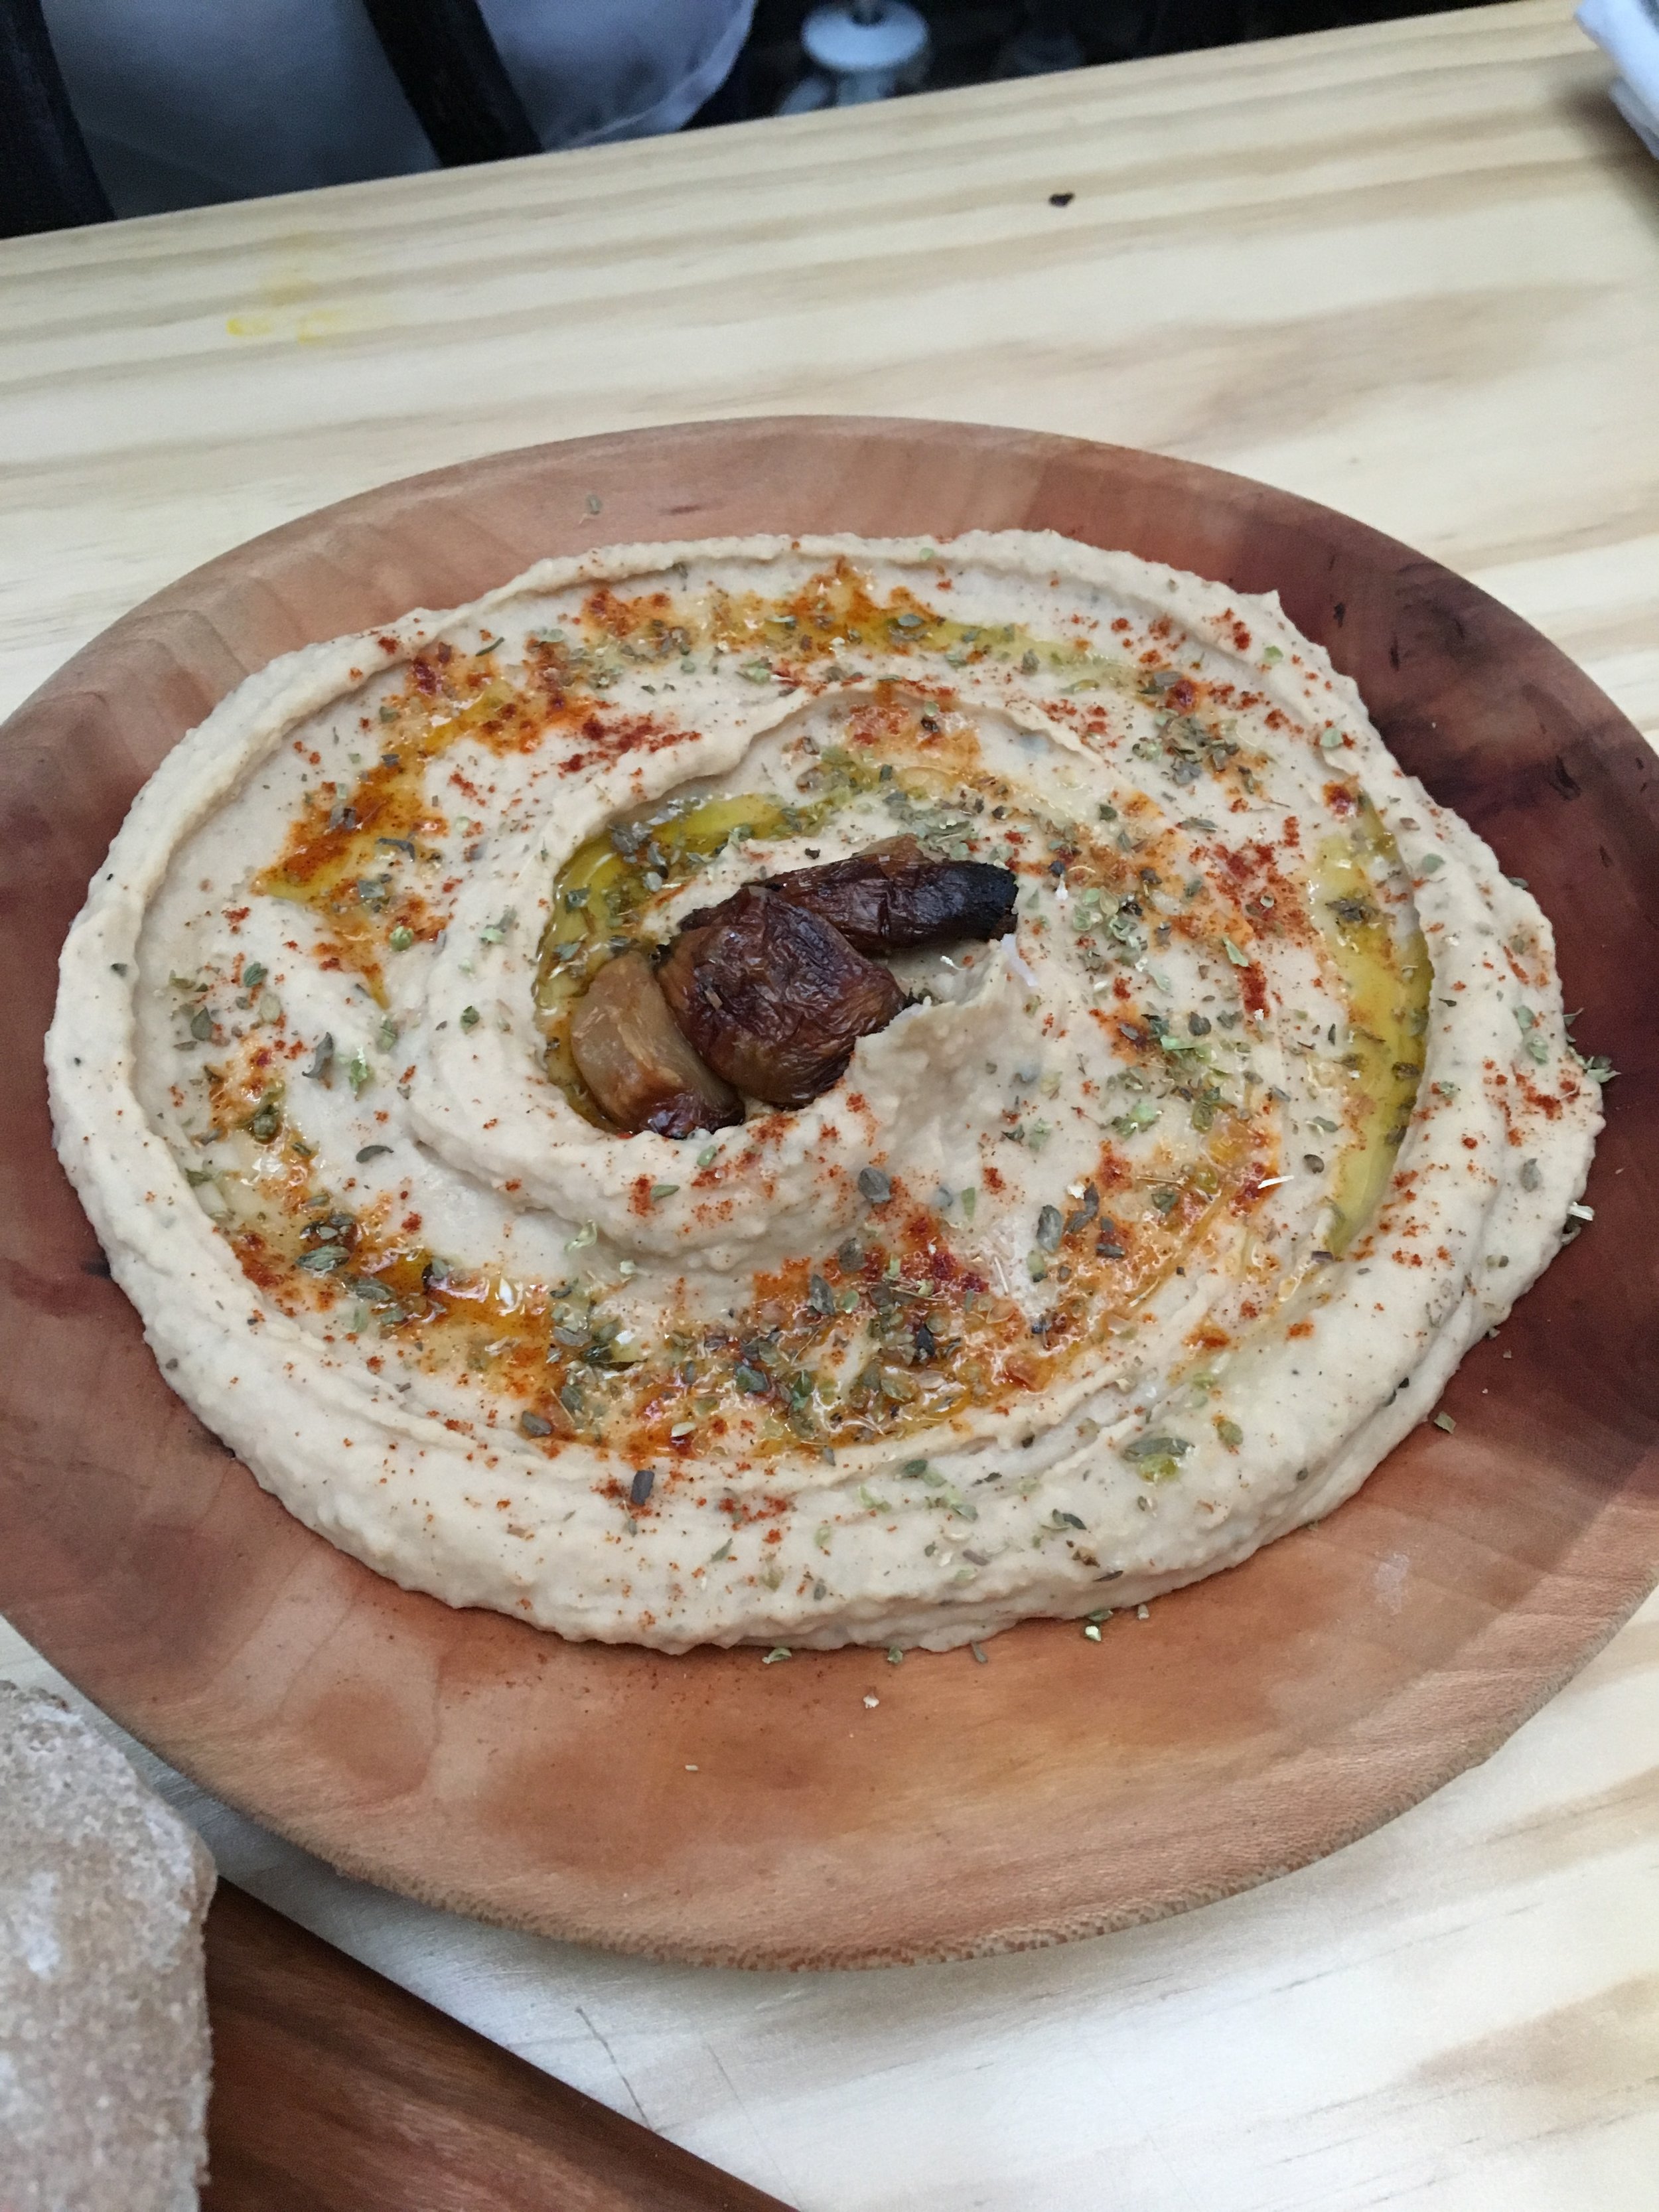
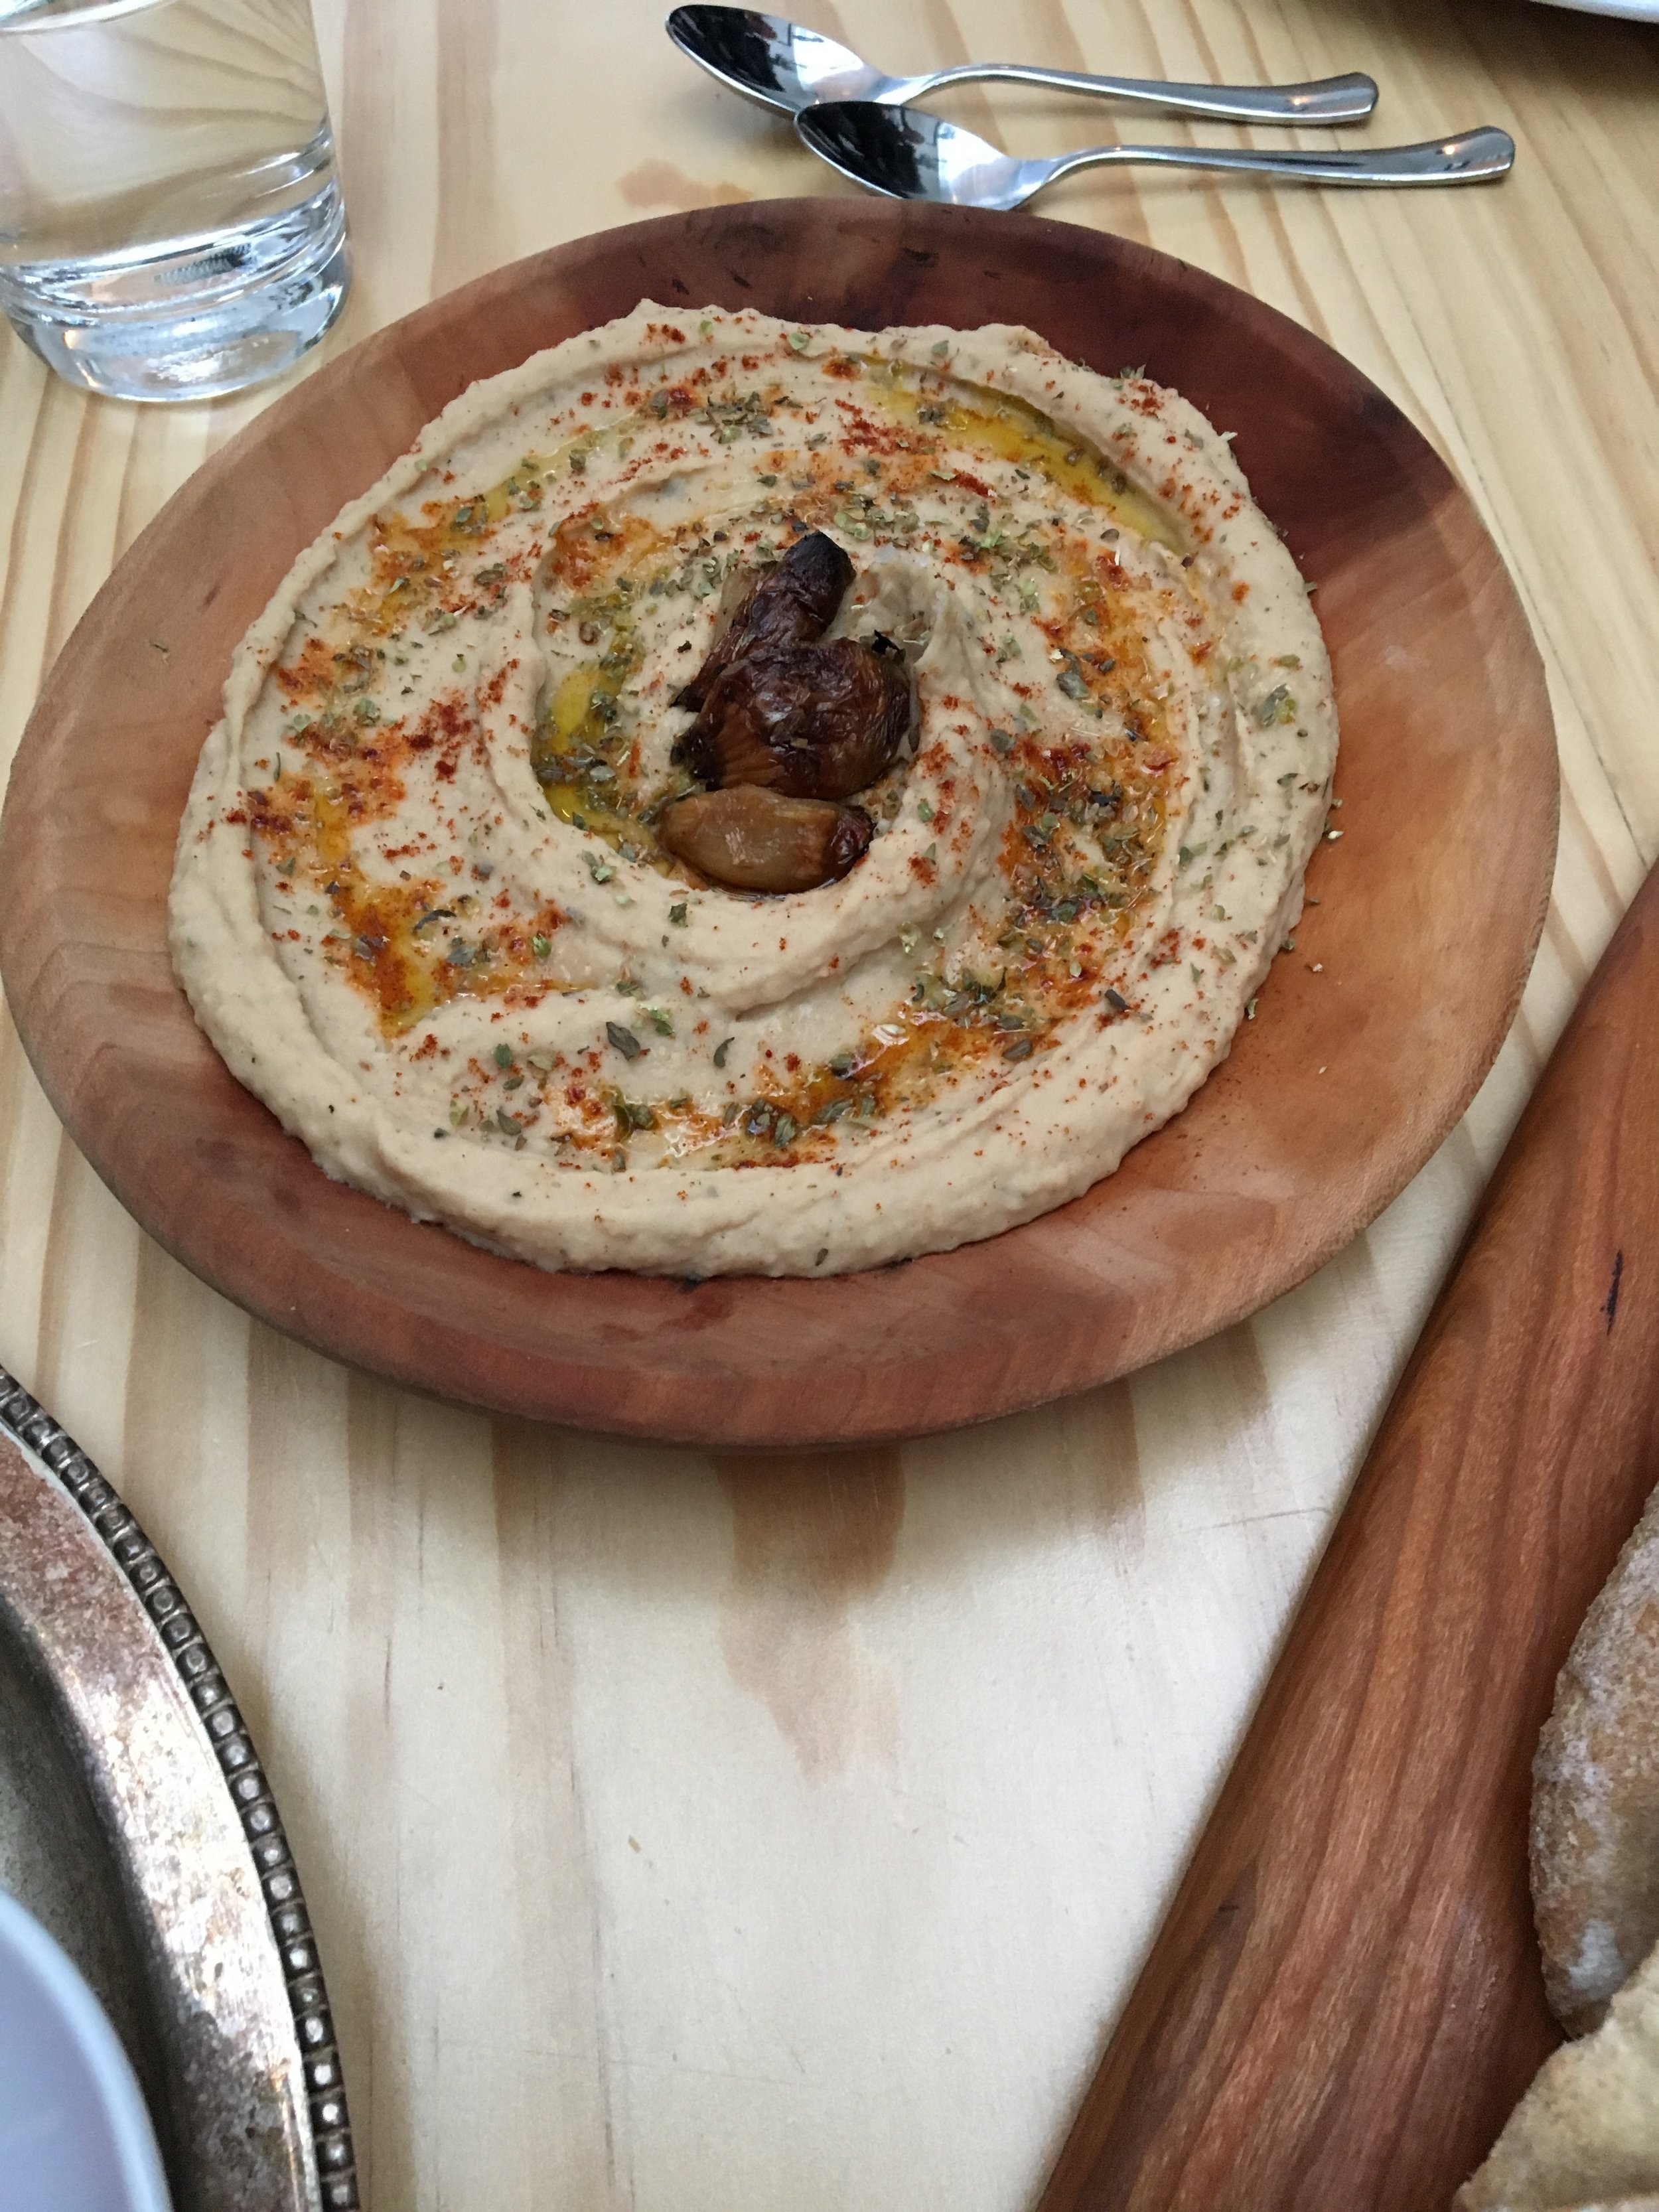
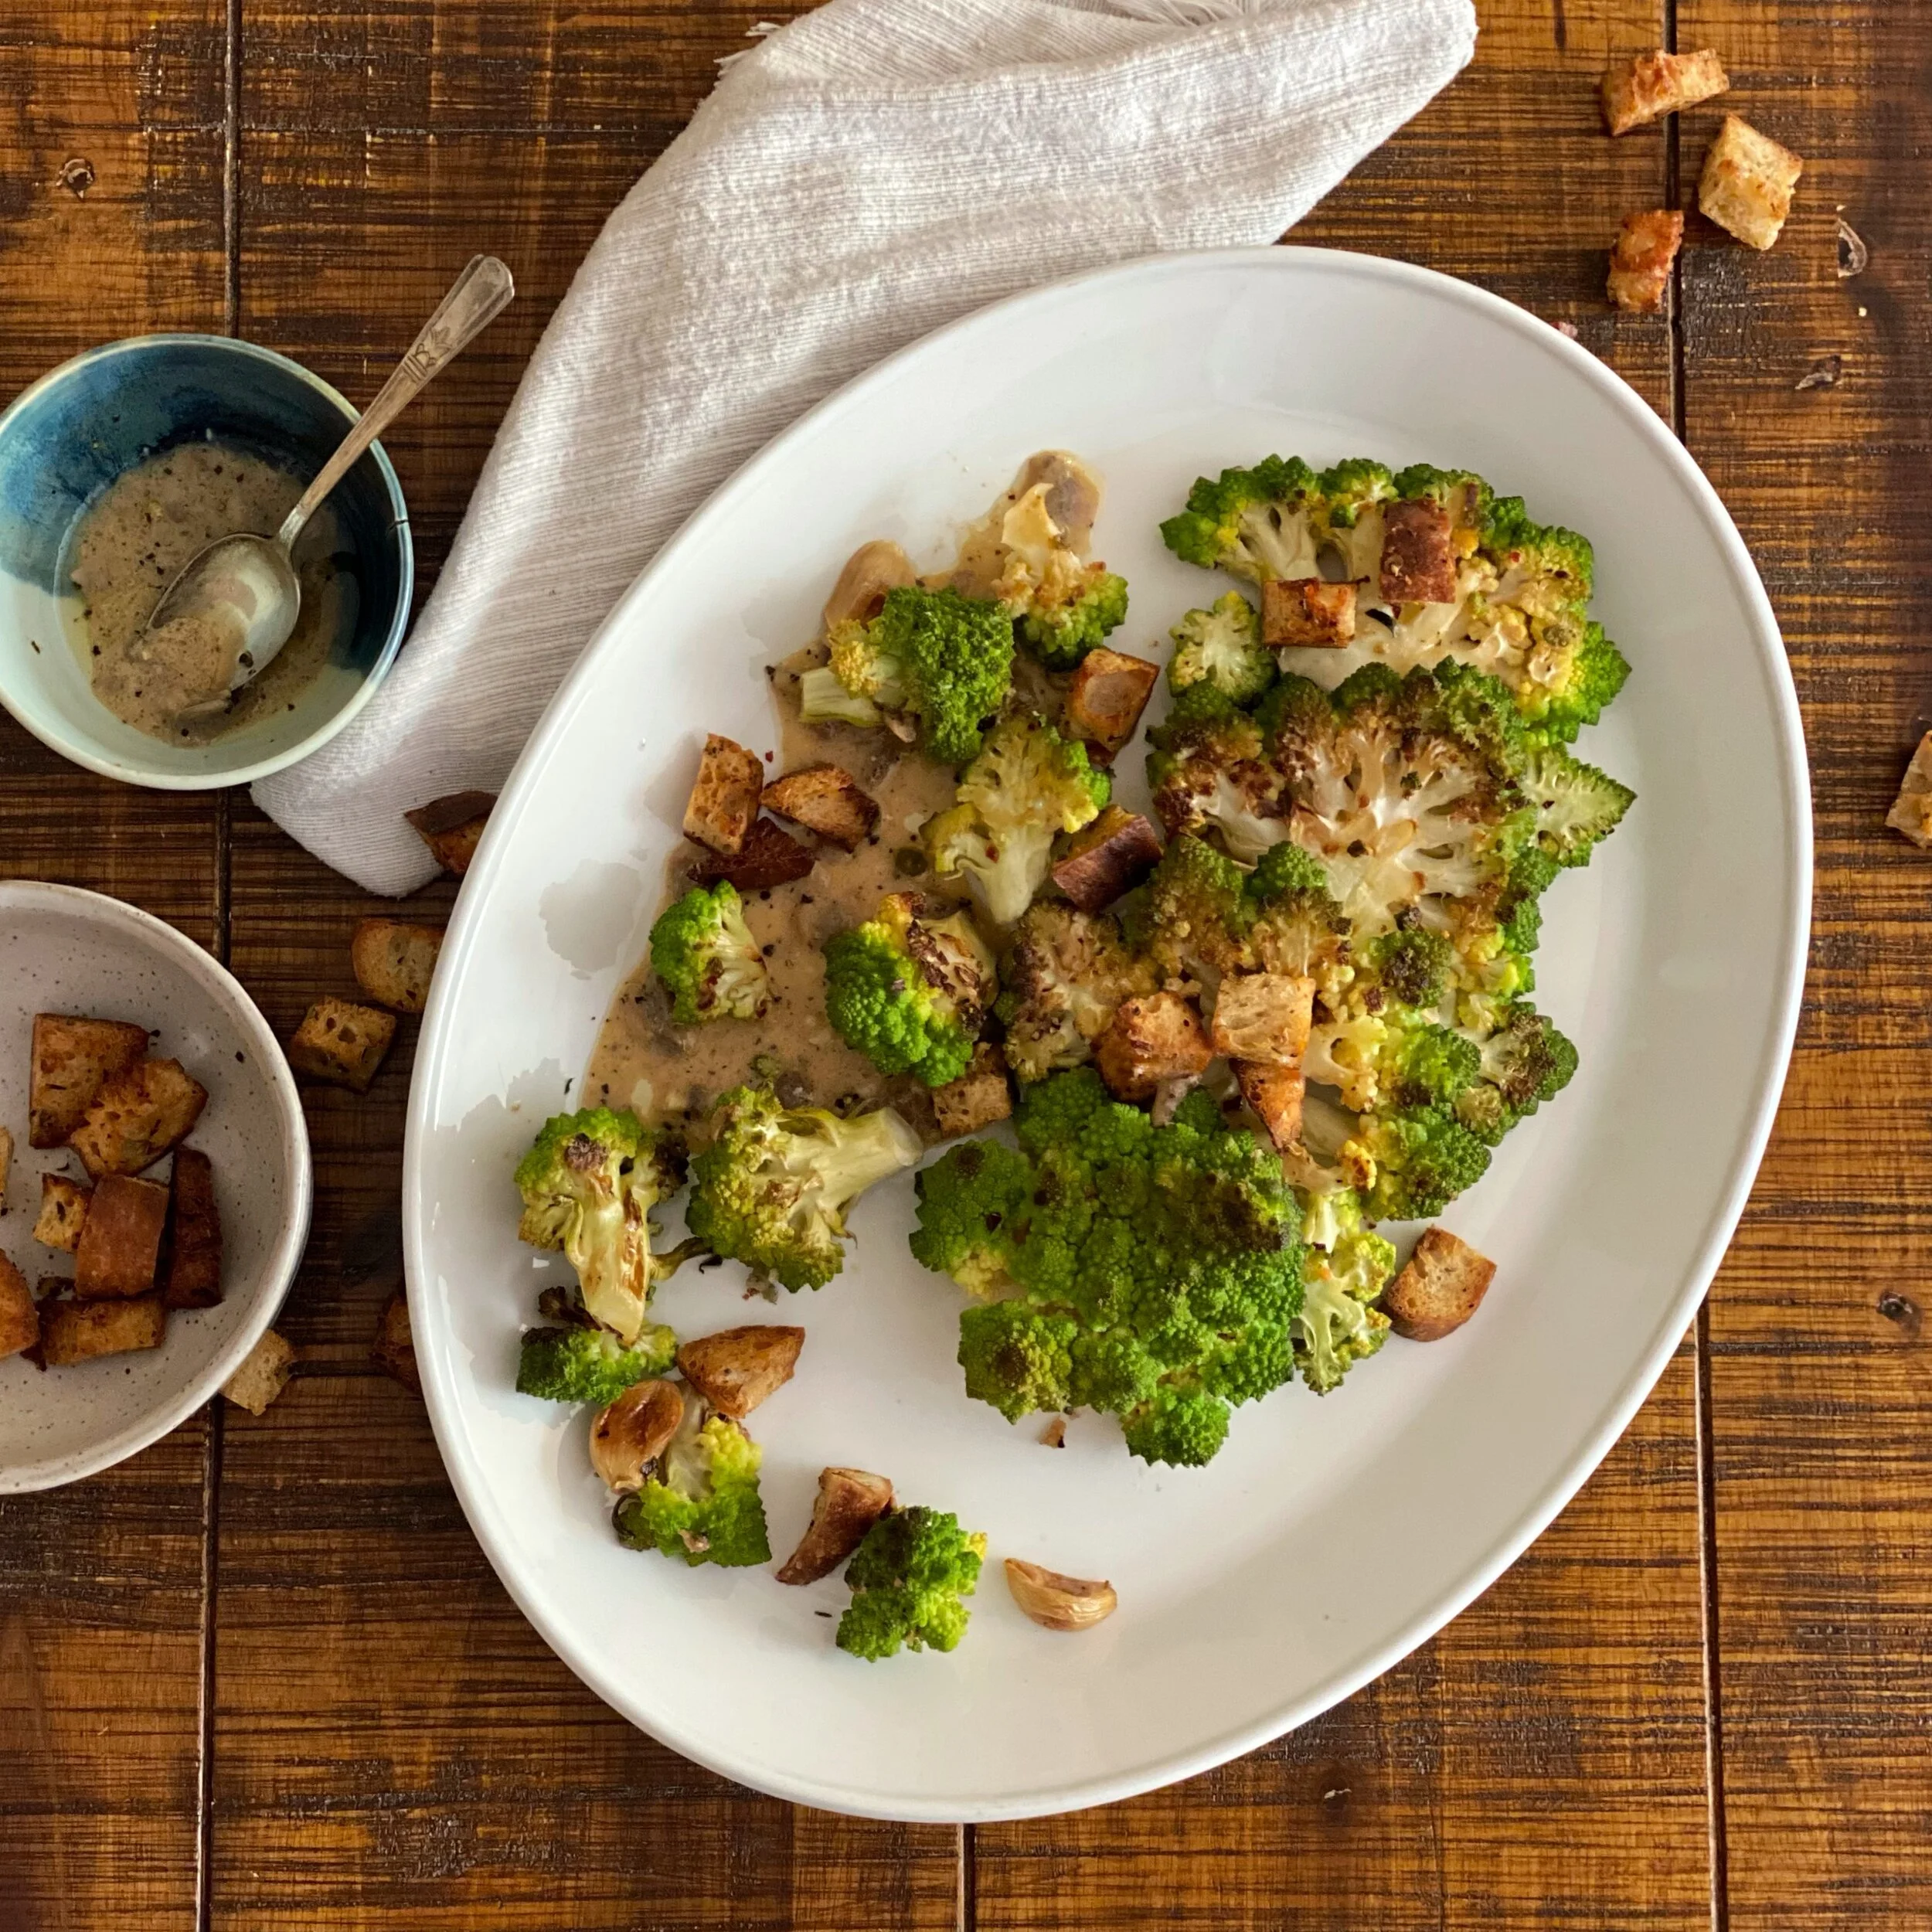
  • crunchy topping for a casserole like my pasta, cauliflower and cheese bake (recipe coming soon) or my vegan green been casserole

  • to add texture to a salad or grain bowl

  • as an alternative to croutons in caesar salad or this roasted romanesco with lemony anchovy dressing


2 notes for the gluten free crowd:

1. The above procedure might be a lifesaver for you. Now you can make your own gluten free bread crumbs with your favorite gluten free bread or crackers and save yourself the trouble and expense of finding rare packaged gluten free breadcrumbs.

2. There are gluten free substitutes for the uses of breadcrumbs I listed here. Stay tuned for some recipes and techniques coming soon. First up: my gluten free alteration of a family classic stuffed mushroom recipe.
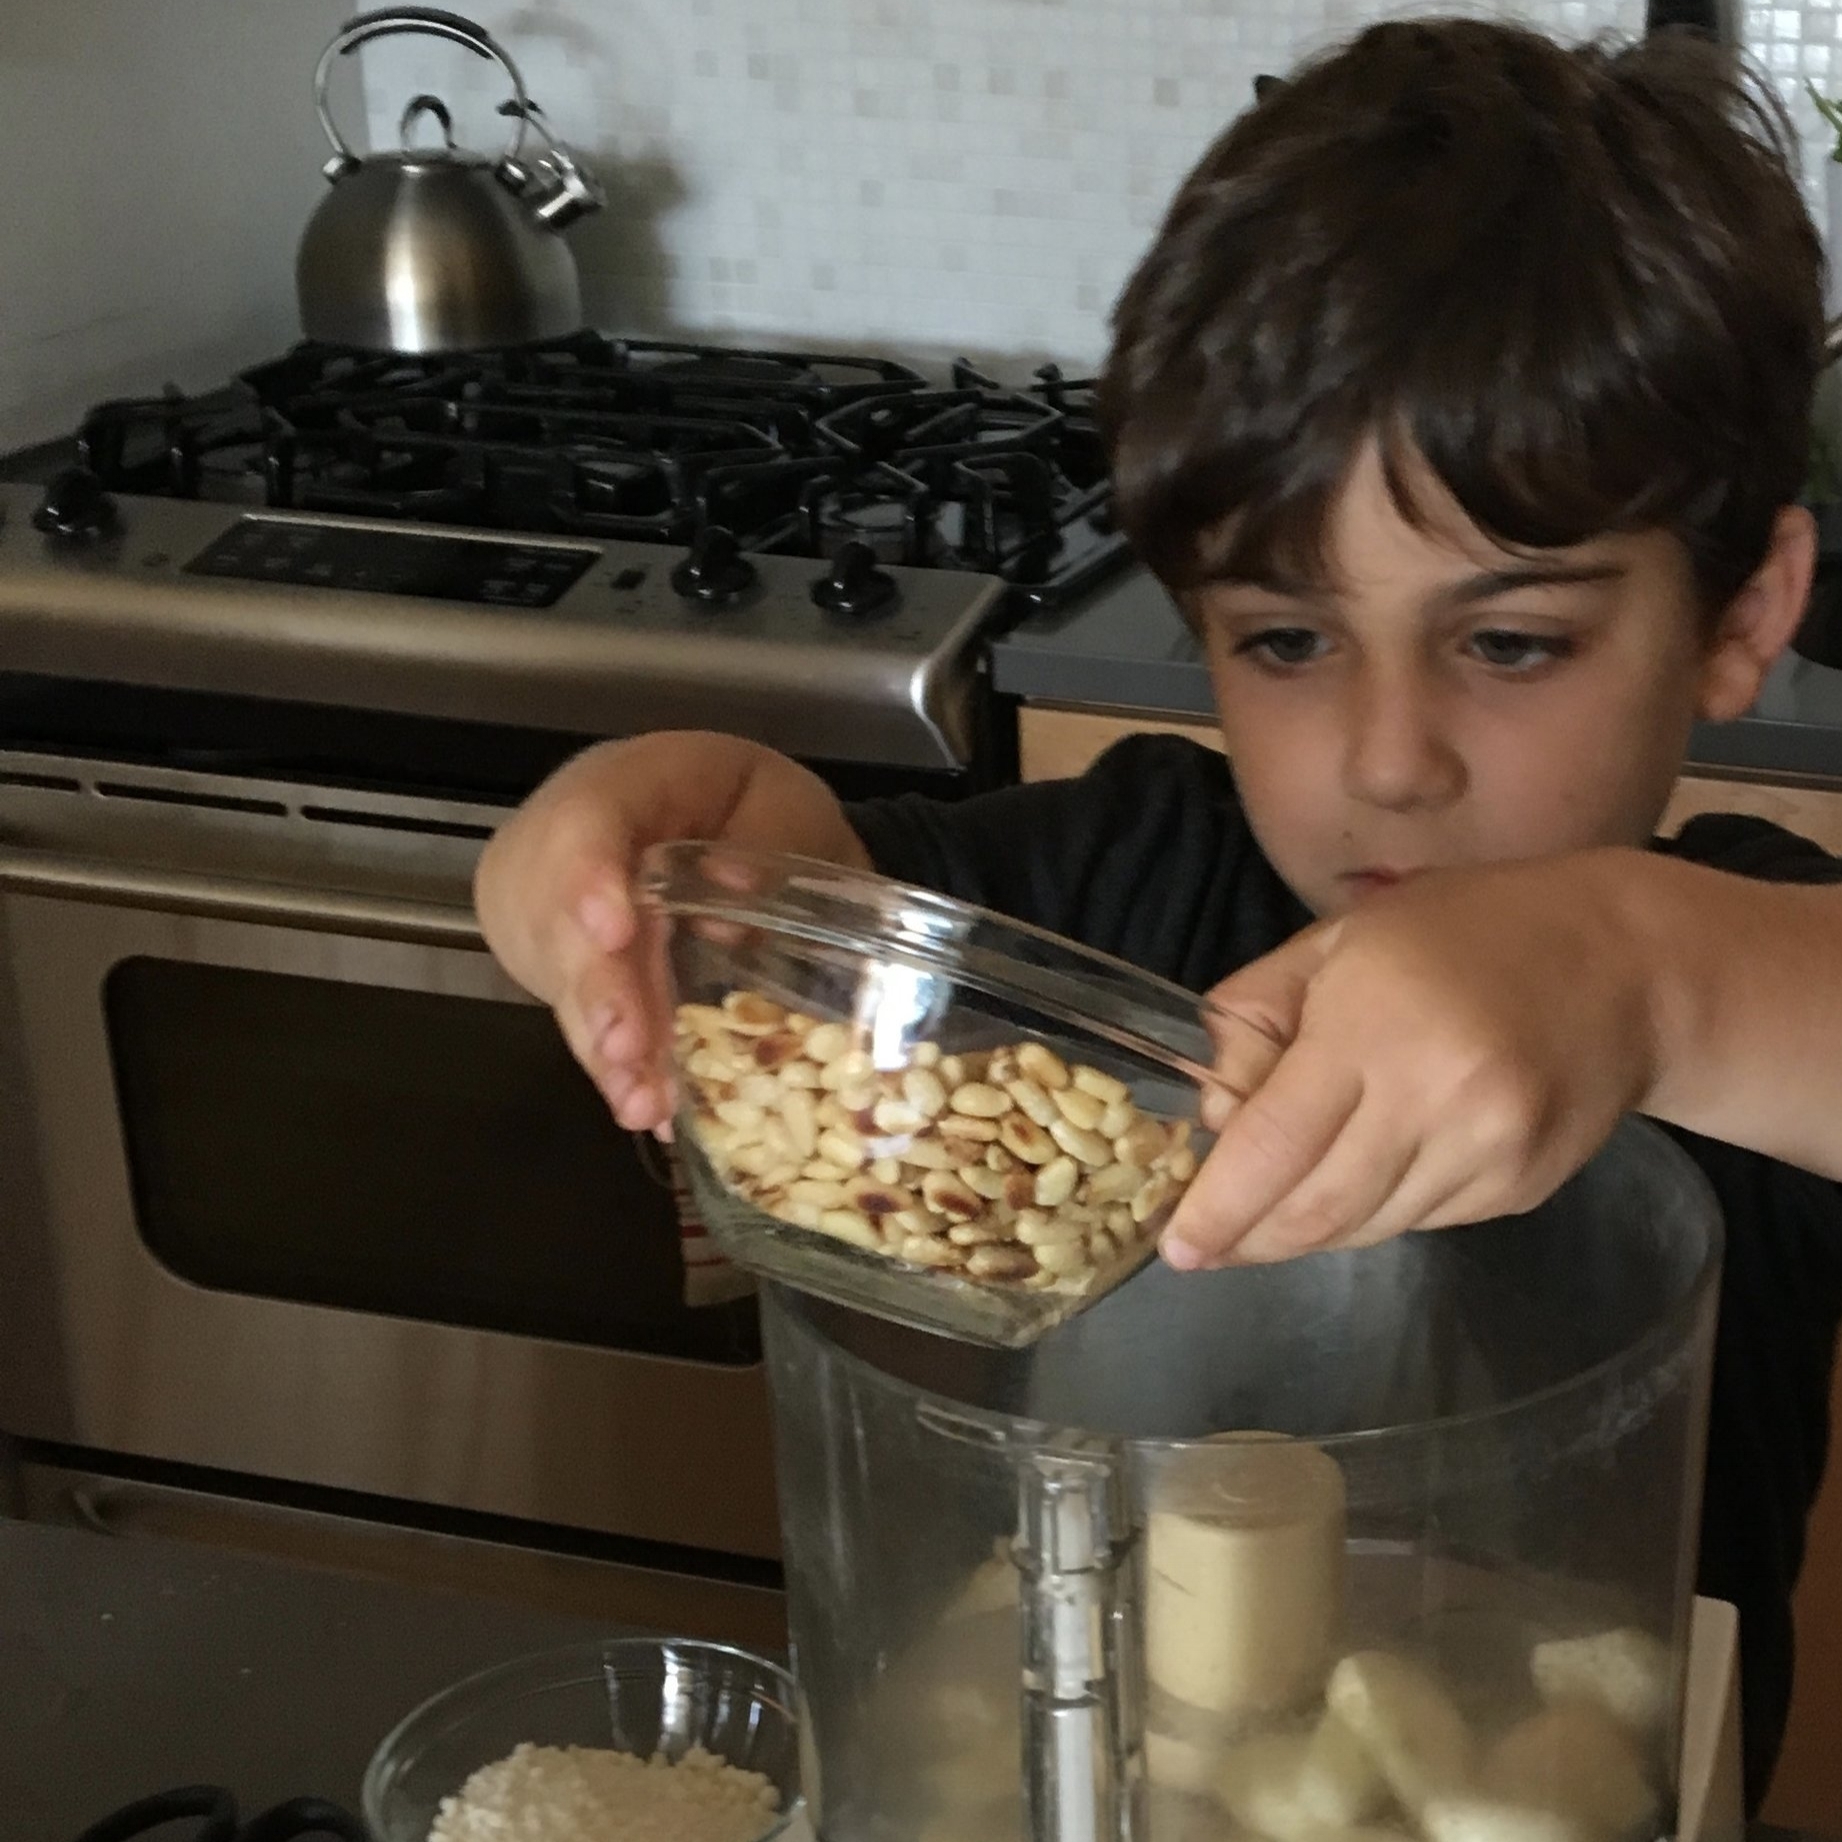
What you do:

Variations on Hummus

fullsizeoutput_a89.jpeg

Stop rolling up to the school potluck with a store-bought tub of ordinary hummus and some crunchy carbs for dipping. Hummus is simple to make from scratch. And it does not need to be boring. You can add spices, change up the acid and even hide some vegetables in it. Here's a straightforward formula followed by various modern spins, including a colorful roasted beet hummus you can spread on your kids' sandwiches. My sweet potato black bean variation below is exactly what your Superbowl party ordered. Bonus: these spreads make great baby food too, especially to pack a smooth high protein punch for a little peanut like mine who needs to pack on some pounds.

Basic Hummus Formula

Makes about 1½ cups

What you need:

  • 1-2 cloves of garlic

  • 1 1/2 - 2 cups cooked legumes (chickpeas, black beans, white beans, lentils, etc.)

  • 1-3 Tablespoons tahini

  • 1/4 cup oil (olive, canola, avocado, etc.)

  • 1-2 Tablespoons acid (lemon juice, lime juice, apple cider vinegar, etc.)

  • salt & pepper to taste

  • 1/2 - 1 cup cooked vegetables (optional)

  • 1-3 teaspoons ground toasted spices (optional)

What you do:

Simply put all ingredients (except the acid, spices and salt) into a food processor and purée until smooth. Taste and add acid, spices, and salt gradually to get desired texture and taste. You can always add more salt, acid and liquid but it is difficult to take it away or add more of all of the other ingredients if you go overboard on, say, the lemon juice and cayenne. If your spread is too thick, add more acid (lemon juice, vinegar, etc.) or plain old H2O if you want to thin it without altering the taste too much.

Note on beans: When using canned beans, I drain them and rinse off the liquid first to get rid of any extra salt or any taste imparted by the canning process. You can also easily cook your own beans. More on that in a future post.

Try these variations:

  • Add a roasted beet and toasted ground cumin, cinnamon and cloves. You could also follow my recipe for Roasted Beet Hummus.

  • Substitute a sweet potato for the beet and roast without foil. Use cumin, cayenne, dried ground chipotle and/or smoked paprika for the spices. Substitute black beans or stick with the chickpeas.

  • Instead of beet or sweet potato, use ½ cup of any cooked vegetable (skins removed, roasted, grilled, or steamed), such as broccoli, red bell peppers, carrots, or squash.

  • Add ½ cup of prepared pesto and decrease the olive oil to 2 tablespoons.

  • Use lime juice, apple cider vinegar, sherry vinegar or white wine vinegar in place of the lemon juice.

  • Add an entire head of garlic roasted in olive oil. Decrease the olive oil to 2 tablespoons. Use chickpeas or substitute navy or cannellini beans.

Roasted Romanesco with Lemony Anchovy Dressing & Garlic Herb Croutons

Roasted Romanesco with Lemony Anchovy Dressing & Garlic Herb Croutons

Armed with a can of anchovies, a lemon, and herb garlic butter from my freezer, I was determined and craving caesar salad. That’s when I discovered a head of romanesco. So I married my simply roasted romanesco with the components of caesar salad. Make this dish for an easy and healthy, vegetable forward weeknight dinner, perfect for the busy holiday season. It serves two as a main dish or 4-6 as a side or appetizer.

Possibilities for Fresh Pumpkin Puree

Possibilities for Fresh Pumpkin Puree

American supermarkets have it all wrong. Those aluminum pyramids of mashed orange pulp should be displayed in March, not November. Why, at the height of harvest, would I eat last year’s (at best) pumpkin packed into a can when I can eat this week’s pumpkin fresh from the oven? Furthermore, what else are we going to do with the pumpkins we bought at Halloween and had every intention of turning into jack-o-lanterns?

Radishes 5 Ways

Recently, I've found myself answering lots of questions -- from cooking class students, fellow CSA members, and other parents -- about radishes. So I'm delivering on an overdue recipe post promise. These tightly packed peppery spheres produce passion. Previously, I was passionately opposed to radishes, which caused me to diligently leave bunches on a certain colleague's desk (you know who you are), but then I discovered how to prepare them. At this point, we generally only make them one way, because this is how a certain 5-year-old (he knows who he is) will have it. Pickled. Which, when mentioned in my house, will provoke a high-pitched squeal and the "yummy dance." I get it. But I feel like I'm cheating for my older son's vegetable appreciation because they are probably the easiest thing I make for him.

IMG_9881.JPG

Here's what you need:

  • 1 bunch of radishes

  • 1 cup or so rice wine vinegar

  • 1 scant teaspoon of honey

  • 1/2 teaspoon cumin seeds

  • 1/2 teaspoon coriander seeds

IMG_9899.JPG

Here's what you do:

One bunch of radishes usually fills a half pint jar. Use this jar to measure out the vinegar, about three-fourths full. Put that in a small pot and heat it with the honey just until the honey dissolves. While this is heating, thinly slice your radishes and pack them into your jar with the spices. Pour hot liquid over the top. Put cover on and refrigerate. These are best after one day but can be eaten in one hour or kept for weeks. I've never processed them to be shelf stable because the aforementioned 5-year-old eats the entire jar in 3 days. Warning: they smell a little funky, but taste delicious and are a great addition to toast smeared with chickpea or fresh green pea hummus, or a salad, sandwich or taco.

Maybe you're not so into pickles? Try these other great applications for your radishes.

Butter Braised: Scrub radishes, remove stems and tips. Cut into quarters. Put in a small pan and cover by an inch with water. Add a few pinches of salt. On medium-high heat, cook until nearly tender and water is mostly absorbed, adding more water if needed. Add about 3 tablespoons butter for each bunch of radishes, and cook stirring frequently until radishes are tender and slightly browned. When you add butter, you can also add your choice or dried spices or finish the dish with chopped fresh chives or parsley.

Roasted: Add cleaned, trimmed and quartered or whole radishes to a roasting pan with chicken and onions. Occasionally toss the radishes with the chicken drippings.

Potato Hash: Add diced radishes to your hash along with other root vegetables. Top with runny eggs.

Slaw: Shred or julienne radishes and combined with shredded cabbage, carrots and/or cucumbers and dress with a light citrus vinaigrette.

Tip: for stable cutting of a radish or other vegetable with a rounded edge, slice off a tiny piece on one side to create a flat surface for your sphere to rest on your cutting board.

Presto Pesto

Pesto is a comforting stand by, a loyal friend that rarely lets you down. Here are 5 reasons I love to produce pesto:

  1. You can assemble it in a matter of minutes.

  2. You don't need a recipe or any specific ingredients. See below for the "formula" and suggested combinations. It's a great way to use up herbs you have on hand (Do you have an entire $2 bunch of cilantro remaining after your recipe called for a teaspoon minced for garnish? Are you pruning back your herb plants to promote their continued growth? Did you get bundles of herbs in your CSA bounty?)

  3. It can be used immediately, saved in a jar and eaten throughout the week or frozen in batches for a February day when the herb plants have all but dried up.

  4. It's kid helper-friendly. Little hands are great at plucking leaves from stems and can help blend items safely in a locked food processor.

  5. Pesto has endless applications: top fish before baking it, thin it out and use as a sauce to spruce up a protein presentation, mix into a pasta, risotto or other grain dish, dress some zucchini "noodles", spread on a sandwich, mix into scrambled eggs or quiche, or top a soup.

Presto Pesto - A Formula
Once you have this basic formula for pesto, you can make all types with whatever leaves you have.
 
Here's what you need:

the measurements are guidelines, not requirements

the measurements are guidelines, not requirements

  • 2 cups of aromatic leaves (basil, mint, cilantro, parsley, arugula, even carrot and radish greens)

  • 2-4 cloves of garlic (or garlic scapes or green garlic)

  • 1/4 cup lightly toasted nuts or seeds (pine nuts, walnuts, almonds, pumpkin seeds)

  • 1/2 cup oil

  • 1/4 cup grated cheese (parmesan, pecorino romano or another hard cheese, optional, see note)

  • salt and pepper to taste

 
Here's what you do:

Put all that stuff in a food processor (like one of these), and just let it go. If you want to be more technical, purée the leaves, garlic and nuts first until ground, evenly sized, and well combined. Scrape down the sides, replace the lid, and then process again while streaming the olive oil into the mixture slowly. Add cheese, salt, and pepper at the end to taste and process again until evenly incorporated.

Some recipes suggest adding lemon juice or zest which provides a nice balance of flavor. However, be careful with the acid. It will turn your greens to a less appetizing olive color. If at all, only add right before serving and not if you plan to store your pesto for any length of time.
 
*Note: you can also go vegan and omit the cheese entirely or replace it with a tablespoon or so of miso paste or a teaspoon of umeboshi paste to get that umami flavor you expect in a pesto. We often omit the cheese for a certain member of the family who is cheese-phobic. (I know. Eye roll, plus incredulous look that says, "how is it possible that an adult human does not like cheese?" Don't get me started. You will read many other posts from me about avoiding & replacing cheese, so you are in luck if you cook for a lactose intolerant or simply cheese intolerant person.)
 
Here are some of my favorite combinations:

IMG_8245.JPG
  • basil + pine nuts + olive oil + garlic scapes - garlic cloves

  • parsley + walnuts + walnut oil

  • arugula + pine nut + olive oil

  • mint + almond + canola oil

  • oregano + hazelnuts + hazelnut oil

  • mint + pistachio + garlic + olive oil

  • cilantro + coconut meat + coconut oil - cheese (technically not a nut, but it fits the formula)

  • radish greens + pistachios + parmesan + olive oil

  • beet greens + walnuts + ginger - garlic

You can also mix and match herbs and nuts. Play around with it. There are few rules in pesto. What tastes good to you? What combinations do you use?
 

Herb Garlic Butter

I attempted to grow a few things this summer. Overall it was a big flop. Between the lingering spring frost, weeds, rodents, and gnats, my garden was doomed. So I decided to focus on what I could control and invested some time and research into growing my herbs. For the first time, I actually re-planted my herb plants into spaces big enough to accommodate their sprawl. I took it to the gnats, inserting glue traps in all of my indoor pots, and re-potting them in clean fresh soil after shaking off the gnat infested soil. I spent hours one Sunday watching countless youtube videos about harvesting my herbs and then practiced, scissors in hand checking the computer screen over my shoulder. I'm so glad I did. This year, all of my herb plants inside and out, even those most difficult to grow for me, like cilantro and sage, flourished. So, now, per the instructions on all those youtube videos, I'm pruning my herb plants like crazy to encourage their continued growth. Since we can't really predict when this river of herbs might suddenly dry up, my plan is to preserve as much as I can in as many ways as possible for later.

Teaching-Table-0750-1.jpg

Here's that same sage plant just a few weeks later.

Here's that same sage plant just a few weeks later.

This recipe for herb butter is versatile and freezable. The measurements are just suggestions.

For best results, make sure your herb leaves are completely dry. In fact, if I'm using herbs cut from my own plants, I don't even wash them. If you must wash the herbs, be sure to shake off the excess water and dry them thoroughly on a clean kitchen towel before mincing.

This herb butter is perfect for making garlic bread, seasoning a whole chicken to roast, or topping some freshly steamed green beans. What will you use it for? Please share in the comments.

Ingredients:

  • 4 ounces salted butter, at room temperature (I have a particular preference for Vermont Creamery's cultured butter for this recipe)

  • 2 tablespoons garlic, minced

  • 1 tablespoon parsley leaves, minced

  • 1 tablespoon fresh sage leaves, minced

  • 2 teaspoons thyme leaves

  • 1 teaspoon freshly ground black pepper

  • 1/2 teaspoon sea salt

With a wooden spoon, thoroughly mix garlic, herbs, pepper and salt into the butter. Stir until evenly combined.

Transfer to a glass jar to store herb butter in your fridge for about 2 weeks or wrap tightly in plastic wrap and freeze for up to 6 months. I used to freeze this butter in small silicone or plastic containers, but learned the hard way that the garlic flavor never really washed out afterwards, so I've switched to storing in plastic wrap.