#sweetpotatoes

Plump Pasta Pillows in 3 Preparations

Plump Pasta Pillows in 3 Preparations

While the shape of a gnoccho might resemble a knuckle or a small knot, the texture mimics a pillow - light, fluffy, and airy when prepared properly. Vegetables gently mixed into the dough along with flour and an egg help ensure this airiness. What follows is a method for preparing gnocchi with squash or pumpkin, sweet potatoes and beets, three ingredients in abundance all fall and winter long around here.

Spiced Sweet Potato Custard

Spiced Sweet Potato Custard

fullsizeoutput_472d.jpeg

Make this custard merely because it is downright delicious — creamy, decadent, with a hint of spice and subtle sweetness, but if you should need to know, it is also gluten-free, grain-free, dairy-free and can be made without processed sugar. We use leftover mashed or baked sweet potatoes to whip up this one-bowl wonder. Your food processor or immersion blender combines everything to the perfect consistency in just a few minutes. All you have to do is wait (and fight off the aroma of maple and spices) while it sets to satin flawlessness in the oven. You can also adjust the level of sweetness — reduce the maple crystals and serve with additional maple syrup on top. We sometimes swap the sweet potato for cooked pumpkin or winter squash flesh. We eat this for breakfast, brunch or dessert (and 2-year-old Andy consumed multiple servings as a meal for weeks on end).

Some tips on making this dairy free custard:

  • Whip everything up in a food processor, blender or with an immersion blender. Since there is no gluten, it’s hard to overdo it. The blending will simply make it all smoother. But if you create a lot of bubbles in the process, tap those out once you fill your ramekins.

  • A water bath or bain marie is a good idea if not a necessity (and not a particularly difficult one) for cooking custard to satiny smoothness. Don’t skip this. Before starting, simply find a baking dish large enough to hold your ramekins with space for some hot water in between. But don’t add the hot water until you've put your baking dish with filled ramekins into the oven and handle carefully to prevent water from spilling into the custard.

  • Maple crystals are the result of boiling all of the water off of the sap harvested from maple trees. Maple crystals, also known as maple sugar, are becoming increasingly easier to find wherever you buy pure maple syrup. If you can’t find maple crystals, turbinado and coconut sugar are your next best options in this recipe.

  • Freshly grate your nutmeg — it makes all the difference.

Whole nutmeg grated on a microplane

Whole nutmeg grated on a microplane

Maple sugar or maple crystals

Maple sugar or maple crystals

What you need:

  • ¼ cup plus 1 teaspoon coconut oil, melted

  • 1 ½ - 1 ⅔ cups cooked sweet potato flesh (peeled, skin discarded)

  • 1 teaspoon ground cinnamon

  • ¾ teaspoon freshly grated nutmeg

  • ½ teaspoon ground cardamom

  • ½ teaspoon ground ginger

  • ¼ teaspoon ground cloves

  • pinch of sea salt

  • ¼ cup maple crystals (or turbinado or coconut sugar)

  • ¼ cup maple syrup

  • 6 eggs

  • 1 cup full fat coconut milk

  • 2 tablespoons tapioca starch/tapioca flour

The custard is set when it no longer jiggles, except for a circle the size of a pinky fingertip in the middle.

The custard is set when it no longer jiggles, except for a circle the size of a pinky fingertip in the middle.

Optional: With a knife, loosen edges of custard and invert ramekin onto a plate. Serve with additional maple syrup and a dusting of freshly grated nutmeg.

Optional: With a knife, loosen edges of custard and invert ramekin onto a plate. Serve with additional maple syrup and a dusting of freshly grated nutmeg.

What you do:

  1. Preheat oven to 350 degrees. Brush 8-10 ramekins with coconut oil and place in a large baking dish with high sides.

  2. In a food processor or with an immersion blender in a medium bowl, purée sweet potato flesh with cinnamon, nutmeg, cardamom, ginger, cloves and sea salt until smooth. Stop and scrape down sides.

  3. Add maple crystals, maple syrup, and remaining melted coconut oil. Purée until smooth. Stop and scrape down sides. Add eggs and process until creamy, about 2 minutes.

  4. Add coconut milk and tapioca starch and process until smooth.

  5. Pour into prepared ramekins. Carefully transfer to oven rack that is slightly pulled out. Pour hot water into the baking dish until it comes halfway to two-thirds up the sides of the ramekins. Carefully slide the baking dish and oven rack back into the oven. Bake 25-30 minutes until custard is set. A tiny pea-sized circle in center will jiggle just a little when done.

  6. Allow to cool in baking dish 5 minutes. Then remove ramekins from baking dish and allow to cool further.

  7. Serve warm or chilled with additional maple syrup or dusting of freshly ground nutmeg if desired.

To Freeze: You can freeze the unbaked custard mixture two ways: pour unbaked custard mixture into a freezer safe container or wrap filled ramekins tightly in plastic wrap. Freeze up to 3 months. Defrost in refrigerator about 3 hours and continue with procedure.

Alternatively, keep completely cooled baked custards in their ramekins and wrap tightly with plastic wrap. Freeze up to 3 months. Defrost in refrigerator about 3-4 hours and enjoy or allow to come to room temperature before enjoying.

Vegan Winter Chili

In case we weren't sure, mother nature reminded us with a swift kick that it is still winter for a couple more weeks. So warm up with a batch of hearty vegan winter chili.

This vegan chili even satisfies my carnivore husband. If you use enough of the right blend of spices, and bloom those fully in oil, your meat lovers will get the same unctuous flavor they expect from traditional chili. However, I also have a trick for making both a beef chili and meatless batch at the same time. Just cook the beef in a separate skillet with spices, while making the vegan chili in a large pot. Once all vegan ingredients are added to the pot, remove a few cupfuls and add to the beef in its separate skillet. Continue cooking both over low heat until the vegetables are cooked through.

The recipe below is for my Vegan Winter Chili. In late summer I will exchange the sweet potatoes and perhaps the carrots for bell peppers of various colors, zucchini and yellow summer squash. My summer chili also utilizes very ripe fresh tomatoes instead of or in combination with canned. Now I'm anxious for August and you can expect a Vegan Summer Chili recipe from me then.

Before the recipe, here are some tips.

Cut vegetables into a small dice to ensure quicker cooking, even distribution in each spoonful of chili, and to make them more appealing to picky eaters.

Cut vegetables into a small dice to ensure quicker cooking, even distribution in each spoonful of chili, and to make them more appealing to picky eaters.

To cut vegetables into a small dice, first cut 1/4 inch thick planks, then strips, then cubes. (see steps from left to right above)

To cut vegetables into a small dice, first cut 1/4 inch thick planks, then strips, then cubes. (see steps from left to right above)

Sauté onions until they are soft before adding garlic, then spices, followed by other ingredients. If you add garlic or spices too soon, they may burn or you risk not cooking onion thoroughly.

Sauté onions until they are soft before adding garlic, then spices, followed by other ingredients. If you add garlic or spices too soon, they may burn or you risk not cooking onion thoroughly.

"Bloom" or sauté spices in oil first to awaken their flavor compounds and infuse flavor throughout the chili through the cooking oil.

"Bloom" or sauté spices in oil first to awaken their flavor compounds and infuse flavor throughout the chili through the cooking oil.

What you need:

Note: In this recipe post, I have not provided a photo of all of the ingredients. I even hesitate to give you an ingredients list for this and other stews and soups because the quantities and specific ingredients listed below are merely suggestions. Add more of the ingredients you love, less of those you just want a taste of and add as much liquid to get the consistency you desire. Personally, I add a lot more heat than most, but this recipe as written is at a moderate heat level.

Yield: Makes about 10 cups, or 6-8 servings

The combinations and amounts of ingredients are up to you. Add other vegetables you have on hand, swap out for different varieties of beans, amp up the heat with more jalapeños or spicier pepper varieties, or tone it down. Reduce liquid for thicker …

The combinations and amounts of ingredients are up to you. Add other vegetables you have on hand, swap out for different varieties of beans, amp up the heat with more jalapeños or spicier pepper varieties, or tone it down. Reduce liquid for thicker chili.

  • 2 tablespoons extra virgin olive oil

  • 1 large red onion, diced

  • sea salt or kosher salt

  • 3-5 cloves garlic, minced

  • 1 tablespoon chili powder

  • 1 tablespoon ground cumin

  • 1 teaspoon garlic powder

  • 1 teaspoon ground chipotle chili flakes

  • ~5 cups home-cooked or canned, drained and rinsed, beans. My favorite is a combination of black beans and cranberry or pinto beans.

  • 1 28oz can diced tomatoes, liquid included

  • 2 large carrots, small dice

  • 1-2 cups water

  • 1 medium sweet potato, small dice

  • 1-2 jalapeños, sliced, optional

What you do:

  1. Heat a large sauce pot over medium heat. Add oil.

  2. When the oil is shimmering, add the onion and a pinch of salt.

  3. Once the onion has softened, add the garlic and a pinch of salt and cook, stirring often for about 1 minute, careful not to burn.

  4. Add the spices and a little more oil if pot is dry. Stir into a paste and cook for 30 - 60 seconds.

  5. Add the beans, tomatoes, carrots and ~1 cup of water. I usually rinse the tomato can and use this water to get all of the tomato into the chili. I learned that trick from my mom, who I've watched make Italian tomato sauce for nearly 4 decades now.

  6. Once the carrots are partially cooked (about 15 minutes), add the sweet potatoes and jalapeños, if using. Add water if needed. Cook on medium low, until carrots and sweet potatoes are tender, (about 1 hour) partially covered. You can simmer on lowest setting for an additional 2-3 hours to further reduce and develop flavors. If you need to continue simmering when chili is already fully reduced, keep on lowest setting and cover with a tight fitting lid. You can also add more water at this point if needed.

To serve, top with additional slices of fresh jalapeño, cilantro leaves, lime wedges, and sliced avocado. You can set up a bar with various toppings for eaters to add, including tortilla chips, chopped red onion, cheese and yogurt/sour cream. Everyo…

To serve, top with additional slices of fresh jalapeño, cilantro leaves, lime wedges, and sliced avocado. You can set up a bar with various toppings for eaters to add, including tortilla chips, chopped red onion, cheese and yogurt/sour cream. Everyone likes to enjoy chili their own way!

Variations on Hummus

fullsizeoutput_a89.jpeg

Stop rolling up to the school potluck with a store-bought tub of ordinary hummus and some crunchy carbs for dipping. Hummus is simple to make from scratch. And it does not need to be boring. You can add spices, change up the acid and even hide some vegetables in it. Here's a straightforward formula followed by various modern spins, including a colorful roasted beet hummus you can spread on your kids' sandwiches. My sweet potato black bean variation below is exactly what your Superbowl party ordered. Bonus: these spreads make great baby food too, especially to pack a smooth high protein punch for a little peanut like mine who needs to pack on some pounds.

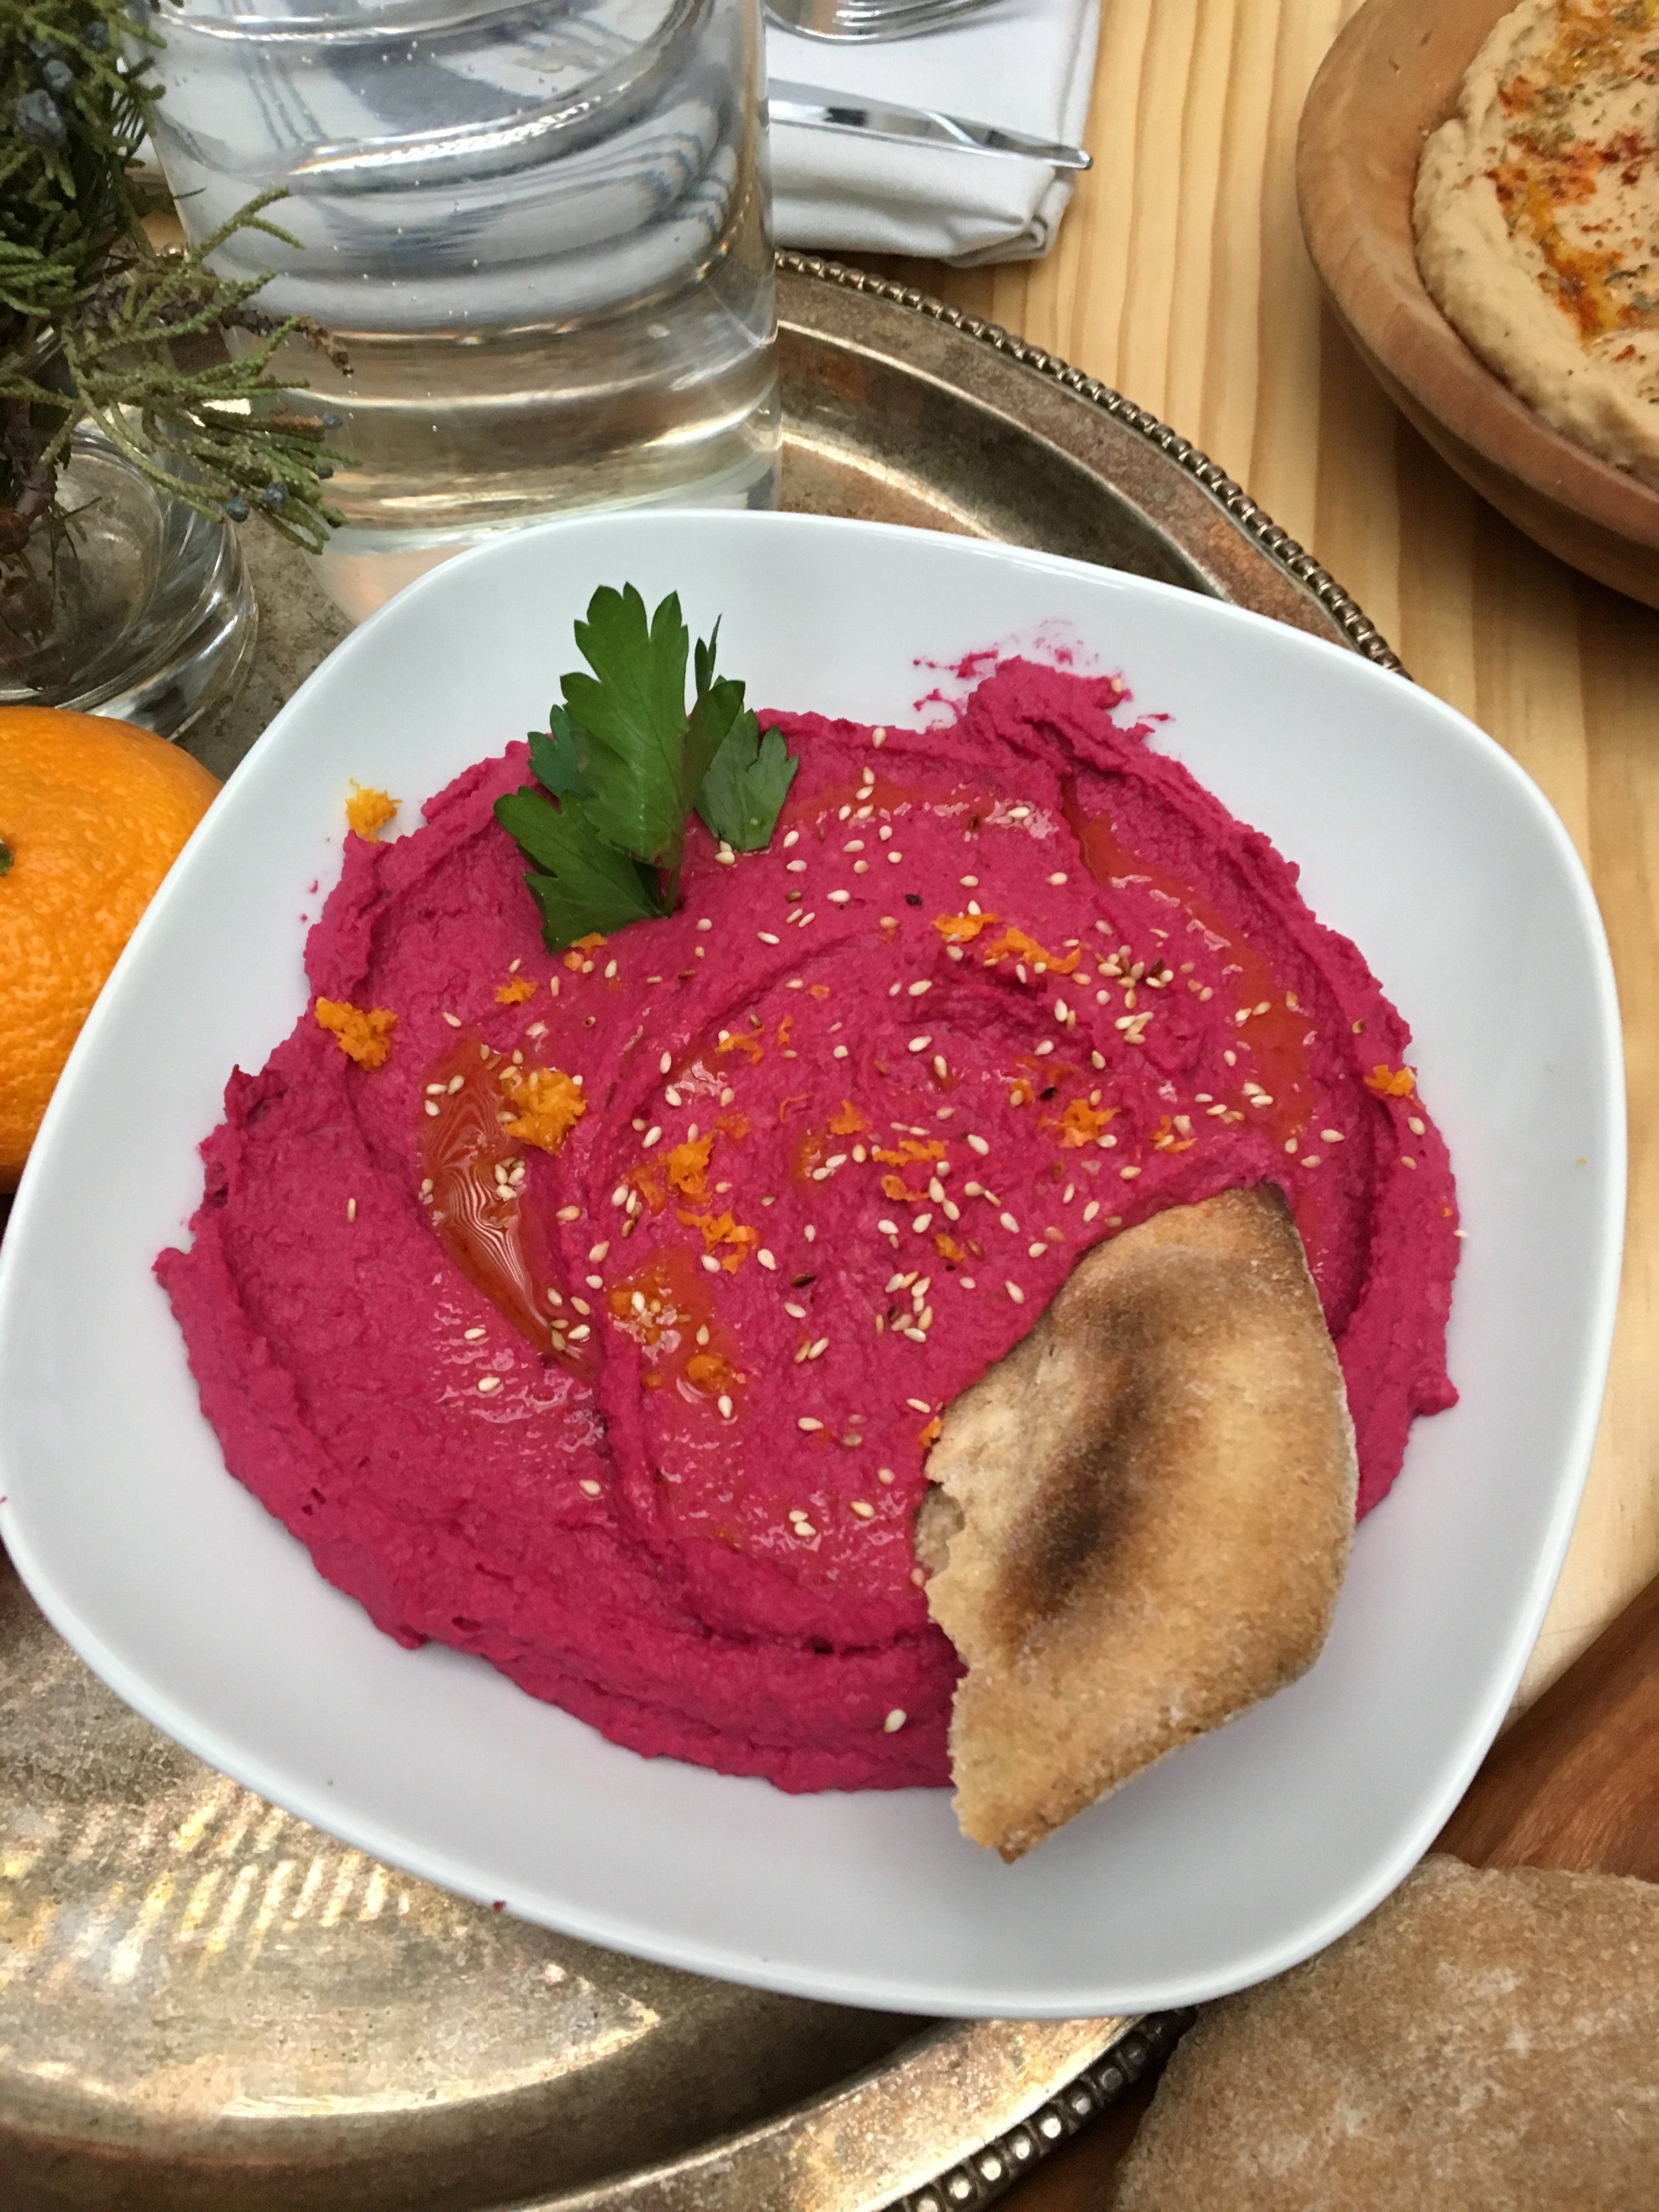
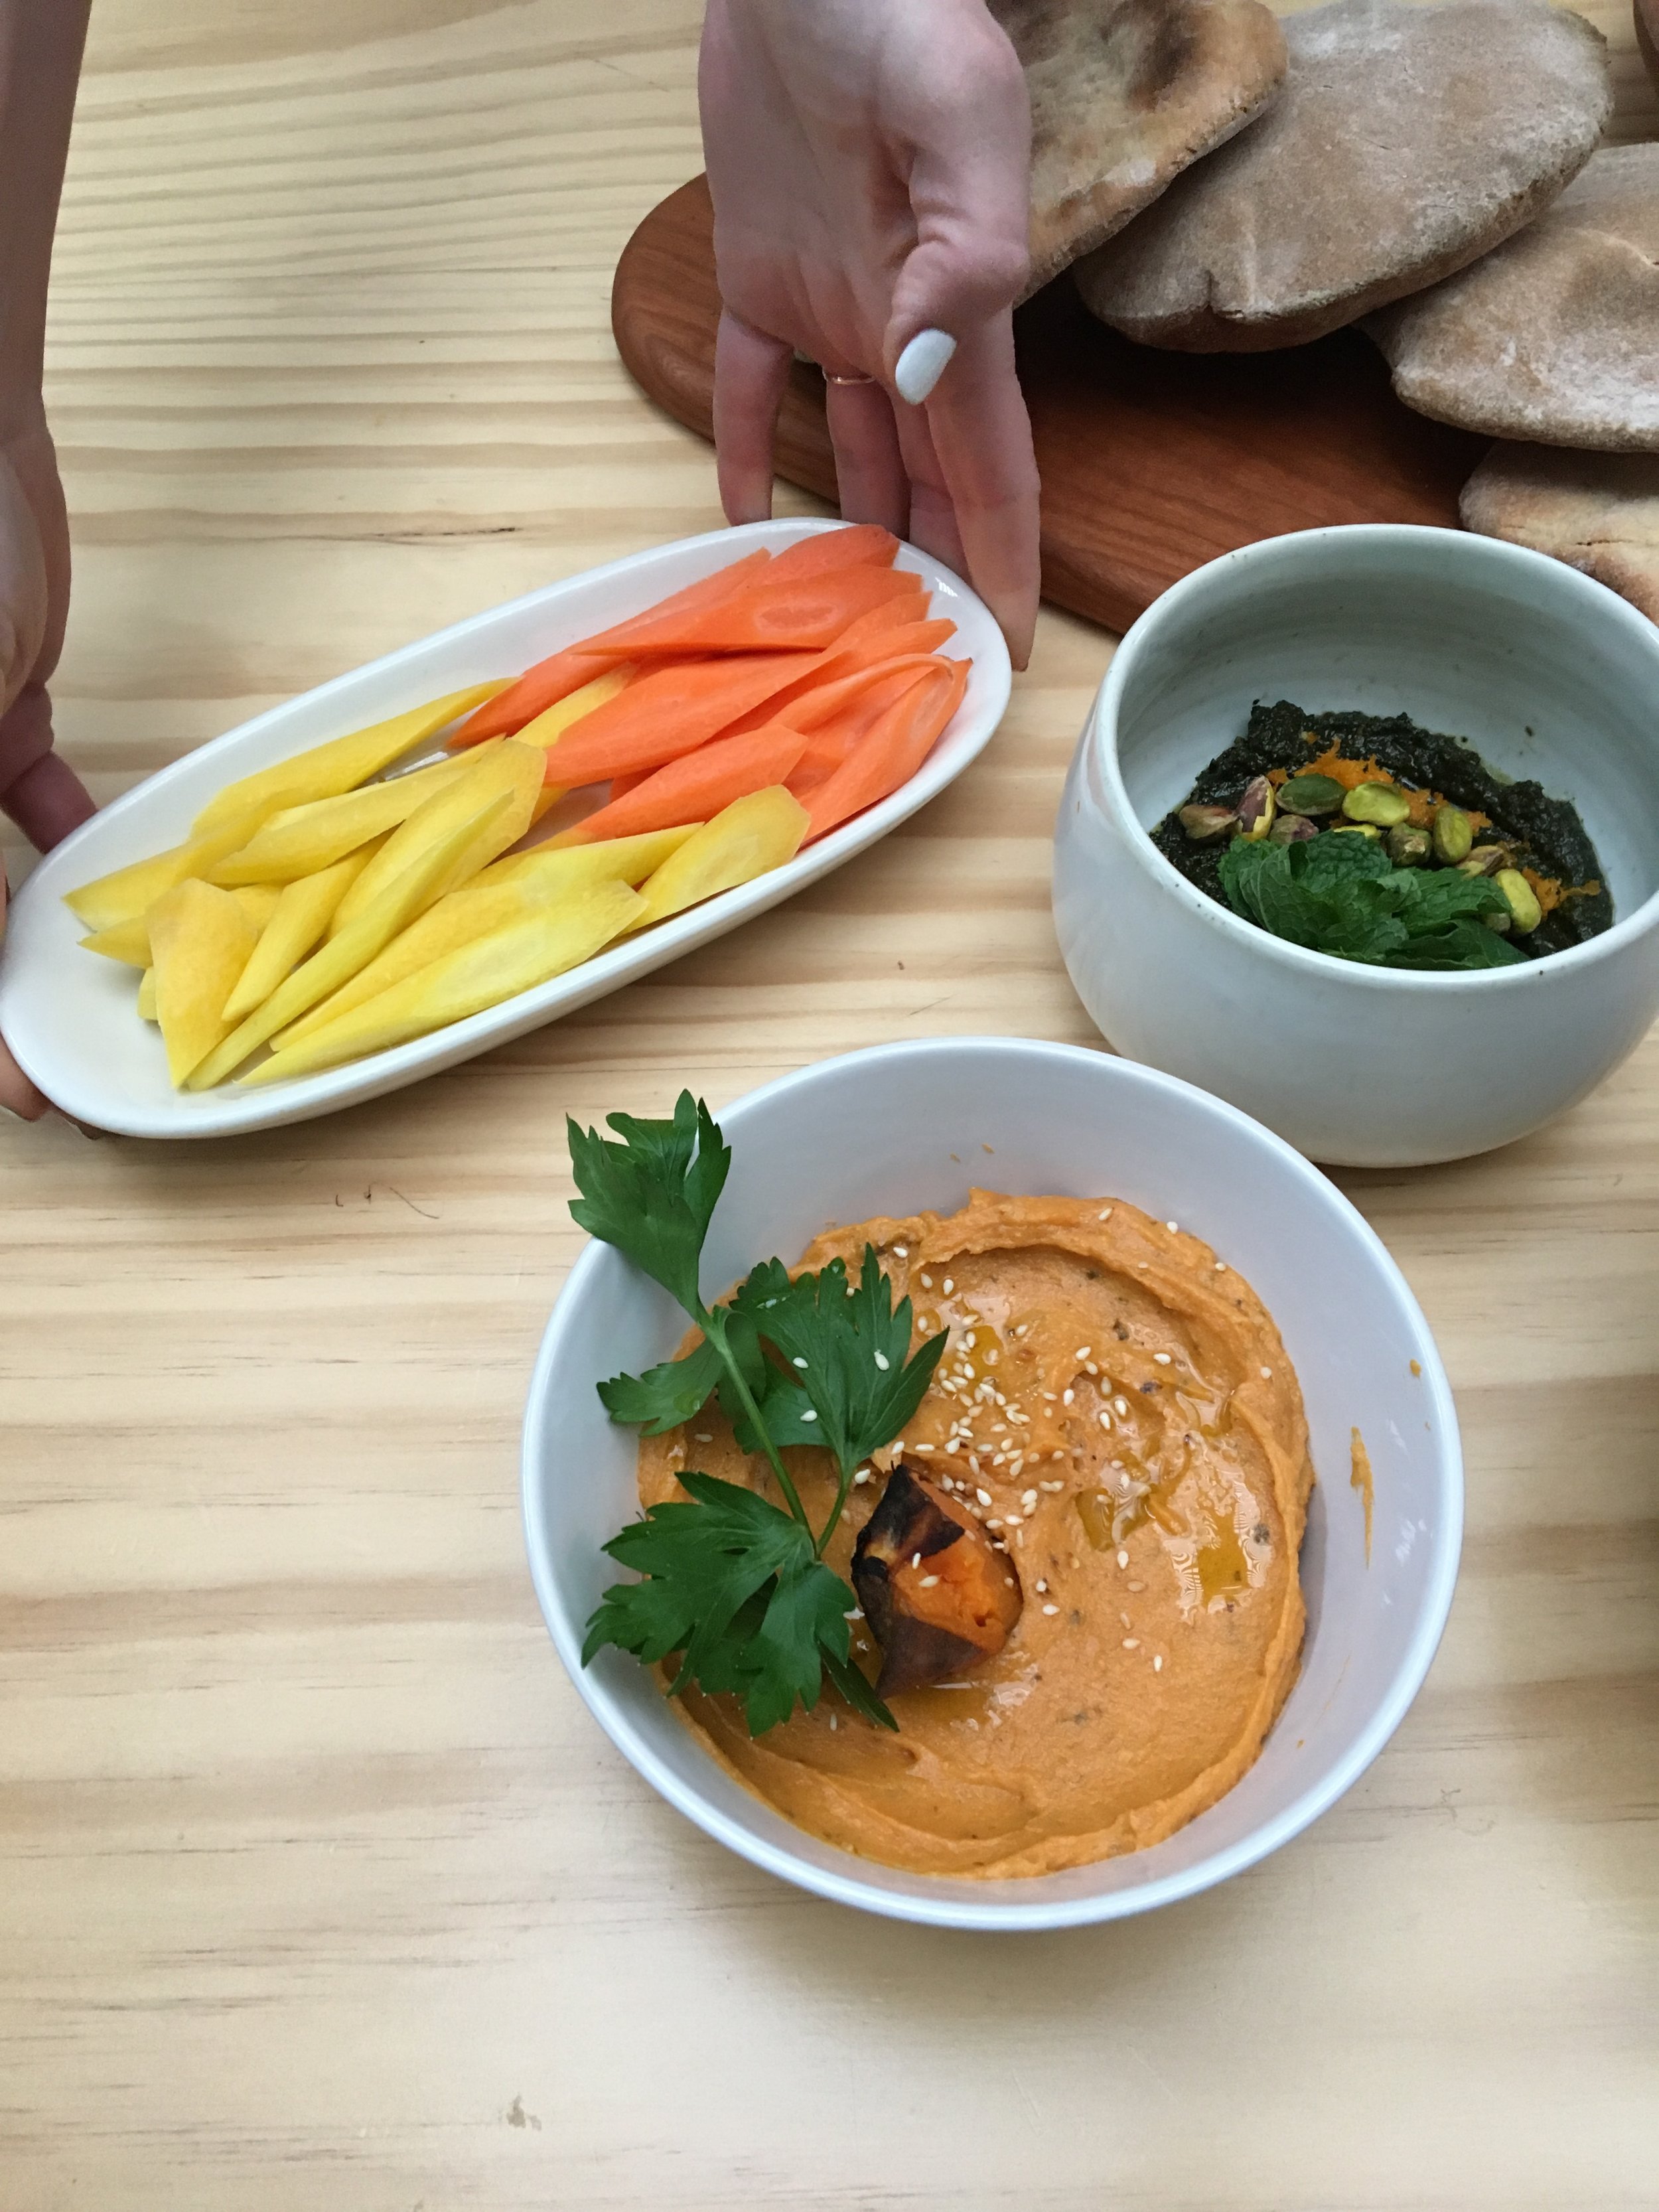
Basic Hummus Formula

Makes about 1½ cups

What you need:

  • 1-2 cloves of garlic

  • 1 1/2 - 2 cups cooked legumes (chickpeas, black beans, white beans, lentils, etc.)

  • 1-3 Tablespoons tahini

  • 1/4 cup oil (olive, canola, avocado, etc.)

  • 1-2 Tablespoons acid (lemon juice, lime juice, apple cider vinegar, etc.)

  • salt & pepper to taste

  • 1/2 - 1 cup cooked vegetables (optional)

  • 1-3 teaspoons ground toasted spices (optional)

What you do:

Simply put all ingredients (except the acid, spices and salt) into a food processor and purée until smooth. Taste and add acid, spices, and salt gradually to get desired texture and taste. You can always add more salt, acid and liquid but it is difficult to take it away or add more of all of the other ingredients if you go overboard on, say, the lemon juice and cayenne. If your spread is too thick, add more acid (lemon juice, vinegar, etc.) or plain old H2O if you want to thin it without altering the taste too much.

Note on beans: When using canned beans, I drain them and rinse off the liquid first to get rid of any extra salt or any taste imparted by the canning process. You can also easily cook your own beans. More on that in a future post.

Try these variations:

  • Add a roasted beet and toasted ground cumin, cinnamon and cloves. You could also follow my recipe for Roasted Beet Hummus.

  • Substitute a sweet potato for the beet and roast without foil. Use cumin, cayenne, dried ground chipotle and/or smoked paprika for the spices. Substitute black beans or stick with the chickpeas.

  • Instead of beet or sweet potato, use ½ cup of any cooked vegetable (skins removed, roasted, grilled, or steamed), such as broccoli, red bell peppers, carrots, or squash.

  • Add ½ cup of prepared pesto and decrease the olive oil to 2 tablespoons.

  • Use lime juice, apple cider vinegar, sherry vinegar or white wine vinegar in place of the lemon juice.

  • Add an entire head of garlic roasted in olive oil. Decrease the olive oil to 2 tablespoons. Use chickpeas or substitute navy or cannellini beans.