#cookingtips

3 Mistakes You're Making with Spices

Is your cooking bland despite all of the spices you incorporate? Are you searching for garlic or cumin flavor? Chances are you’re making some of these mistakes when cooking with spices.

And if you’re not cooking with spices at all, well then, you are definitely making a mistake.

Mistake #1 Waiting too Long

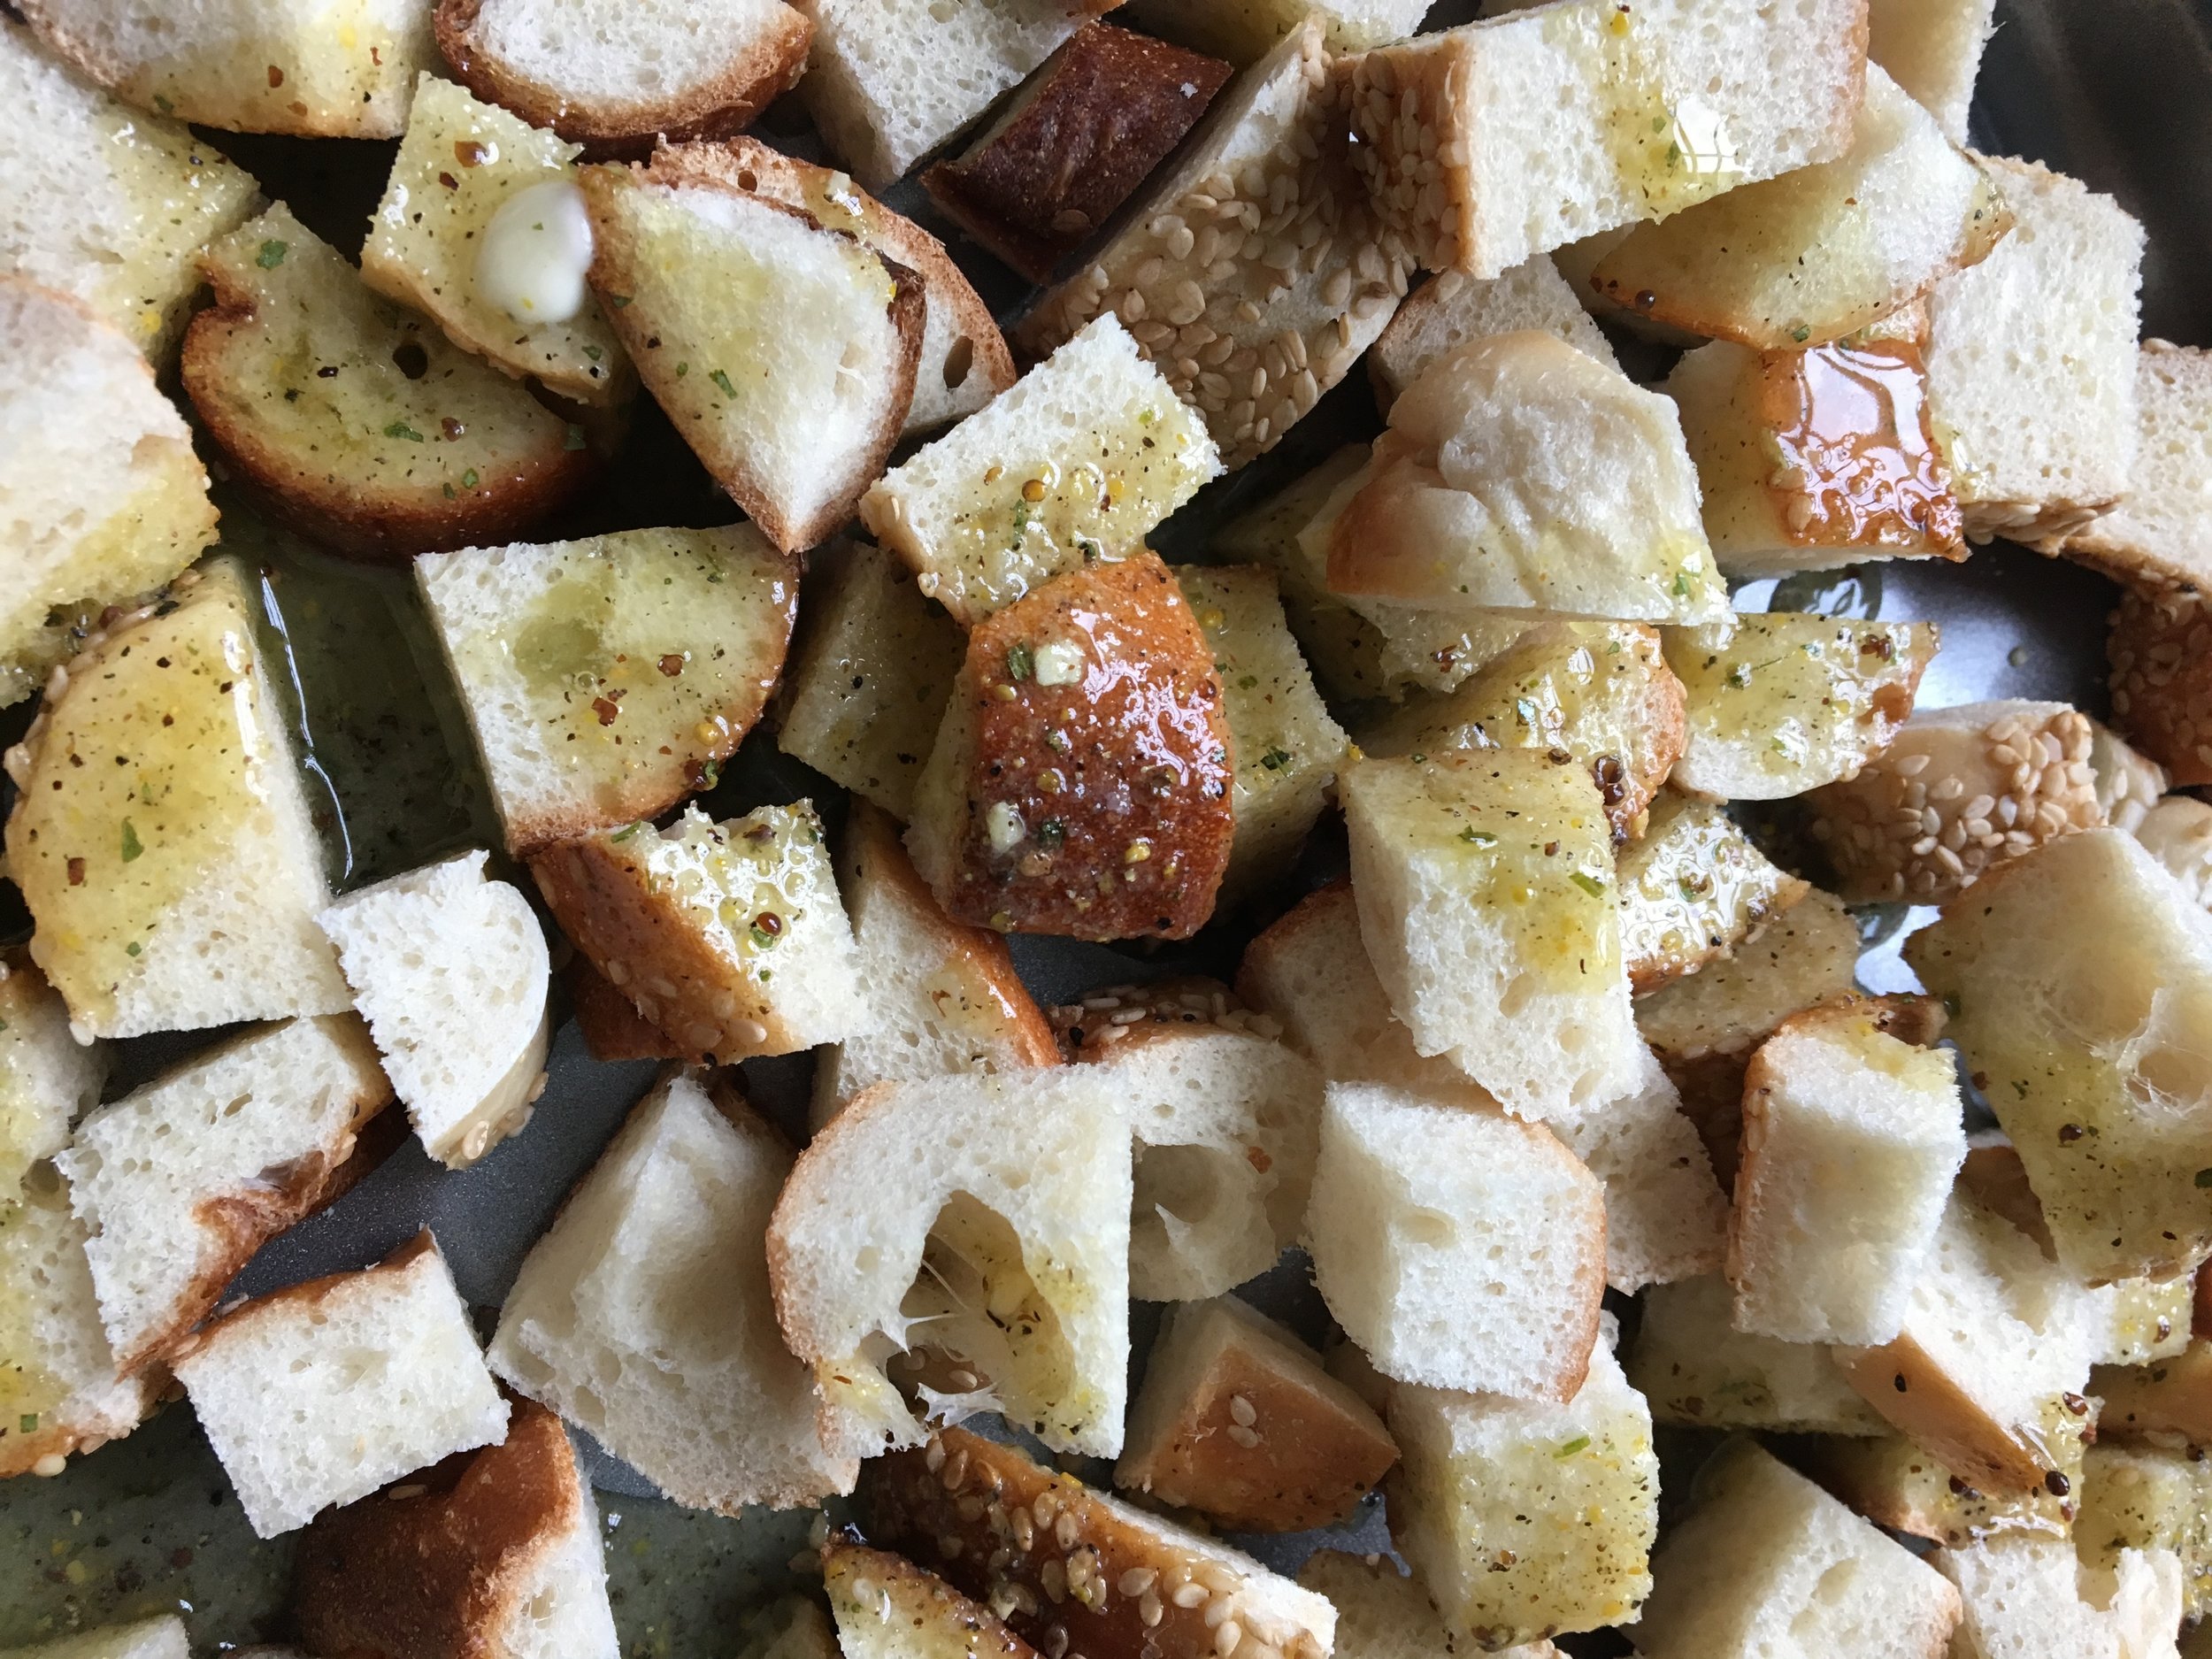
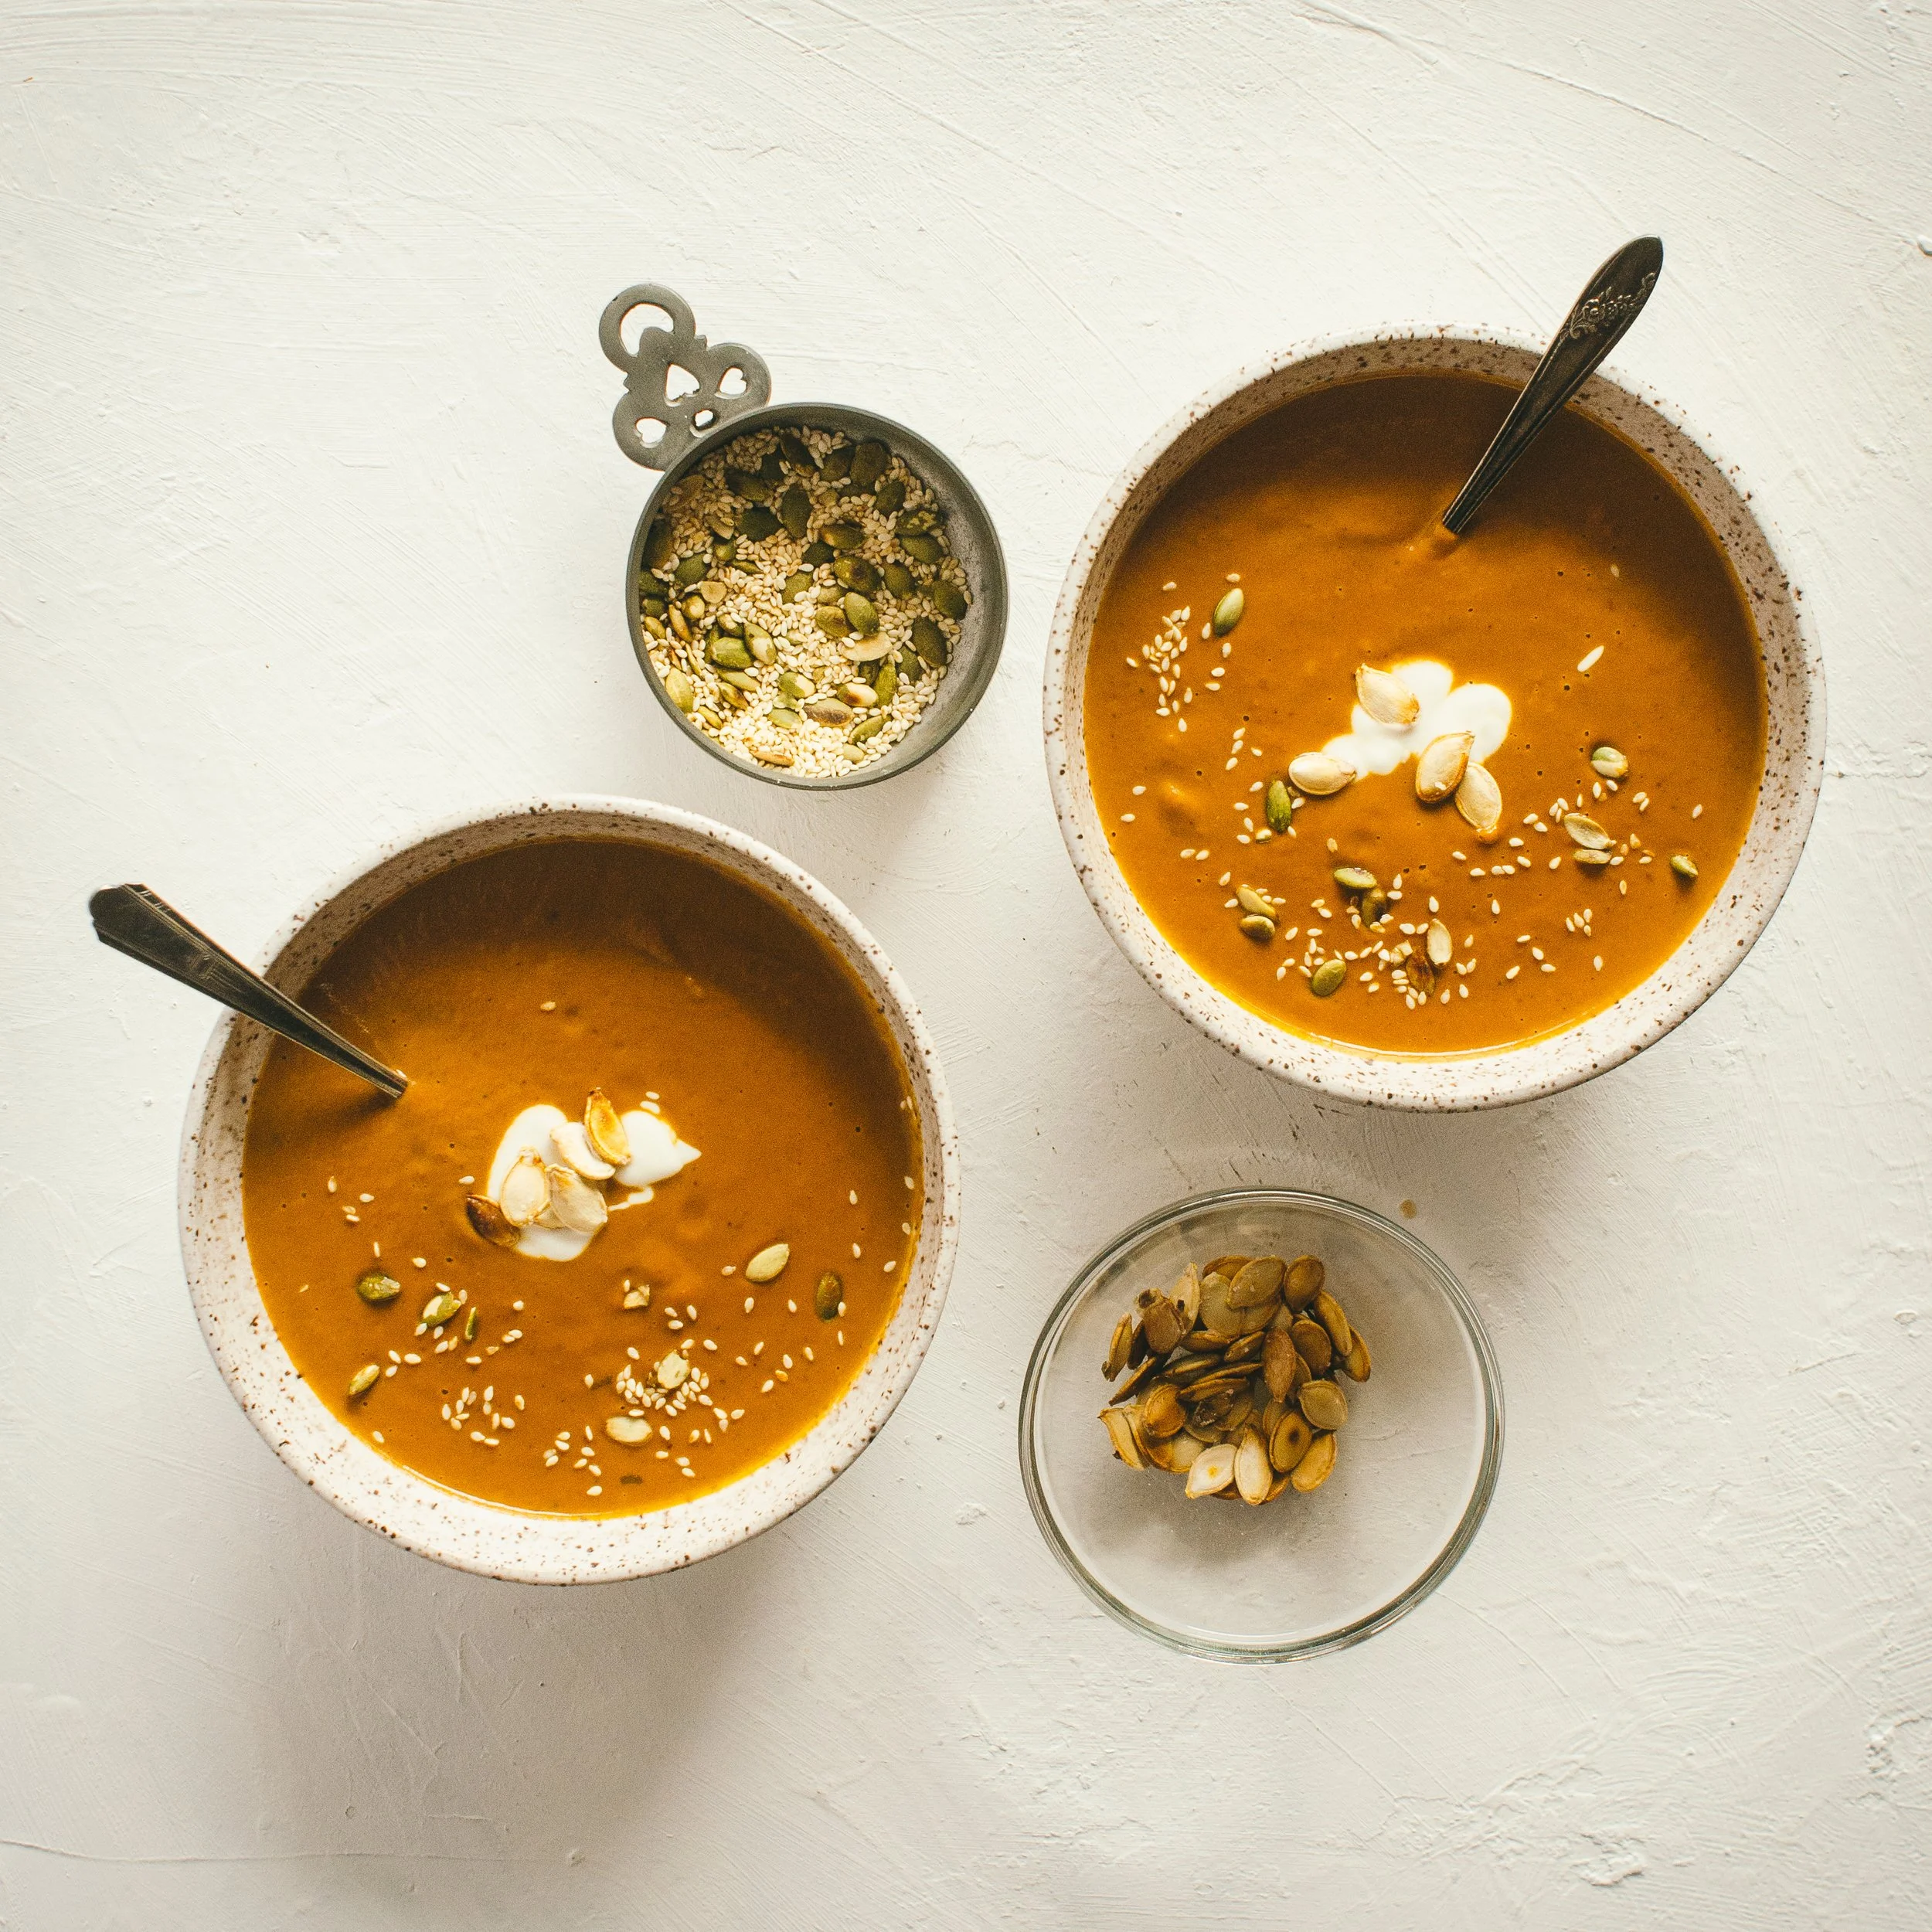
When your sauce or sauté is nearly done, it's too late to infuse it with the power of curry, garlic or berbere. Add fresh aromatics, ground spices and dried herbs early to ensure they bloom in the oil and flavor the entire dish. Since the flavor and aroma compounds of spices are fat soluble, they need to be added to the cooking oil to make them available to your palate.

photo by Copper Spoon Colletive

Photo by Copper Spoon Collective

Mistake #2 Skipping the Toast

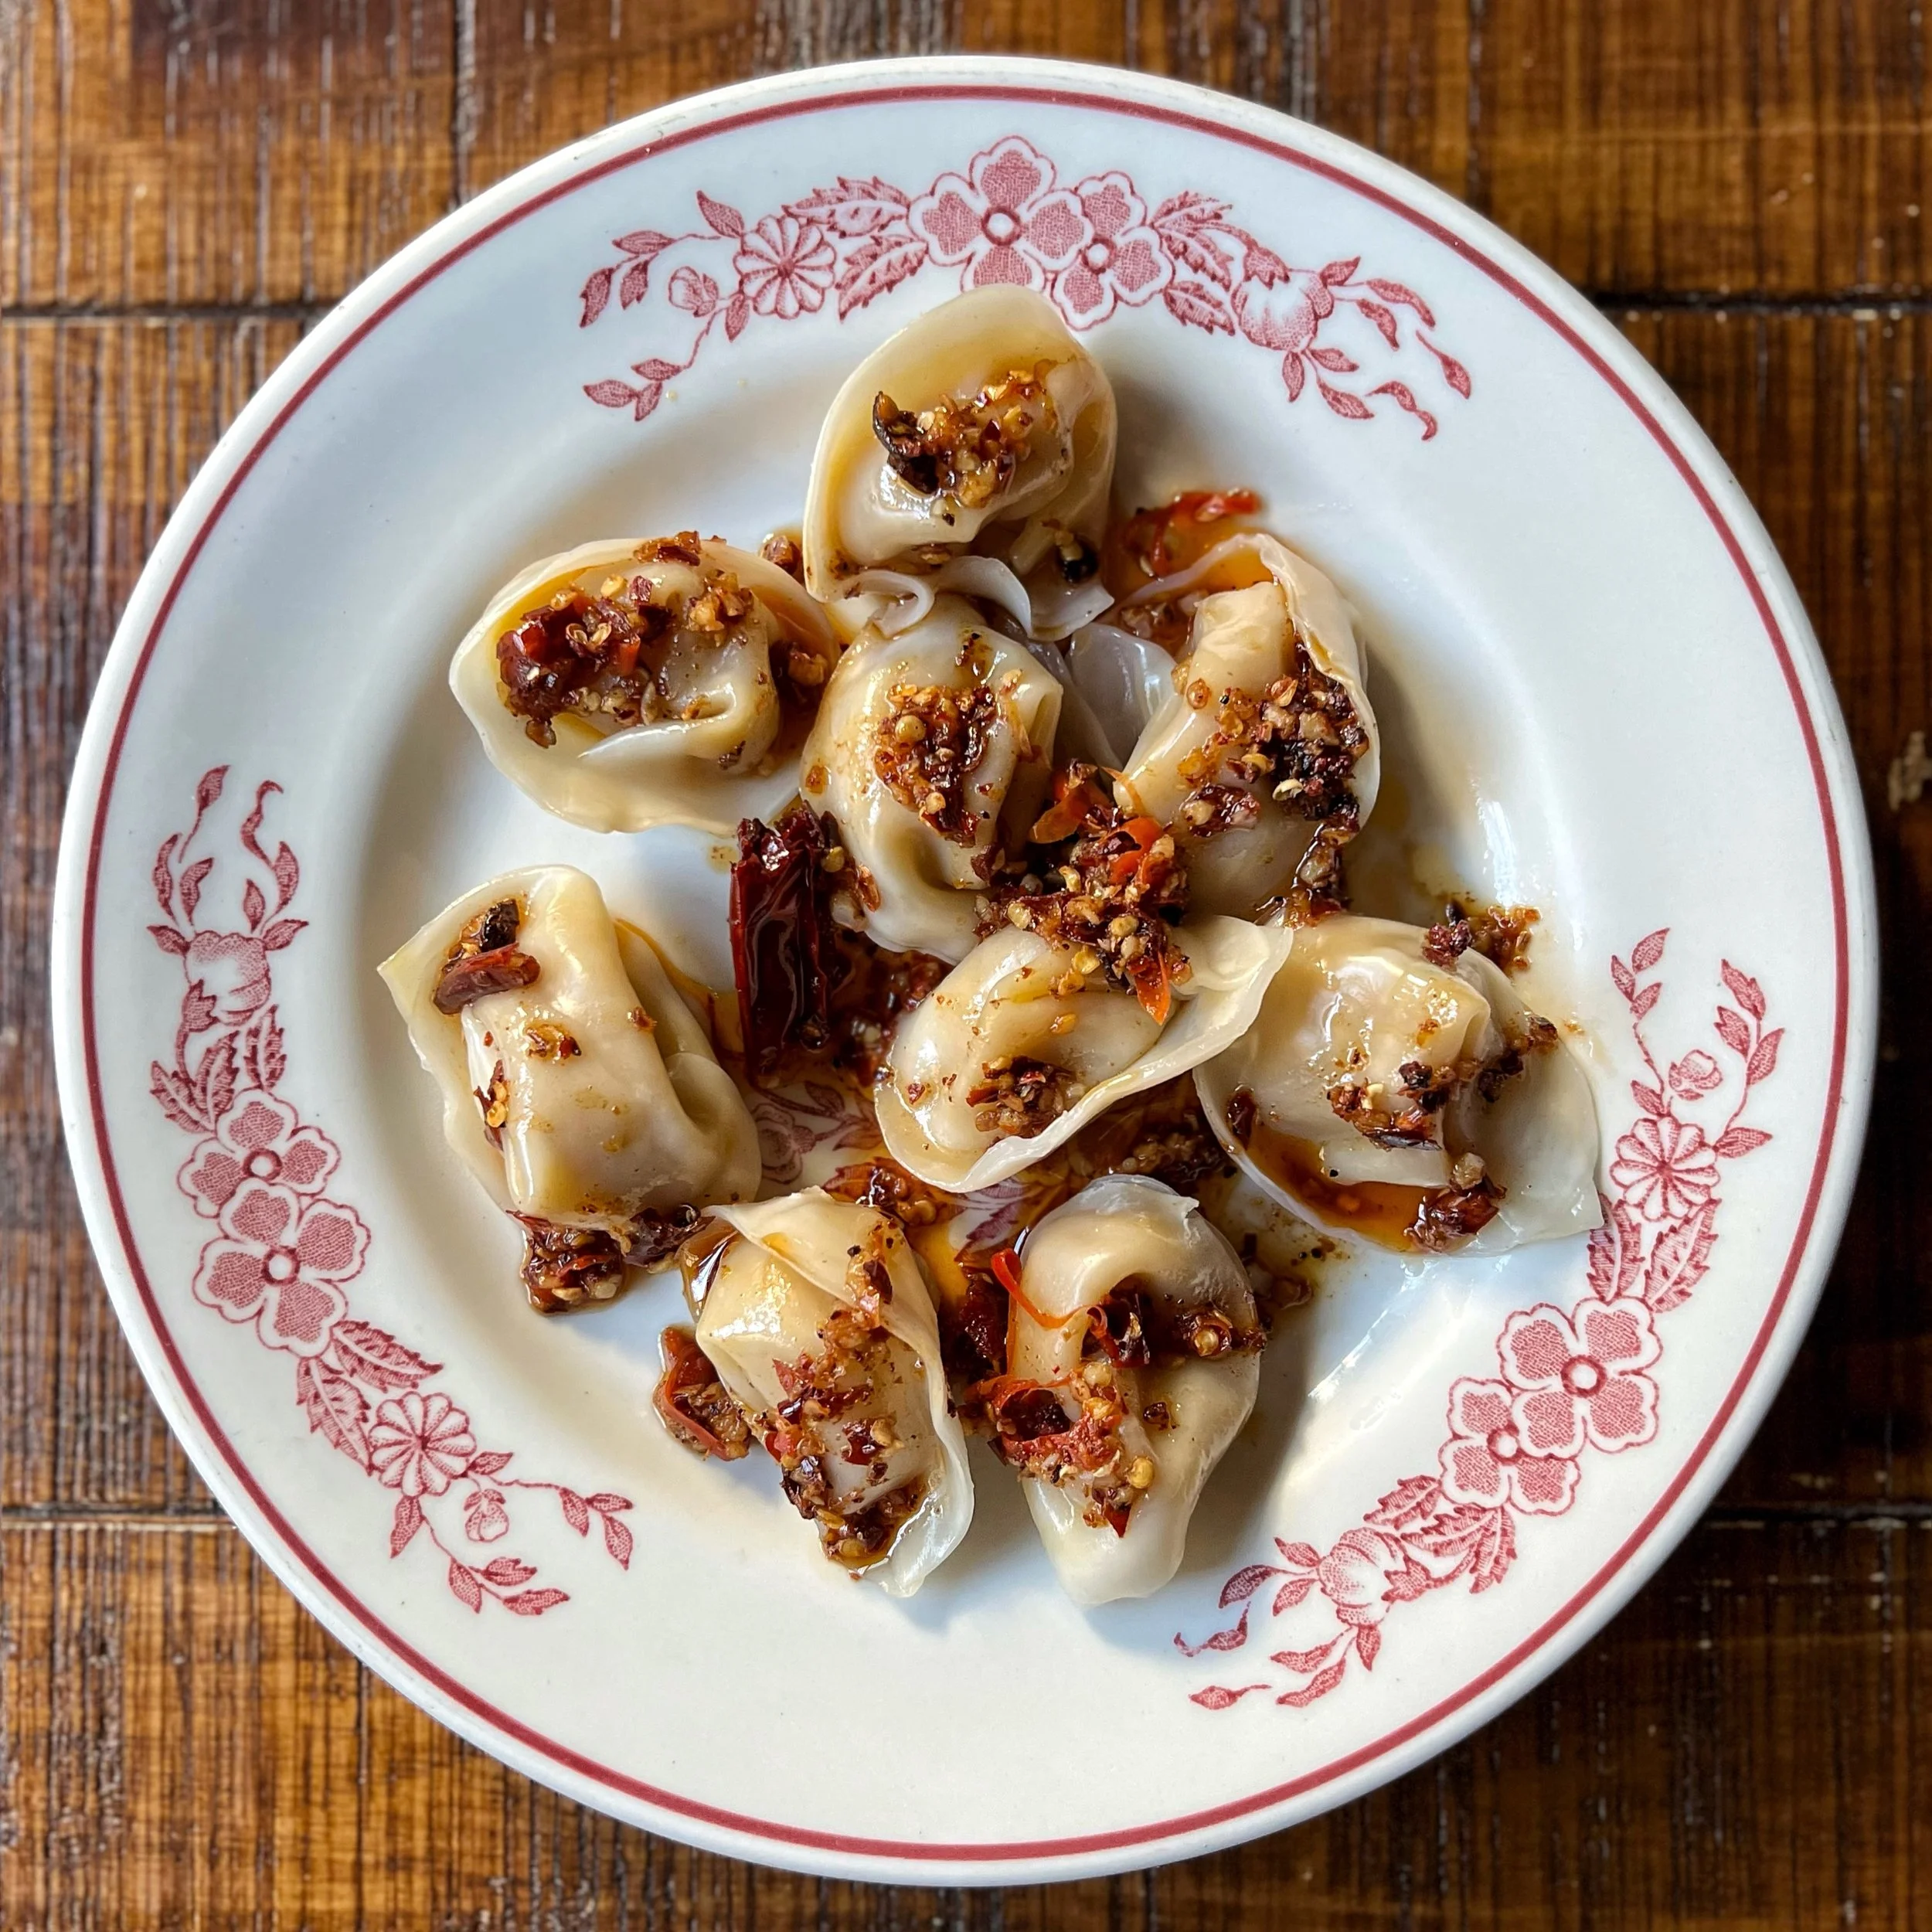
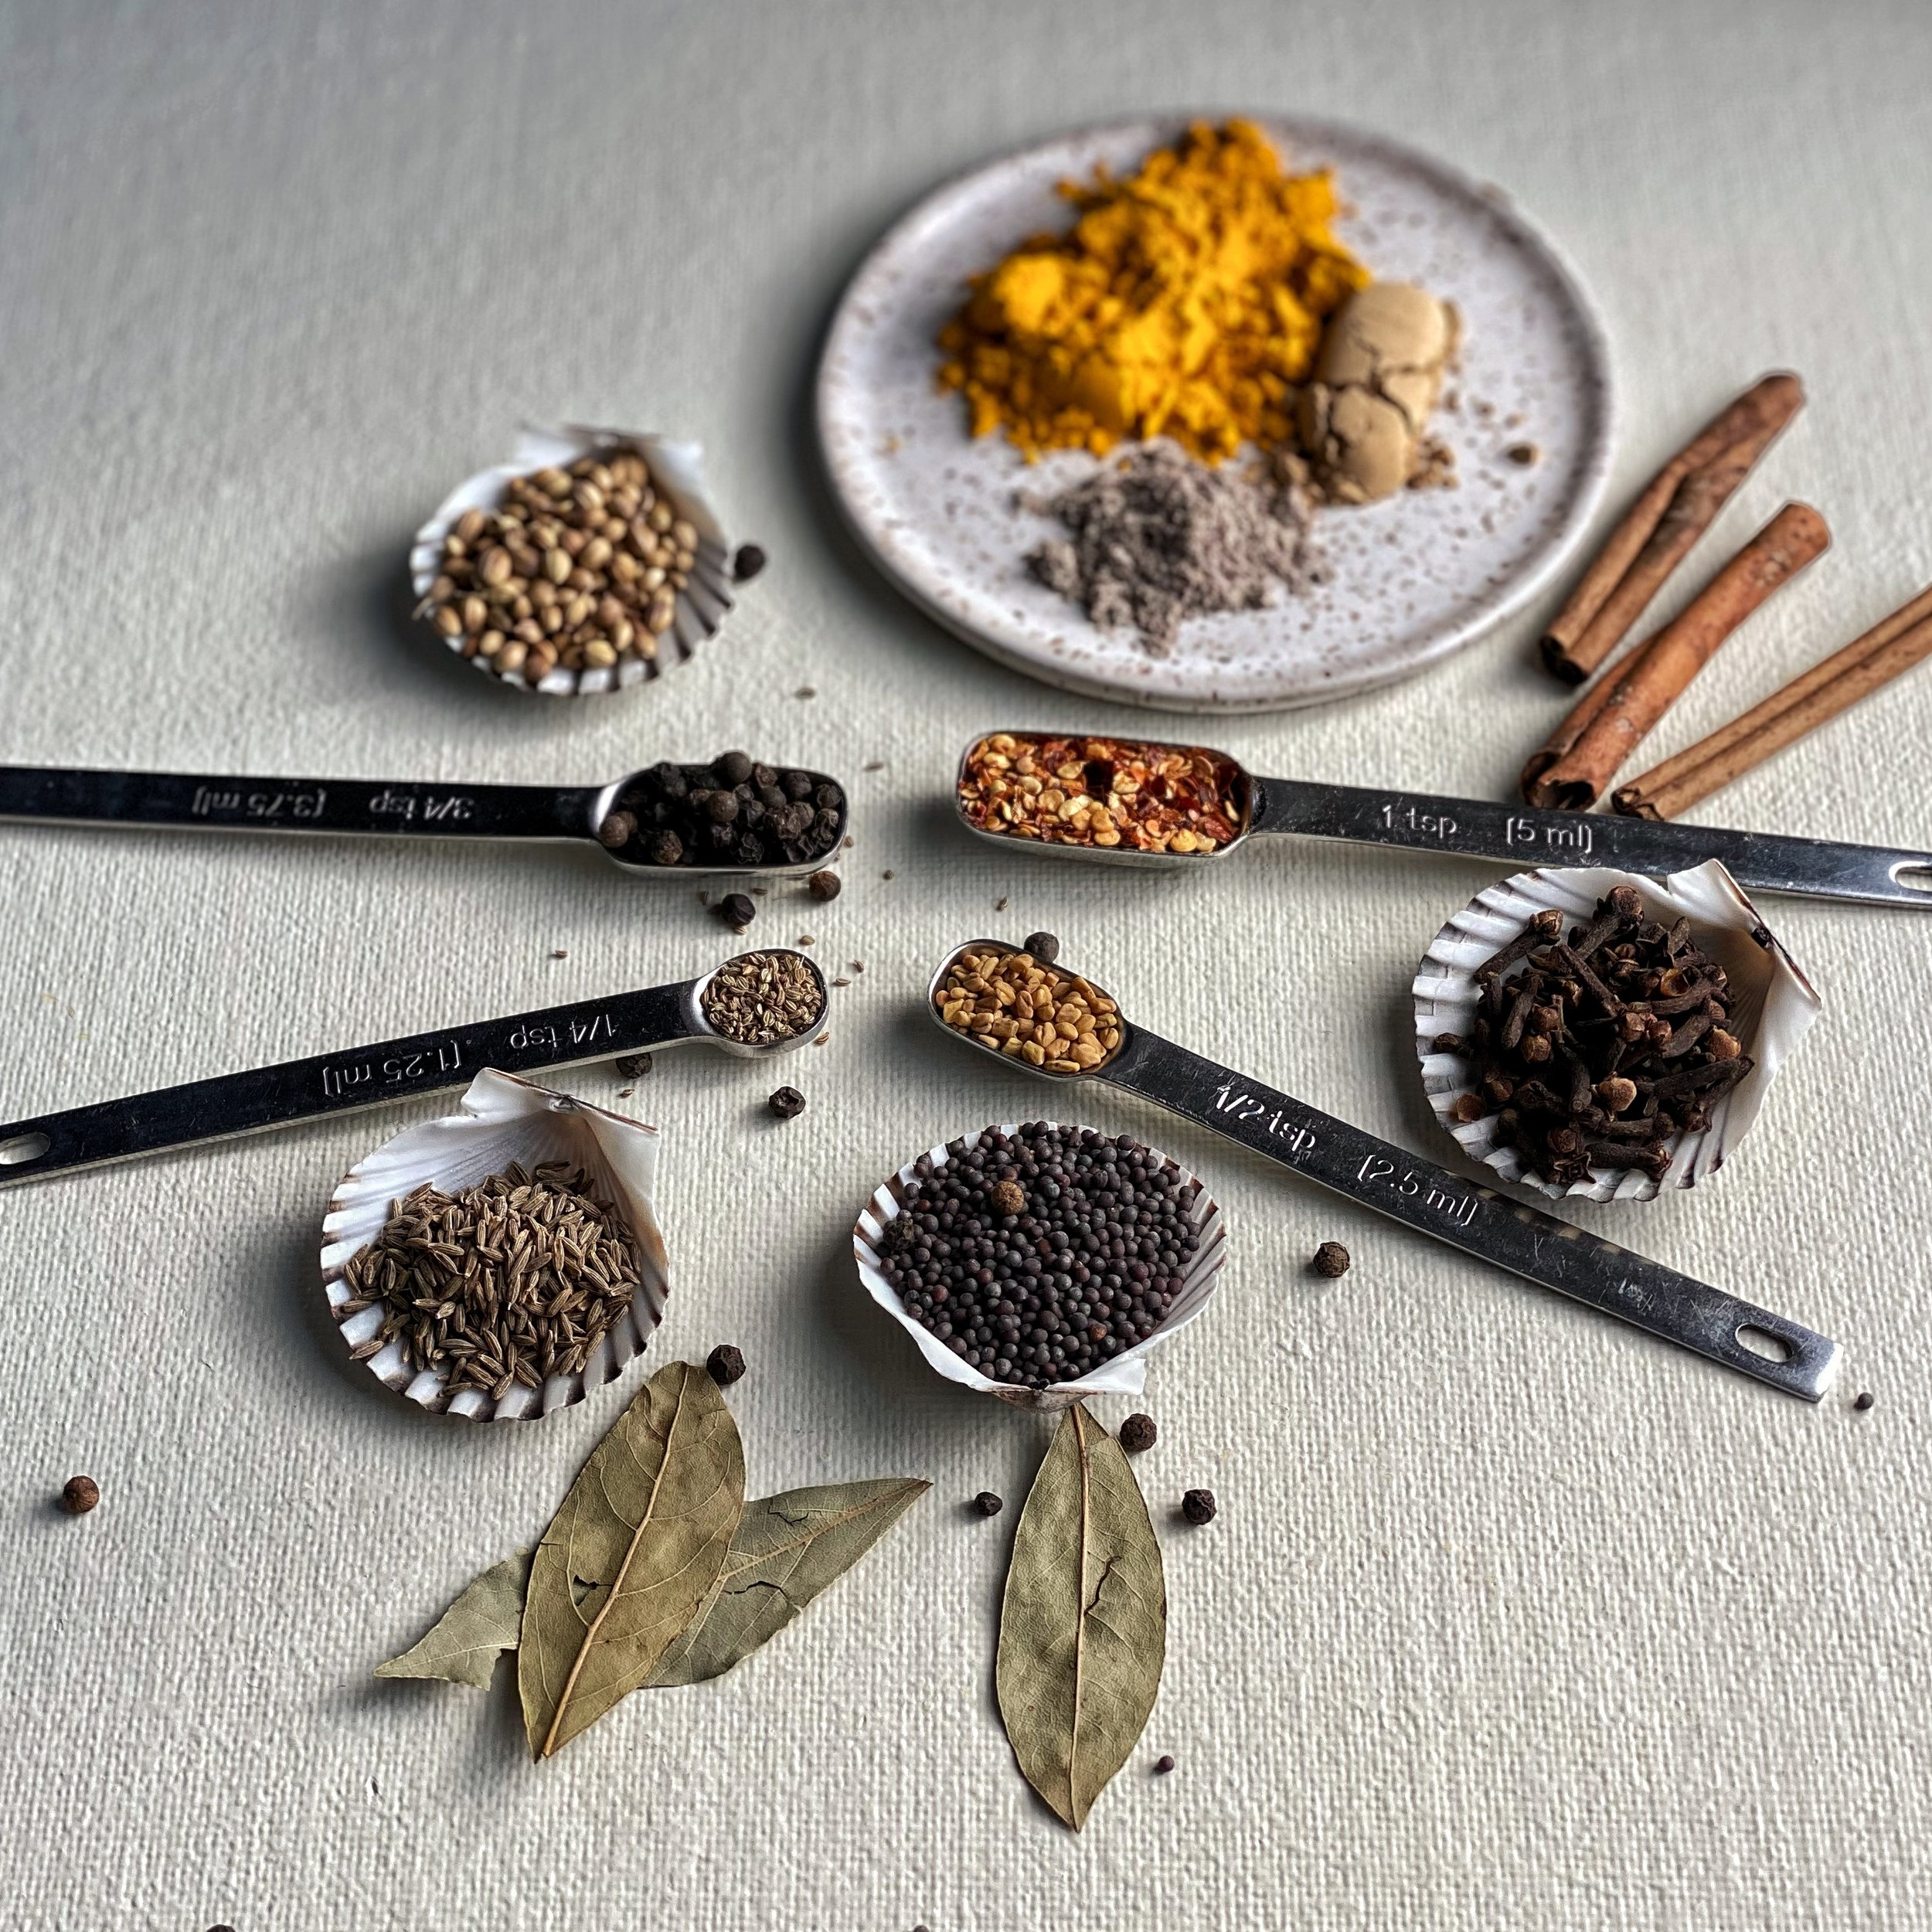
When you toast spices (in a dry skillet until they take on a bit of color and become aromatic), their volatile oils are brought to the surface, offering dimensions of flavor and texture. Use immediately, grind into spice blends or coarsely crush. Toasting is especially valuable if the spices won't be cooked into the food, like cumin seeds in fresh raita. Bonus: your kitchen will smell amazing.

Mistake #3 Using Old Spices

I hate to be the bearer of bad news, but spices have a shelf life. Don't worry, you won't get sick from old spices in your pantry, but you will miss out on their flavor potential if they are older than 6 months (ground) or 1 year (whole). Tips: Buy spices in small quantities, get whole to grind yourself, and store in a cool dark place in tightly sealed jars. Before you throw away those spices from 2019, conduct a toast test (Heat a little bit in a sauté pan and check for aroma. If nothing, you might need to replace them or use more than a recipe calls for.)

Put your questions in the comments below about cooking with spices. I’d be happy to answer them.

Vegetarian Dolmas: Grape Leaves Stuffed with Spiced Lentils and Rice

Wrapped and rolled foods are the ultimate kids-in-the-kitchen activity. After preparing all of the components, allow kids to help combine the filling. Then enlist their support to do all of the wrapping and rolling. After a brief demonstration, some coaching and practice, you can probably even walk away and allow your little one to complete the job.  Share this instructional video provided by 6-year-old Emory with your child.

Vegetarian Dolmas: Grape Leaves Stuffed with Spiced Lentils and Rice

Dolmas or stuffed grape leaves are often made with a combination of gently spiced ground lamb and rice. We make a savory and satisfying plant-based version using french lentils. I also choose brown basmati rice for additional fiber, nutrients and texture. Omit the honey entirely or substitute agave nectar to make this recipe suitable for vegans.

Yield: approximately 3 dozen

I generally use jarred grape leaves. They work just fine but, of course, if you are on the west coast or are fortunate enough to have access to fresh grape leaves when they are in season, use them. Just soak fresh leaves in hot water while you prepa…

I generally use jarred grape leaves. They work just fine but, of course, if you are on the west coast or are fortunate enough to have access to fresh grape leaves when they are in season, use them. Just soak fresh leaves in hot water while you prepare the filling.

What you need:

Grape leaves:

  • ½ pound fresh grape leaves, soaked in hot water or 1 pound jar preserved grape leaves, rinsed and drained well, picked through with broken or ripped leaves reserved for lining the bottom of the pot

Rice:

  • 2 quarts water

  • 1 cinnamon stick

  • ½ cup long grain brown rice

  • ¼ teaspoon salt

  • ½ cup mint leaves, minced

  • 2-4 scallions, minced

  • ⅓ cup pine nuts, chopped

  • ⅓ cup currants or raisins

Line the bottom of the stock pot with grape leaves to prevent your dolmas from burning or browning. Use the broken or torn leaves.

Line the bottom of the stock pot with grape leaves to prevent your dolmas from burning or browning. Use the broken or torn leaves.

Lentils:

  • 2 tablespoons extra virgin olive oil

  • 1 small onion, small dice

  • 2 cloves garlic, minced

  • 1 ¾ cup cooked lentils (dark brown, green, or beluga)

  • 1 teaspoon nutmeg

  • ½ teaspoon cinnamon

  • 1 teaspoon cumin seeds

  • 1 teaspoon dried oregano

  • ½ teaspoon allspice

  • 1 tablespoon dried mint (or one mint tea packet)

Simmering Liquid:

  • ¼ cup lemon juice

  • ½ cup olive oil

  • 2 teaspoons honey (omit or agave for vegan)

  • 1 cup water or vegetable broth

  • ½ teaspoon salt

  • freshly ground black pepper

Roll tightly, but gently, so as not to tear the leaves, pushing in the sides as you go. Walk away, and let the kids do all the rolling while you do the dishes...or take a nap.

Roll tightly, but gently, so as not to tear the leaves, pushing in the sides as you go. Walk away, and let the kids do all the rolling while you do the dishes...or take a nap.

What you do:

  1. Bring 2 quarts (8 cups) water to a boil. Add cinnamon stick, rice and ¼ teaspoon salt. Reduce to a rolling boil and cook 20 minutes or until just tender. Drain and rinse in cold water.

  2. Combine cooked rice with fresh mint, scallions, pine nuts, and currants.

  3. Heat olive oil in a large sauté pan over medium high heat. When it shimmers, add onion and a pinch of salt. When onion is soft, add garlic and sauté 1 minute. Add lentils, nutmeg, cinnamon, cumin, oregano, allspice, and dried mint/tea. Combine with rice mixture. Allow to cool slightly.

  4. Set aside the 36 best leaves for stuffing. Line the bottom of a heavy stock pot with the remaining leaves. Stuff each with about 1 to 2 teaspoons of rice/lentil mixture. Place leaf smooth side down, with stem close to you. Trim long or thick stems. Fold stem end over rice and hold in place. Fold in sides and roll away from you. Use any broken leaves for lining the bottom of the pot. Arrange dolmas (stuffed leaves) snugly in the pot, in layers if needed.

  5. In a medium bowl, whisk together the lemon juice, olive oil, honey or agave, water or stock, salt and pepper. Pour this mixture over the leaves, cover with a plate to hold dolmas down.

  6. Cover, bring to a simmer, and cook 1 1/2 hours, basting occasionally.

Note: Use the "pasta method" for cooking the rice used in dolmas. Rather than steaming rice with an exact ratio of water, you will boil the rice in a large pot of salted water until al denté and then drain. You could certainly use leftover rice that was made using the standard rice cooking method but the texture may be slightly mushy in the grape leaves.

Tip 1: The simmering liquid makes a delicious soup or broth after the dolmas are done simmering in it. Use it to store dolmas in the fridge up to one week, drink it or serve as soup!

Tip 2: When I don't have fresh mint available, I just increase the amount of dried mint used. Just add all of the dried mint together to the lentil mixture to sauté before adding to the rice. I've also successfully substituted chives for the scallions in a pinch.

Shopping in your Freezer

Miso Ramen Noodle Soup with Broccoli, Edamame and Jalapeno

Miso Ramen Noodle Soup with Broccoli, Edamame and Jalapeno

Every once in a while, I attempt to dig out my freezer and use up all of its contents, to save $ at the grocery store and free up space for new creations and the bounties I'm anticipating from local crops. It's my version of spring cleaning, aptly named using a term coined by my Grammie. She routinely bears gifts of clothing, fabric and housewares. When asked if she's been shopping, she says, "oh yes, shopping in my closet!" 

I've been sharing some of my recent mouth-watering creations out of goods I found stashed in my freezer, which prompted many of you to ask, how big is your freezer? How do I get that out of my freezer?

IMG_6176.JPG

So, in response...

...my freezer is pretty standard. I live in a Brooklyn apartment, after all.

...here's a list of my tips for finding ingredients and inspiration in your own freezer. Armed with these, you too can make a quick meal, prevent waste and avoid the grocery store, but you might also discover a new family favorite, test your culinary muscles and make something out of the ordinary.

  1. Organize it. Occasionally, take everything out of the freezer and sort it, consolidate similar items and return them to the freezer in an organized fashion. For example, put all animal proteins in one corner, vegetables in another, and stack ready-made meals, like soups and stews together. I also use a narrow bin for lining up my purées and sauces in their liquid storage bags (I use re-purposed breast milk storage bags I have in excess).

  2. Choose wisely. Either randomly select two items, such as one protein and one vegetable to give yourself a challenge or choose two to three items you know go together well (more on that later). Better yet, have your partner, child, roommate, or sister that you're texting, choose the items for you. Set those chosen items in the fridge or out to thaw. Now you're stuck with those, Chopped style. So make it work.

  3. Use formulas. Refer to a list of go-to recipe templates. The types of recipes I'm talking about are best described as "plug and play". Think of general recipes that have a base, a procedure you are familiar with, and a few interchangeable components. My templates include pasta dishes, soup, stew, muffins, quiche, pizza, risotto, grain bowls, pot pie, or stir fry.

  4. Brainstorm flavor combinations. Determine which ingredients and flavors go together. Did you just take peas and ground turkey from the freezer? So ask yourself, what else do I make with peas or what spices and vegetables were in that poultry dish from my favorite restaurant? Or conduct a quick internet search for recipes by ingredient. One resource I love for brainstorming flavor and ingredient combinations is the Flavor Bible. A dear friend gave me this book years ago and I still reference it weekly. Just learned that there is a Vegetarian Flavor Bible now too.

  5. Ignore measurements. It does not matter if the package is half full, or if you don't have as much sauce as you usually use. It's not an exact science. Just add more or less liquid or crunch as needed.

  6. Set a time limit. Again, Chopped style. If you limit how much time you have to either think about what you are going to make with the freezer finds or actually cook dinner or both, you will force your creative side without losing too much time.

  7. Re-purpose freezer finds. Turn something you don't like into something you love or that the kids and picky eaters of the world will eat. Change the texture and overall structure of the ingredient. For example, I had a purée of steamed sweet potatoes, apples and carrots that the baby suddenly turned his nose up at (after liking it for a few months). That purée just became the star ingredient in my famous sweet potato waffles. And all the rejected old bread ends that will never qualify for a BLT or PB&J make beautiful garlicky croutons for a panzanella salad.

  8. Allow yourself an out. You do not have to eat your failures. If it is truly terrible, you can toss it, compost it or feed it to the dog. It's okay, you shopped in your freezer and you gave it a try. Or you might even re-purpose it to another step. We made a risotto out of crab meat, sofrito and peas. It was just okay, and there was a lot remaining, so rather than force ourselves to eat the leftovers, I thought, why not mix in some cheese, roll into balls and pan fry for arancini magic!

And many of you want to know, how do I get all of these things into my freezer to begin with? That's a topic for another day or series of posts. Stay tuned and in the meantime, see here for my chowder freezing tip.