recipes

Chickpea Noodle Soup

We learned this soup from my good friend from graduate school who now lives in Switzerland. She’s a vegetarian, like my son, and so this magnified her magical hostess qualities - in his eyes especially - on our trip there in 2019. One of the meals she prepared for us, in a slow cooker, all day while she took us sightseeing in Germany, no less, was Chickpea Noodle Soup. My son, 7 years old at the time, was as tickled as I was by the name.

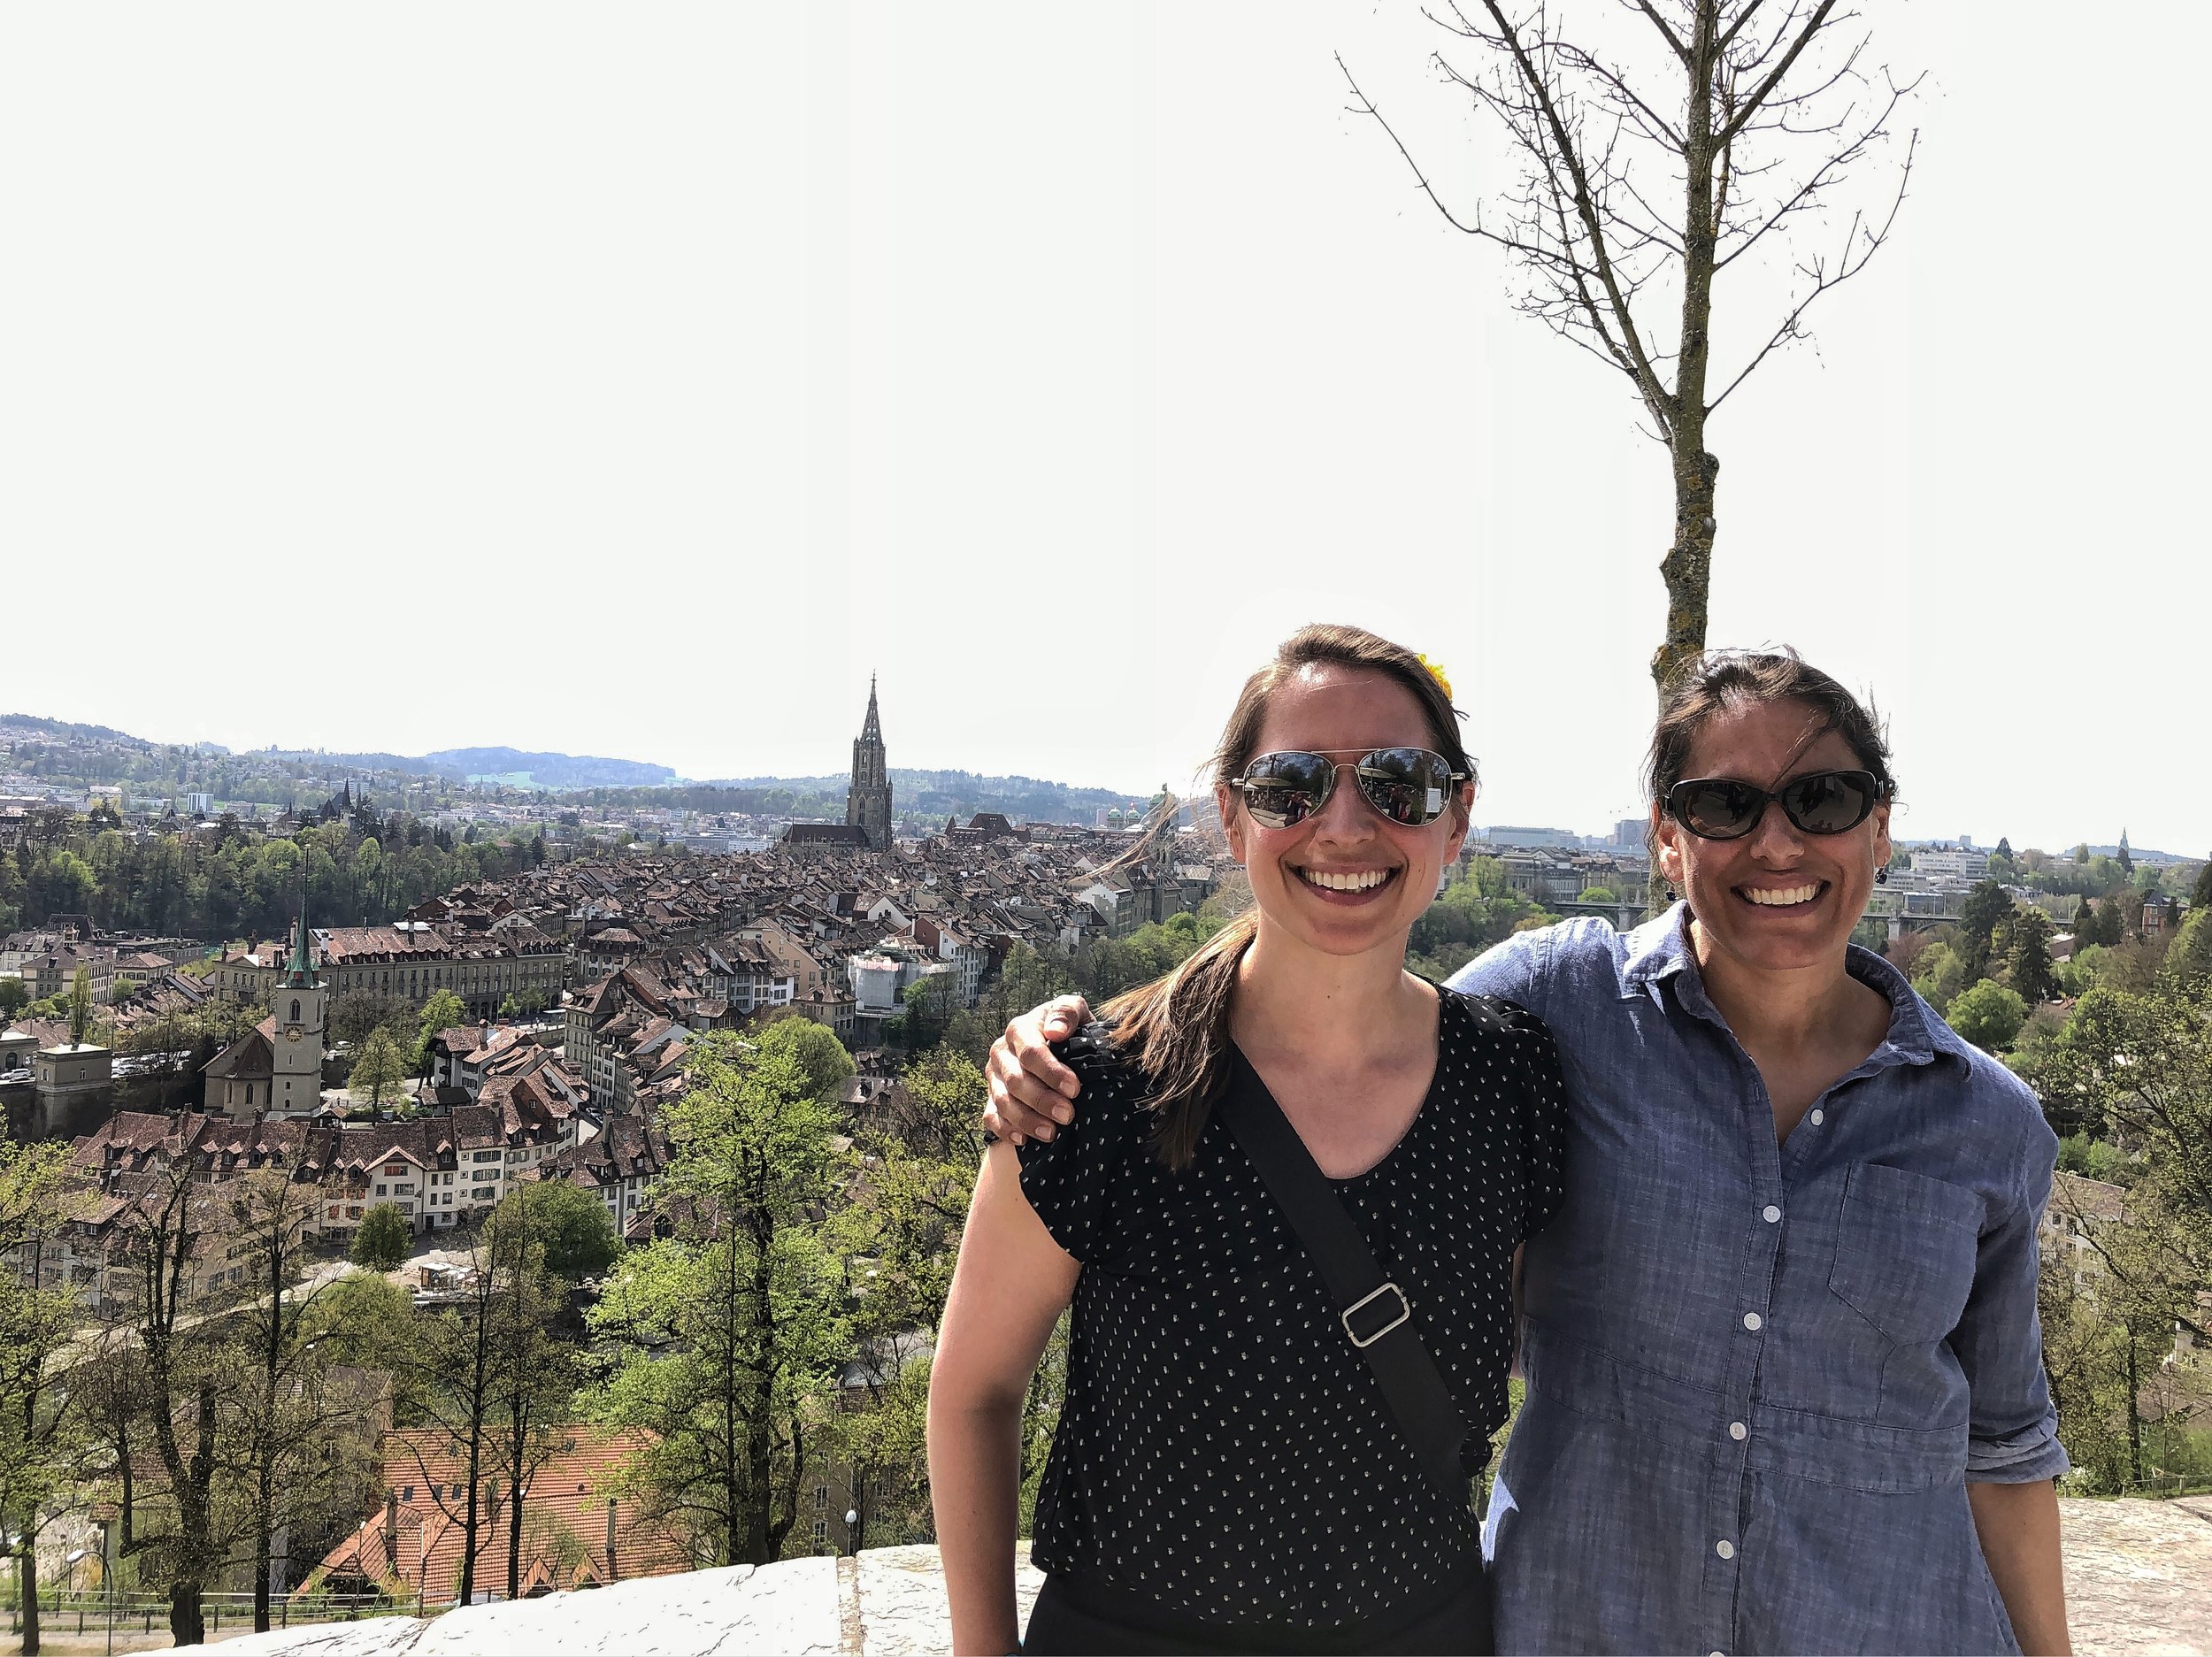
Rachel and Chef Laura, 2019, overlooking Bern, Switzerland

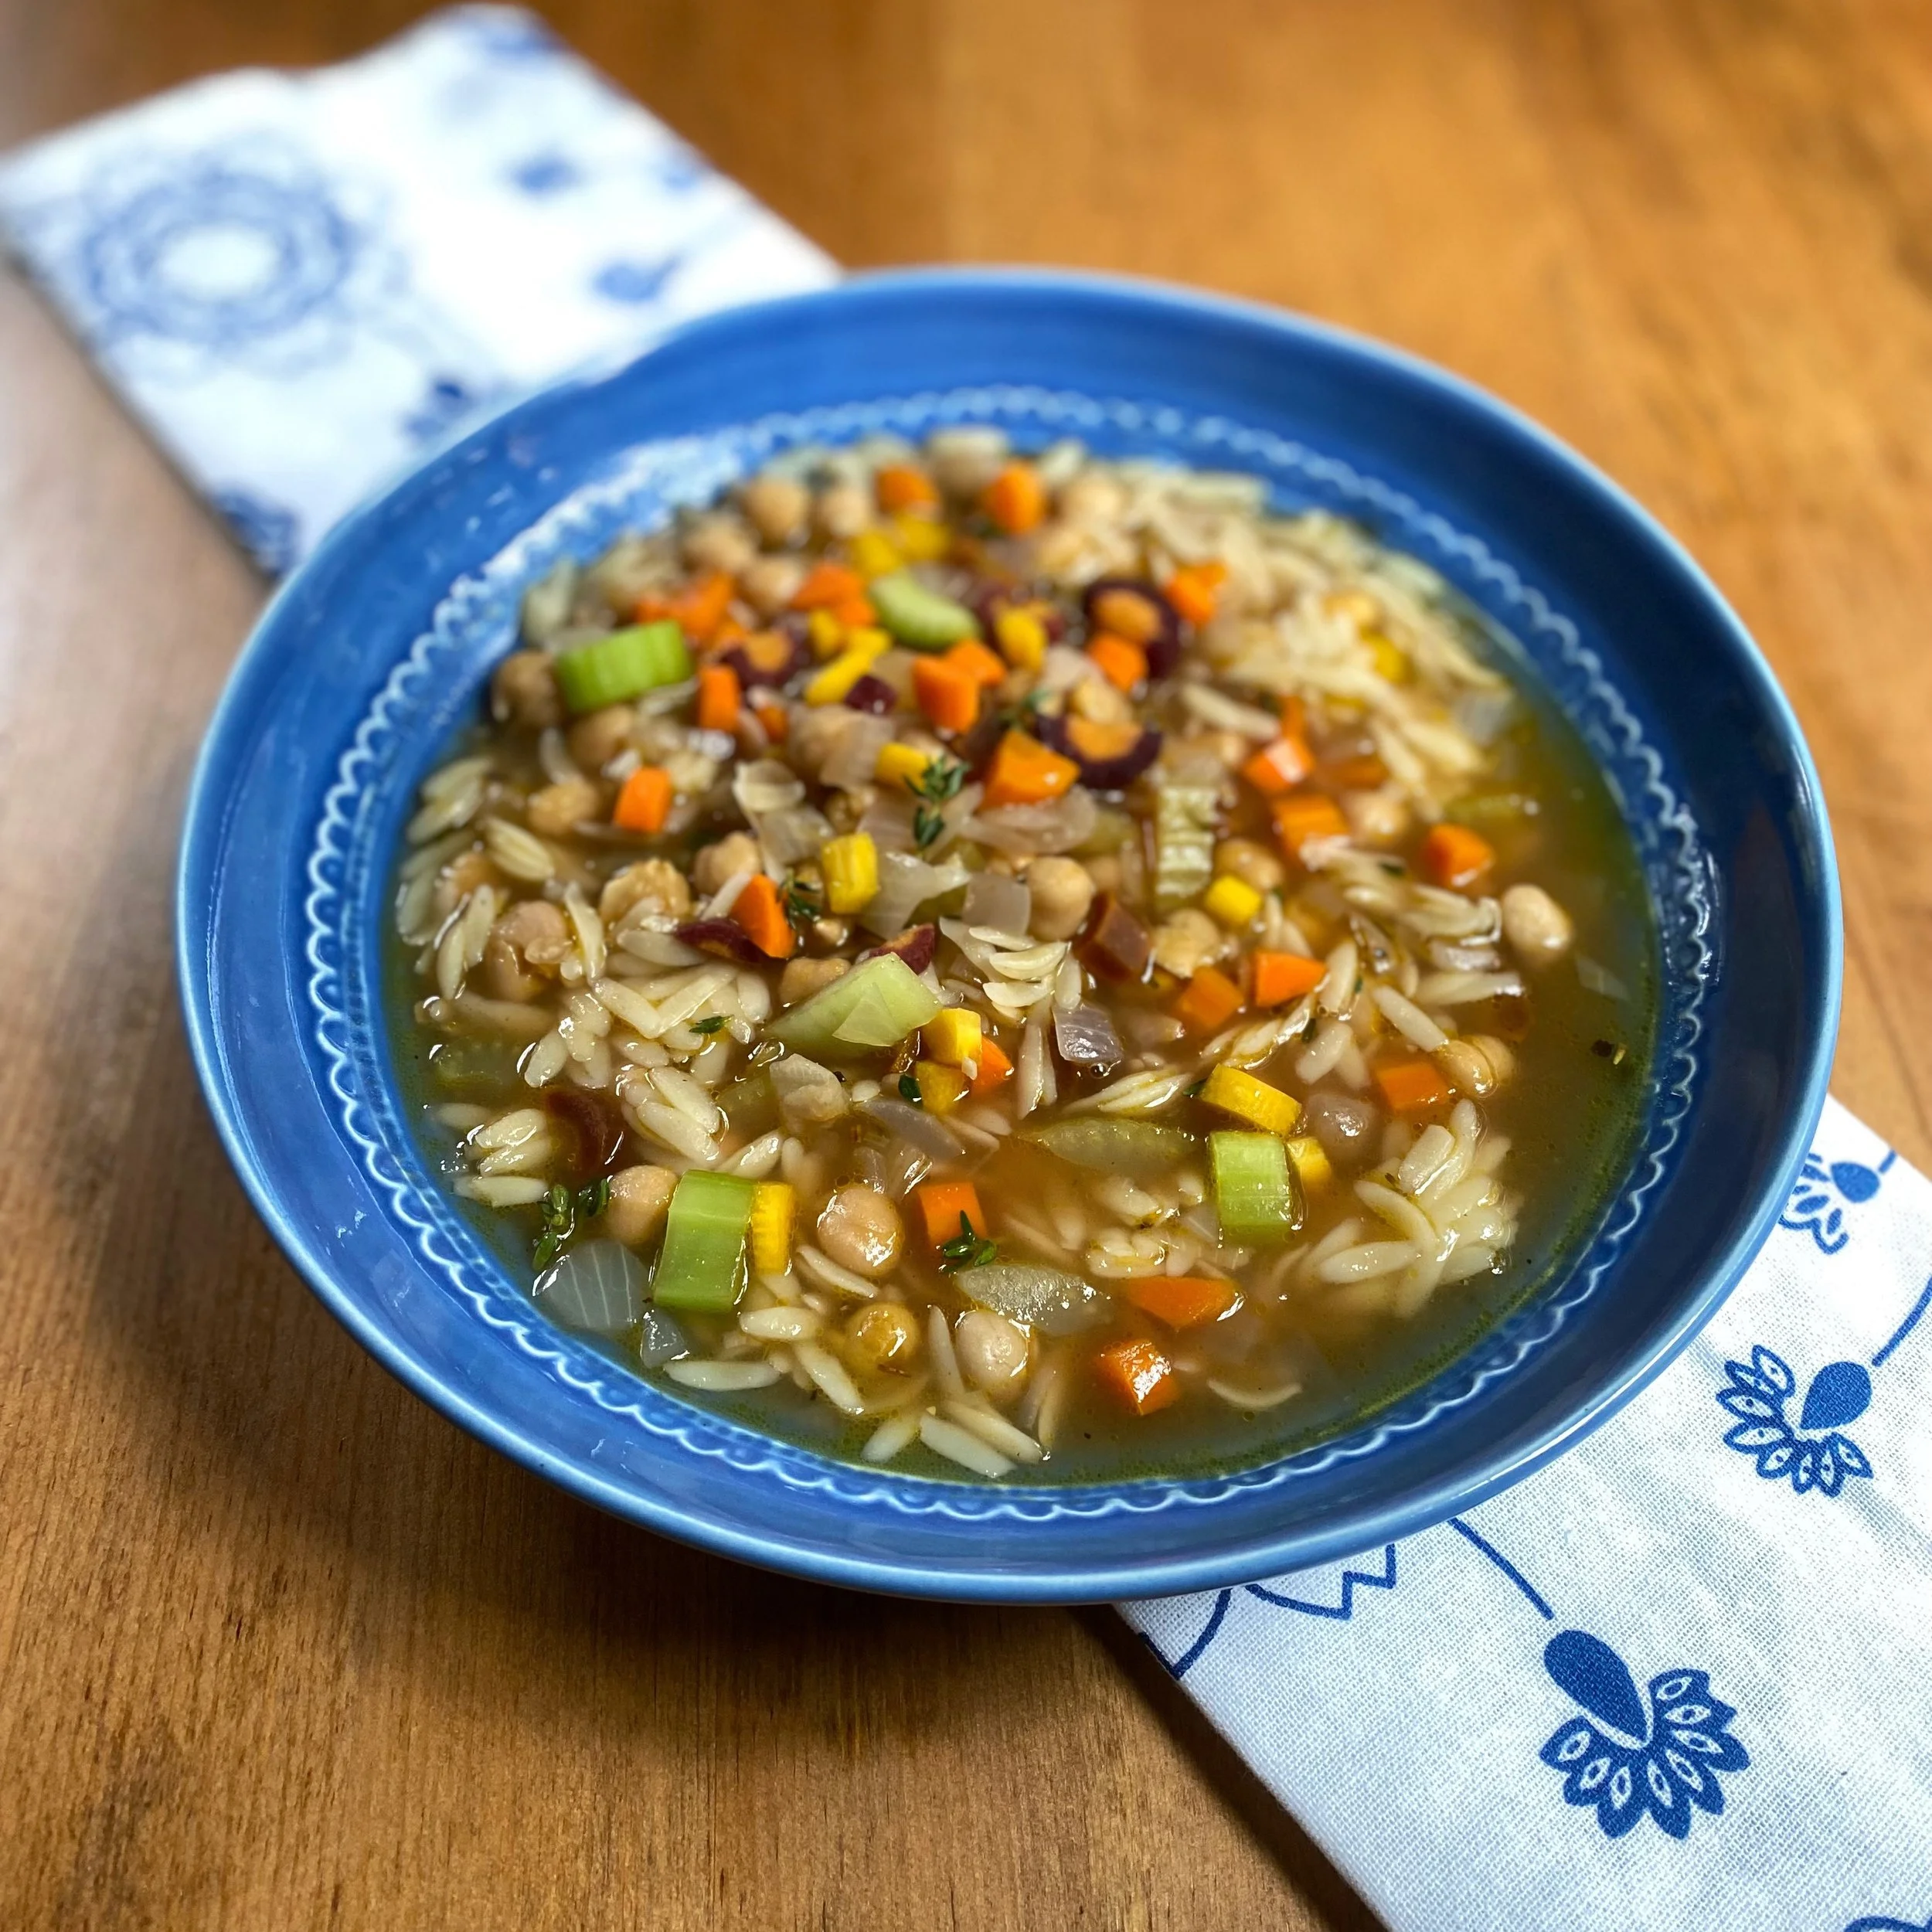
When we got home, we started making our own fast cooking version. I use two pots – one for the soup and one to cook the pasta, separately so that both soup and pasta better maintain their integrity. I like orzo for its rice-like shape and a size that works perfectly with the other components of this soup. Pastina would be another great choice. Whenever we make this soup, we regret not making more for leftovers and to more generously serve visitors who drop in. So, heed my warning and double it. 

If you do have leftovers, though, store soup and orzo separately to prevent the orzo from soaking up all of the broth.

Serves: 6-8 

What You Need:

  • 2 tablespoons olive oil

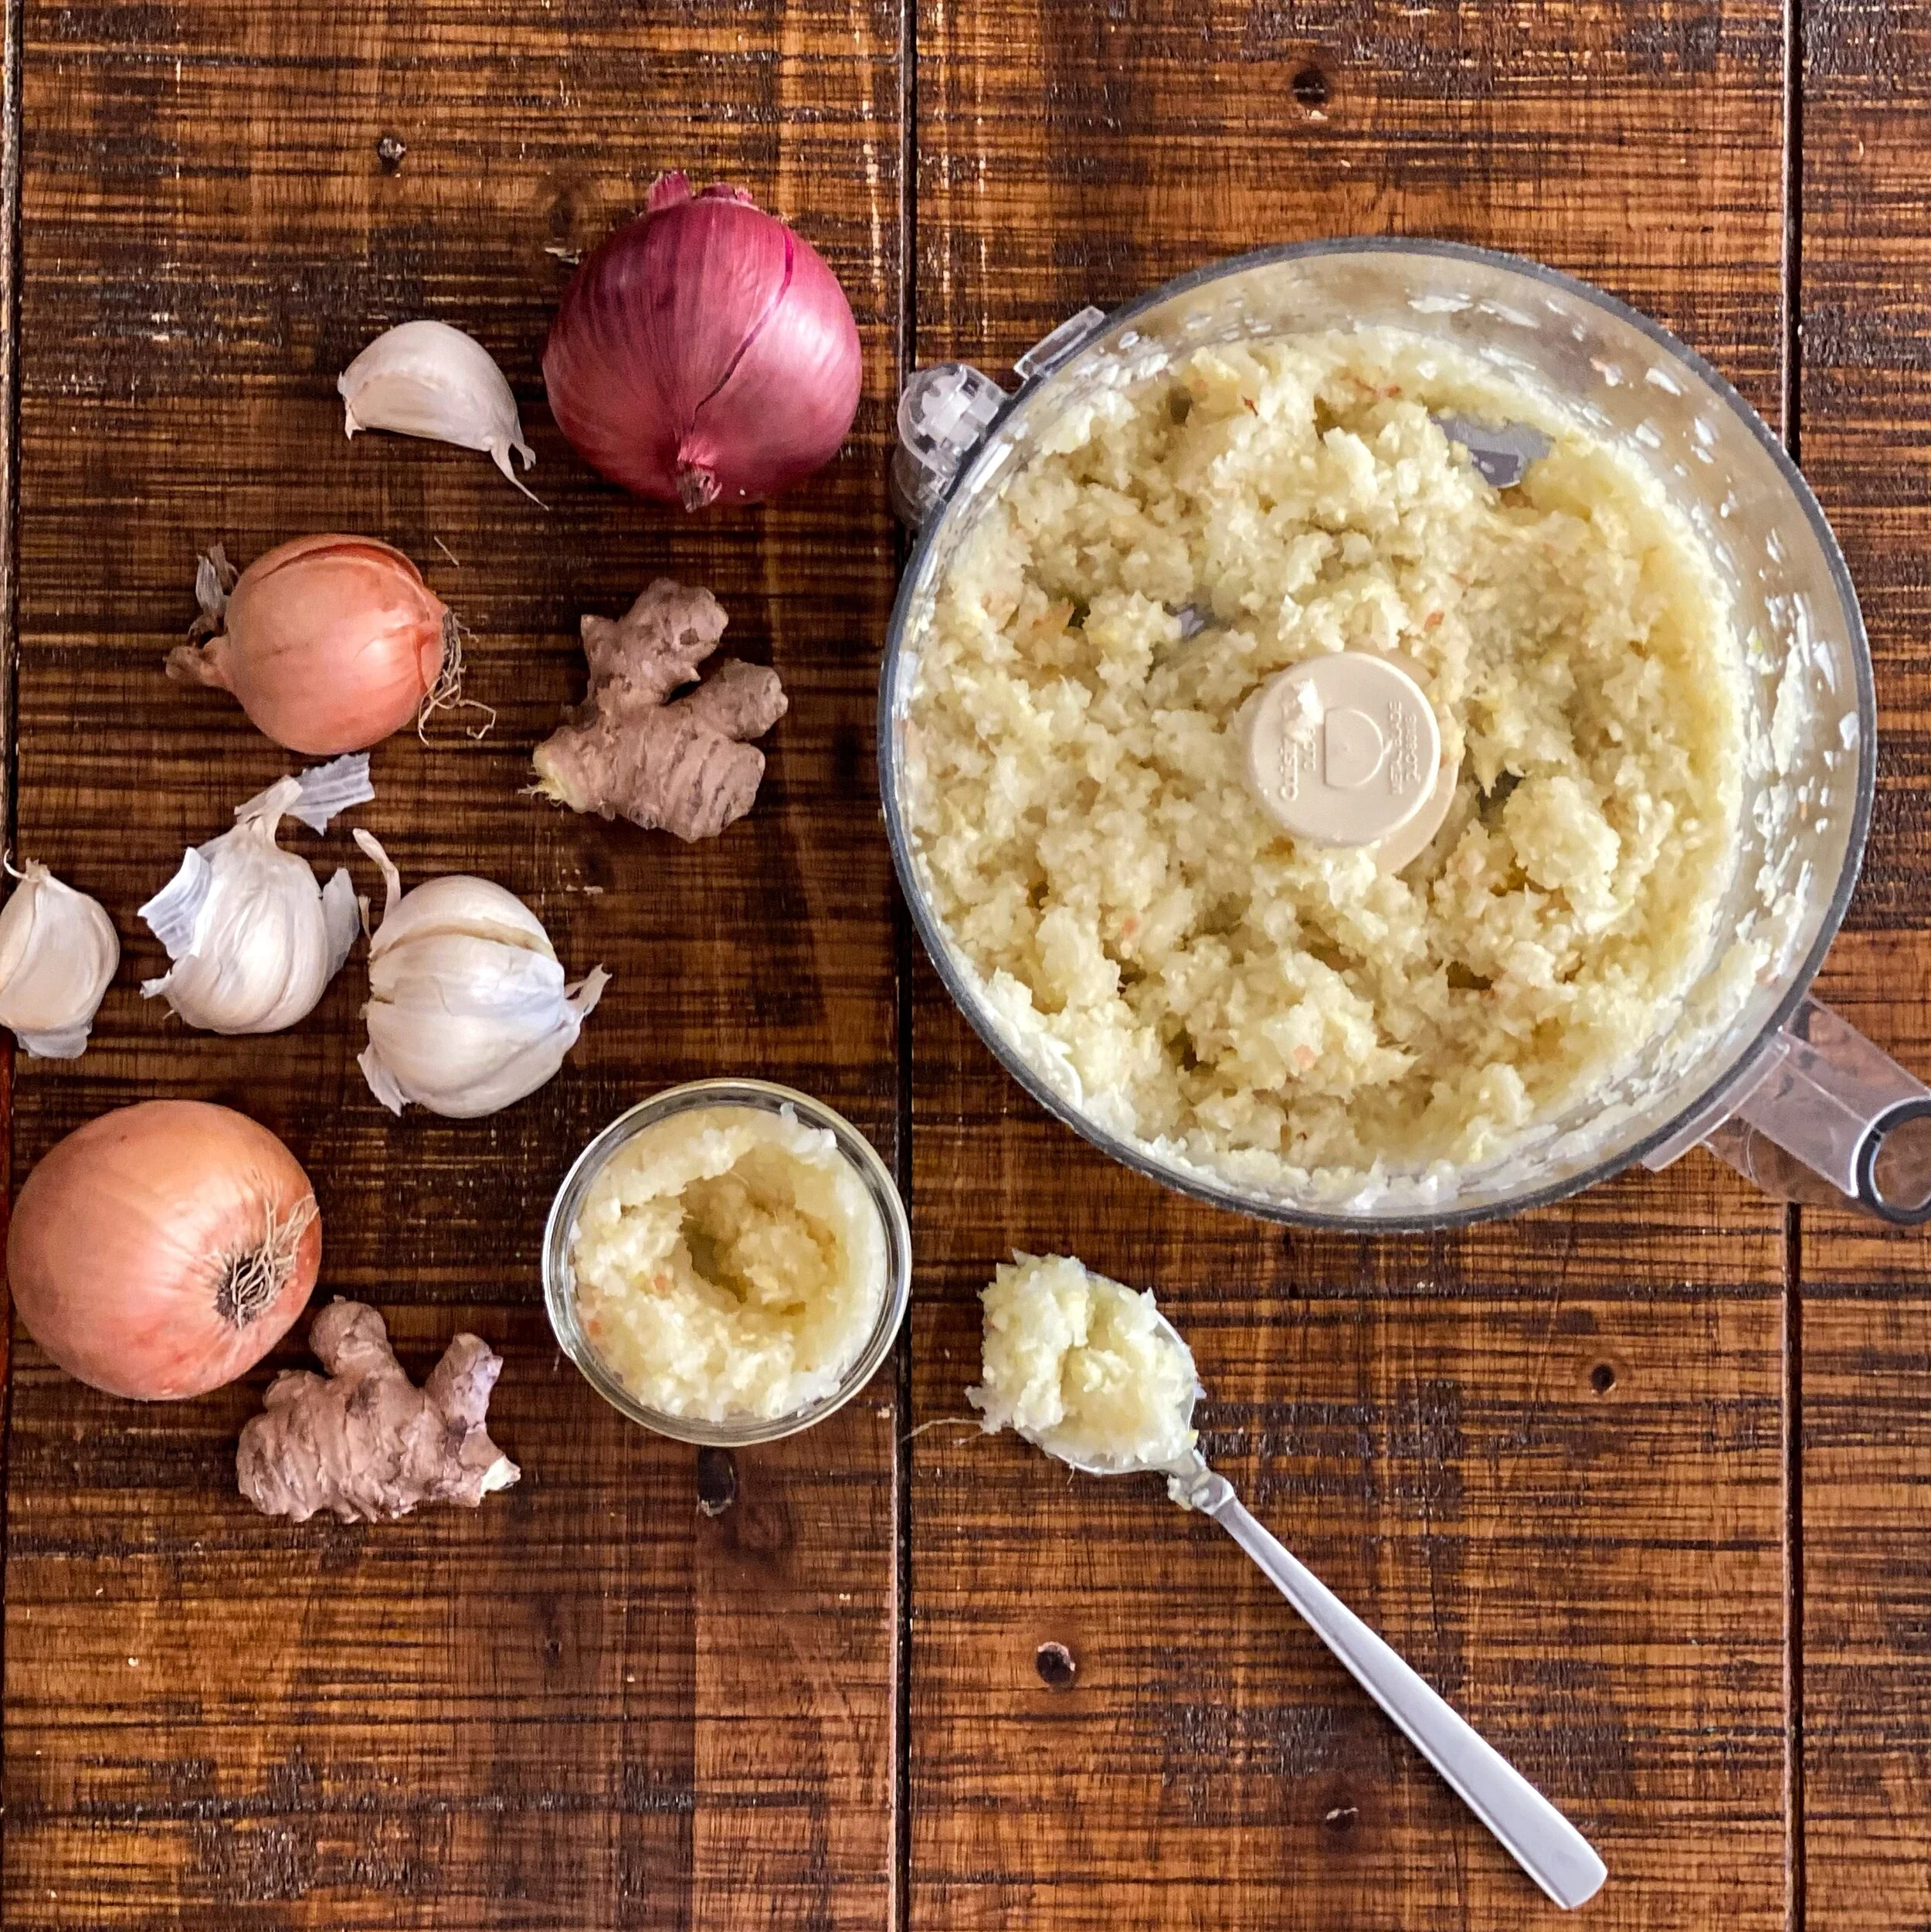
  • 2 shallots or 1 medium onion, diced

  • Kosher salt

  • 3 cloves garlic, minced

  • 1 teaspoon garlic powder

  • ½ teaspoon dried thyme or 4-5 sprigs fresh thyme

  • ½ teaspoon dried rosemary or 2-3 sprigs fresh rosemary

  • 1 ¾ cup cooked or 1 can, drained and rinsed chickpeas

  • 4-6 carrots, sliced into half moons

  • 3 stalks celery, diced

  • 6 cups vegetable broth

  • 1 ½ cups orzo pasta

What You Do:

  1. In a large pot, heat the olive oil over medium high heat. Add the shallots or onion with a few pinches of salt and sauté until soft, about 5 minutes. 

  2. Add the garlic and sauté another minute. 

  3. Add the garlic powder, thyme and rosemary and sauté for about 30 seconds.

  4. Add the chickpeas, carrots and celery and sauté for about 2 minutes.

  5. Add the broth and bring to a simmer. Simmer for about 20 minutes or until the chickpeas and carrots are tender.

  6. Meanwhile, bring about 6 cups of water to a boil. Salt generously. Cook the orzo for about 5-6 minutes or until al dente. 

  7. Right before serving, add the orzo to the soup. 

Smoky Black Bean Soup

I developed this recipe while cooking for a client who has lots of food allergies, including all seeds. That meant no cumin, ever. To me, a world without cumin is incomplete. So I asked myself, what exactly would a soup without cumin be missing - Smokiness? Earthiness? Funk. And then, how could I bring that to this black bean soup without cumin? That’s where whole toasted dried chili peppers combined with already ground chipotle and smoked paprika came in, along with a hearty amount of onion and garlic that gets blended into the smoothness of the beans. Use the cumin if you can, but know that even if you leave it out of this soup, your experience will not be deficient.

Note about chili peppers and heat level: If you want the smokiness and fruitiness the chili peppers will provide without setting your mouth on fire, here are a few things to keep in mind. Choose peppers that have less intense heat, like Ancho and New Mexico (below left) or Pasilla (below right) as opposed to Chipotle, Guajillo and Pasilla Oaxaca. You can also control the heat by how long you simmer the soaked peppers in the black bean soup, and how much of the soaking liquid and how much of the rehydrated pepper you include in the blended soup. Add more of the soaking liquid, rehydrated peppers and especially their seeds to increase the heat. We often divide the soup before blending, incorporating more heat into one version and keeping the other fairly mild.  

Also, note: Ground Chipotle Chili or Chipotle Chili Powder, as called for in this recipe, is not necessarily the same as “chili powder”. Some store bought chili powders are made up of a blend of ground chili peppers, but also include other spices, like cumin or garlic, and additives like salt and anti-caking agents. Read the label on your chili powder to ensure you are using pure ground chili peppers. Or grind your own whole dried chili peppers into a powder using a spice grinder or coffee grinder dedicated to spices.

Yield: 8 servings

What You Need:

  • 2 whole dried chili peppers (see note)

  • 2-3 tablespoons olive oil

  • 1 large red onion, diced

  • 1¼ teaspoon kosher salt, divided

  • 6 cloves garlic, minced

  • 1 teaspoon smoked Spanish paprika

  • 1 tablespoon ground cumin

  • 1 teaspoon ground chipotle chili or chipotle chili powder, plus more to taste

  • 7 cups cooked or four 15-ounce cans black beans, drained and rinsed

  • 8 cups (2 quarts) vegetable stock or broth

What You Do:

Arrange the whole dried chili peppers in a skillet and turn heat to medium high. Toast on each side for about 30 seconds, or until very fragrant. Put the chili peppers in a heat proof bowl and add boiling water to submerge them. Soak for about 20 minutes.

  1. Heat a large soup pot over medium high heat. When hot, add the olive oil to coat the bottom of the pan. 

  2. Reduce the heat to medium. Add the onion and sprinkle with about ¼ teaspoon of the salt. Gently sauté onion until very soft, about 3-5 minutes.

  3. Add the garlic with a few pinches of salt and sauté another 30-60 seconds.

  4. Add the smoked paprika, cumin and ground chipotle. Sauté until fragrant. 

  5. Add the beans, broth and  teaspoon kosher salt. Drain the chili peppers, reserving the liquid. Add the rehydrated chili peppers to the soup. Bring to a boil. Reduce the heat to medium low and simmer gently for 15 minutes or until the beans and onion are super tender.

  6. If you don’t want the soup to be too spicy, remove the chili pepper and set it aside. You can always blend it in later for more heat.

  7. Transfer the mixture to a blender or use an immersion blender in the pot. Blend until creamy and smooth. Taste and adjust seasoning, if needed. If you want more heat, add about ¼ cup of the reserved liquid from soaking the chilis or the rehydrated chili pepper. Add broth or water if needed to thin to the consistency of melted ice cream.

  8. Reheat over medium heat. Ladle into bowls and top with a dollop of sour cream or plain yogurt, pepitas and diced avocado.

Recommended: Cook your own black beans from scratch in a pressure cooker (or Instant Pot). Soak 2 - 2½ cups dried black beans in 10 cups of water, in the fridge for 8 hours or overnight. Drain, rinse and put in a pressure cooker (or Instant pot). Submerge in fresh cool water. Add 2 bay leaves. Seal the pressure cooker and bring to high pressure. Cook on high pressure for 10 minutes. Turn off and allow pressure to release naturally. Drain, discard bay leaves, and use cooked beans in your soup. 

Vegetable Wonton Miso Soup

The vegetarian in our family loves miso soup, but can’t always enjoy it from restaurants. Classically, miso soup contains bonito, dried fish flakes used to season and fortify the broth. We make our miso soup at home with just vegetable stock infused with as much seaweed flavor as we can manage. When adding a healthy amount of strong white miso paste, you get a burst of salty umami flavor, and don’t miss the fishy bonito one bit. I recommend using homemade vegetable stock for this soup, if you have it, or find a store bought one that is light, clear and golden in color, ideally made without tomato. This provides the perfect backdrop to the delicate seaweed and tofu. 

Miso soup alone does not typically make a meal. But when you add a helping of dumplings to the bowl as well as a garnish of fresh thinly sliced vegetables in a variety of colors, it becomes a complete meal, and fills you up appropriately. 

To maximize the benefits, both flavor and health, of miso, don’t cook it. Simply stir it into your soup right before ladling into bowls. My tip for getting the miso into the soup without lots of lumps you need to furiously whisk out – in a separate bowl, combine the miso paste with a little bit of liquid, in this case the soy sauce and a spoonful or two of the warm broth. Stir until smooth and then reintroduce back into the pot of soup. 

What You Need:

For the soup:

  • ¼ ounce wakame seaweed 

  • 4 cups vegetable broth or stock

  • 1-2 pieces kombu seaweed

  • 8-10 ounces tofu (medium, soft or silken will all work)

  • 2 tablespoons miso paste

  • 2 teaspoons soy sauce

  • 16-20 frozen vegetable wontons or dumplings

For garnish, optional:

  • 1 carrot, thinly sliced

  • 1-2 scallions, thinly sliced 

  • 4-5 radishes, thinly sliced

  • ½ cup sugar snap peas, thinly sliced on a bias

What You Do:

  1. Bring at least one cup of water to a boil. If needed, use clean kitchen scissors to snip the wakame into smaller pieces, about ¼ inch long. Put the wakame in a heat resistant bowl and pour the boiling water over it. Set aside and let the wakame soak for about 20 minutes. 

  2. Meanwhile, combine the vegetable broth and kombu in a medium saucepan over medium heat. Simmer gently for about 20 minutes. 

  3. While the broth is simmering, prepare your other ingredients. Drain the tofu on clean kitchen towels to extract excess water. Do not press. Cut the tofu into ½ inch cubes. 

  4. Arrange a steamer basket over a pot with a few inches of water in the bottom. Bring water to a boil. Gently arrange frozen wontons or dumplings in a single layer in the steamer basket and steam for about 5 to 7 minutes or until tender and cooked through. 

  5. Remove the kombu from the broth and discard. 

  6. In a small bowl combine the miso paste with the soy sauce. Gradually stir in about 2 tablespoons of hot broth to dissolve the miso paste further. Pour this mixture back into the pot with the hot broth. Stir to mix well. 

  7. Drain the wakame. Discard the liquid and add the rehydrated wakame to the broth. Add the cubed tofu to the broth. 

  8. Divide the steamed dumplings among 4 bowls. Ladle the soup over the dumplings.

  9. Garnish each bowl of soup with sliced carrot, scallion, radish or snap peas, if desired.

Masala Chai

MASALA CHAI

Yield: 4-5 cups

I used to purchase the spice blends to make masala chai, but then I started paying attention to the whole spices that were in these pre-mixed blends. Over time, I determined what I like to taste a lot of and what I like just a little hint of, and what I don’t like at all. So now, I make masala chai tea from my own blend of whole spices to steep in the liquid along with the tea leaves. You can adjust your spice blend to your taste as well. I also combine my spice blend and tea leaves in a 50/50 mix to store in my pantry together for even quicker preparation of masala chai tea. Drink this for your afternoon tea time, chill and serve over ice for a refreshing summer drink, or convert into Chai Latte Ice Cream.

My own masala chai spice blend combined with black Assam tea leaves

My own masala chai spice blend combined with black Assam tea leaves

What you need:

  • 3 cups water

  • 2-3 tablespoons black tea leaves, Assam recommended

  • 2-3 tablespoons masala chai whole spice blend (see below for my recipe)

  • 3 cups milk, whole cow milk recommended

  • 2-3 tablespoons sugar or honey, optional

What you do:

  1. Heat water, black tea leaves and whole spice blend in a medium pot over high heat until boiling.

  2. Reduce heat to medium, add milk and stir to combine. Heat until liquid is just steaming, then reduce to low and simmer another 15-20 minutes. Be careful to not boil the milk.

  3. Turn off the heat and stir in the sugar or honey, if using, until dissolved.

  4. Strain the tea. Discard tea leaves and spices. Enjoy hot or chill in the refrigerator and serve over ice.


Masala CHai Spice Blend

Makes: about 1/2 cup or 3-4 pots of tea

What you need:

  • 3-4 cinnamon sticks

  • 2 tablespoons or 5-6 whole star anise

  • 2 tablespoons cardamom pods

  • 2 heaping tablespoons whole cloves

  • 1 tablespoon whole allspice berries

  • 1 tablespoon whole fennel seeds

  • 2 teaspoons black peppercorns

  • 1 teaspoon white peppercorns

What you do:

  1. Place the cinnamon sticks and star anise on a cutting board. Using a large heavy pot or glass jar, smash the cinnamon sticks and star anise until broken into ¼-inch shards and pieces.

  2. Combine the broken cinnamon sticks and star anise pieces with whole cardamom, cloves, allspice berries, fennel seeds, black and white peppercorns and mix thoroughly.

banner photo by Copper Spoon Collective

Pumpkin Cream Cheese

Schmear this on a bagel or a fat slice of sourdough bread or dip soft beer pretzels into it. If you have too much leftover, you can also add a couple of eggs, some cream, more maple syrup and vanilla and bake it up like a custard or into a graham cracker crust for a pumpkin cheesecake.

Yield: about ½ cup

What You Need:

  • 4 ounces (about ½ package) cream cheese

  • 6 tablespoons pumpkin purée

  • 1 tablespoon maple syrup

  • 1-2 teaspoons ground pumpkin spice, recipe below or store bought

  • 1-2 pinches of salt

What You Do:

Combine all ingredients in a small bowl. Beat until smooth.

Wine Braised Mushrooms with Creamy Polenta

Wine Braised Mushrooms with Creamy Polenta

This is a no prep fast cooking fresh springtime dish that will be on your plate in less than 25 minutes. Cook the polenta alongside the braised mushrooms. All of the vegetable washing, chopping and prep can be done while you are cooking, maximizing your time in the kitchen.

Mango Habañero Hot Sauce

When the gardens give peppers, I make hot sauce. Watch out, this one is H-O-T. But then again, the heat of your hot sauce all depends on the heat of your peppers.

Note: The optional fruit adds a nice natural sweetness and cuts the heat tremendously, but the addition of the raw unprocessed fruit will make your sauce slightly more perishable. With fruit, sauce will last in the fridge for about 2-3 weeks. Without fruit, the sauce will stay well in the fridge for about 2 months.

What You Need:

  • 2 tablespoons canola oil

  • 2 medium onions, small dice

  • 6 cloves garlic, finely chopped

  • 4 medium carrots, small dice

  • 2 cups water, plus more if needed

  • 20 habañero chili peppers, stems removed, remove seeds for a more mild sauce or retain seeds for most intense heat

  • ¼ cup lime juice

  • 2 tablespoons orange juice 

  • 6 tablespoons apple cider vinegar

  • 2 teaspoons sea salt, divided 

  • 2 mangoes, peeled, pitted and roughly chopped or 2 cups chopped pineapple pieces, optional

What You Do:

  1. Heat canola oil in a medium pot. Add onion and a pinch of salt, and sauté on medium heat until soft. Do not brown. 

  2. Add garlic and carrots and sauté for about 3 minutes. Add water and bring to a low boil. Reduce heat and simmer for 5 minutes.

  3. Remove from heat and, into the bowl of a food processor or blender, combine the carrot, onion and garlic mixture with chili peppers, lime juice, orange juice, apple cider vinegar, 1 teaspoon of salt, and fruit, if using. Blend on high speed until liquified and smooth. 

  4. Taste and add salt if needed. If the mixture is too thick, add water. Blend again and repeat until you reach desired consistency and seasoning. If it is too hot, add more vinegar or mango. If it is not hot enough, wait a day or two, then add more habañero peppers.

  5. Put into jars to store in the fridge for up to 2 months. Put into plastic freezer storage bags to store in the freezer for up to one year.

Crumb Pie

Crumb Pie

This bonus dessert is a cross between a crumble and a pie. Fruit filling sits in a pastry crust base but is topped with crumble (or crisp) topping. Choose crumb pie when you simply can’t choose.

Pie

Pie

Filling is baked between two layers of pastry dough or in one bottom layer of pastry dough. Choose pies for delicate artistry and presentation and to signify special occasions. Be prepared to invest some time on the dough, chilling and shaping.

Galette

Galettes are the little cousins to pies. Fruit filling is enclosed in a roughly formed pastry crust. Choose galettes for a rustic look and a minimalist approach to pie, and for when you want or have less filling to go around. Since they are shallower than a traditional pie, and fruit juices escape from the roughly formed dough, I recommend draining the fruit mixture before filling galettes. Reduce this liquid into a concentrated fruity syrup to drizzle over the baked galette.

Yield: makes two large (9-inch) galettes or four to five small (6-inch) galettes

What You Need:

  • 12 tablespoons (1 ½ sticks or ¾ cup) cold unsalted butter

  • 3 cups flour

  • ½ teaspoon kosher salt

  • 2-3 tablespoons cane sugar or turbinado sugar, plus additional for sprinkling

  • ½ - 1 cup ice water

  • 4-5 cups prepared fruit filling (see below)

  • 2 tablespoons tapioca flour/starch or cornstarch

  • 1 egg, beaten or 2 tablespoons heavy cream

What You Do:

  1. Cut the butter into small cubes (4 cubes per tablespoon) and place on a plate or parchment lined sheet pan. Freeze for 10 minutes. Meanwhile, prepare the fruit filling (see below).

  2. In a large bowl, whisk together the flour, salt and sugar. 

  3. With your fingers, gently mix in the cold butter, pressing and crumbling until you have small pea-sized pieces coated in flour. 

  4. Add ½ cup ice water to the flour and butter mixture with a spoon until it just comes together. Add more ice water a few drops at a time, if needed, so that it forms into a ball. 

  5. With your hand, in the bowl, knead 1 or 2 times until the dough holds together. Alternatively, turn the dough out onto the countertop and knead a few times until it holds together.

  6. Quickly and decisively, divide the dough into 2-5 pieces of roughly the same size. Form each piece gently into a 3-inch disk and wrap tightly with plastic wrap. Freeze for 15 minutes or refrigerate at least one hour or up to 1 day. [Unused disks can be frozen for up to 3 months.]

  7. Place a mesh strainer over a bowl or wide measuring cup. Drain the fruit, reserving the liquid. Return the fruit to the bowl and stir in the tapioca starch.

  8. One at a time, on flour dusted parchment paper, roll the disks of dough into rounds, about ⅛ inch thick and 8 inches in diameter. Assemble about ¾ cup of the drained fruit filling in the middle of each round, leaving a border of about 1 - 1½ inches all the way around. If desired, you can carefully place sliced fruit in concentric circles or patterns.

  9. Refrigerate for 30 minutes. Preheat the oven to 375 degrees.

  10. Brush the galette crusts with the beaten egg or cream, and sprinkle with turbinado or coarse sugar. Bake for 45 minutes or until the crust is light golden brown and fruit is slightly bubbly.

  11. Meanwhile put the reserved fruit liquid into a small saucepan and heat over medium high heat until reduced by about 50% to a syrup. About 25 minutes into the baking time, remove the baking sheet from the oven. Brush some of the syrup on the fruit. Return to oven and finish baking.

  12. Allow to cool completely and garnish with herb leaves, whipped cream, and additional fruit syrup if desired.

Sourdough Discard Variation: For a tangy and even flakier pie crust you can use some of your collected sourdough discard in the pie crust. In step 4, simply replace the first ½ cup of water with ½ cup of refrigerator cold sourdough discard. Continue as instructed, gradually adding drops of ice water as needed.

Plant Based Variation: In place of butter, use either ¾ cup vegetable shortening, ¾ cup plant based butter substitute, ⅔ cup cold solidified coconut oil, or ⅔ cup cold solidified olive oil. When using coconut oil or olive oil, add ¼ teaspoon baking soda to the dry ingredients to help crust rise when baking. Omit the egg or cream wash in step 10. Instead, brush 1 tablespoon melted coconut oil combined with 1 tablespoon maple syrup over the crust in step 11 when brushing on the fruit syrup.

Whole Grain Variation: Use whole wheat, spelt or oat flour in place of up to 1 cup of the all purpose flour.

The Fruit Filling

What You Need:

  • 5 cups fruit, (2.5 pounds peaches, plums, apricots, apples, etc. and 2 pints blueberries, raspberries, cherries, etc.) peeled if desired, pitted, sliced 1/4 inch thick or diced into 1/2 inch chunks

  • ⅓ cup sugar (white, brown, cane, turbinado, raw, maple crystals, or coconut)

  • 3 pinches fine sea salt

  • 1-2 teaspoons ground spices (cinnamon, cloves, ginger, cardamom, etc.) or the insides of a vanilla bean, optional

  • Zest and juice from one lemon*, optional but highly recommended

*notes:

  • With cranberries, pears and apples, try orange in place of lemon, and only use half of a medium orange

  • With apples, you can omit the tapioca flour/starch or cornstarch

What You Do:

  1. In a large bowl, stir together the prepared fruit, sugar, salt, spices, lemon zest, and lemon juice.

  2. Cover and allow to sit at room temperature for at least 30 minutes and up to 3 hours. You can refrigerate if you choose but this is not necessary.

Crisp

Crisp is very similar to crumble, but it has oats and sometimes nuts in addition to the sugar, flour and butter in the topping. The resulting crunch feels heartier than a crumble topping, and thus qualifies it as breakfast in my neck of the woods. Because this loose topping does not require any binders, like flour, to hold it together, choose crisp when making gluten free or lower sugar options. Choose a gluten free flour or leave it out entirely. You can make this dairy free as well by swapping the butter out for solidified (cold) coconut oil or a plant-based butter substitute.

Yield: 8-10 servings

What You Need:

  • 4-5 cups prepared fruit filling (see below)

  • 1 ½ cups rolled oats

  • ½ cup flour (all purpose, cup-for-cup gluten free blend, almond meal, cornmeal, or combination)

  • ¼ - ½ cup raw nuts (almonds, walnuts or pine nuts), finely chopped, optional 

  • ¼ teaspoon sea salt

  • 6 tablespoons brown sugar or maple crystals

  • 8 tablespoons (1 stick) butter, cut into ¼ inch pieces (you can substitute 8-10 tablespoons melted coconut oil to make this vegan)

What You Do:

  1. Preheat the oven to 375 degrees F.

  2. Transfer the prepared fruit filling to one large (13x9 inch or 8x8 inch) baking dish, pie plate or 8 individual (3-inch) ramekins.

  3. In a mixing bowl (I use the same bowl the fruit was in), stir together the oats, flour, nuts, salt and brown sugar. With your fingers, press the 4 tablespoons of butter and maple syrup into the mixture until you have coarse crumbs.

    Optional: For a less sandy texture, melt the butter with the maple syrup before stirring into the dry ingredients.

  4. Dot the fruit with the remaining 2 tablespoons of butter. With your fingers, scatter the crisp topping evenly across the fruit filling.

  5. Put the baking dish on a sheet pan. Bake for 45 minutes to 1 hour (30-35 minutes for smaller portions) or until fruit is bubbly and top is browned. Cover lightly with foil if topping is browning too quickly. Allow to cool completely on a baking rack.

The Fruit Filling

What You Need:

  • 5 cups fruit, (2.5 pounds peaches, plums, apricots, apples, etc. and 2 pints blueberries, raspberries, cherries, etc.) peeled if desired, pitted, sliced 1/4 inch thick or diced into 1/2 inch chunks

  • ⅓ cup sugar (white, brown, cane, turbinado, raw, maple crystals, or coconut)

  • 3 pinches fine sea salt

  • 1-2 teaspoons ground spices (cinnamon, cloves, ginger, cardamom, etc.) or the insides of a vanilla bean, optional

  • Zest and juice from one lemon*, optional but highly recommended

  • 2 tablespoons tapioca flour/starch or cornstarch, optional with apples

*note: with cranberries, pears and apples, try orange in place of lemon, and only use half of a medium orange

What You Do:

  1. In a large bowl, stir together the prepared fruit, sugar, salt, spices, lemon zest, and lemon juice.

  2. Cover and allow to sit at room temperature for at least 30 minutes and up to 3 hours. You can refrigerate if you choose but this is not necessary.

  3. Immediately before baking, stir in the tapioca flour/starch or cornstarch.

Crumble

Fruit filling is covered with a streusel-style topping, made primarily of brown sugar, flour, and butter, that is literally crumbled and scattered across the top by hand. Choose crumbles when you have the least amount of time and limited ingredients. Since I can usually assemble a crumble in 5 minutes plus time to cut the fruit, it’s my reliable stand-by dessert for surprise company.

Yield: 8-10 servings

What You Need:

  • 4-5 cups prepared fruit filling (see below)

  • ¼ cup brown sugar (or cane sugar, turbinado, maple crystals or coconut sugar)

  • 4 teaspoons ground spices, optional (cinnamon, ginger, cardamom, etc.)

  • ¼ teaspoon kosher salt

  • ½ cup (1 stick or 4 ounces) unsalted butter, melted

  • 1 cup all purpose flour

  • 2 tablespoons butter, cut into ¼ inch pieces

What You Do:

  1. Preheat the oven to 350 degrees F.

  2. Transfer the prepared fruit filling to one large (13x9 inch or 8x8 inch) baking dish, pie plate or 8-10 individual (3 inch) ramekins.

  3. In a mixing bowl (I use the same bowl the fruit was in), combine the brown sugar, spices and salt. Add the melted butter and stir until smooth. With a fork, add the flour to make crumbles like damp sand.

  4. Dot the fruit topping with the remaining 2 tablespoons of butter. With your fingers, scatter the crumb topping evenly across the fruit filling.

  5. Put the baking dish on a sheet pan. Bake for 45 minutes to 1 hour (30-35 minutes for smaller portions) or until fruit is bubbly and top is browned. Cover lightly with foil if topping is browning too quickly. Allow to cool completely on a baking rack.

The Fruit Filling

What You Need:

  • 5 cups fruit, (2.5 pounds peaches, plums, apricots, apples, etc. and 2 pints blueberries, raspberries, cherries, etc.) peeled if desired, pitted, sliced 1/4 inch thick or diced into 1/2 inch chunks

  • ⅓ cup sugar (white, brown, cane, turbinado, raw, maple crystals, or coconut)

  • 3 pinches fine sea salt

  • 1-2 teaspoons ground spices (cinnamon, cloves, ginger, cardamom, etc.) or the insides of a vanilla bean, optional

  • Zest and juice from one lemon*, optional but highly recommended

  • 2 tablespoons tapioca flour/starch or cornstarch, optional with apples

*note: with cranberries, pears and apples, try orange in place of lemon, and only use half of a medium orange

What You Do:

  1. In a large bowl, stir together the prepared fruit, sugar, salt, spices, lemon zest, and lemon juice.

  2. Cover and allow to sit at room temperature for at least 30 minutes and up to 3 hours. You can refrigerate if you choose but this is not necessary.

  3. Immediately before baking, stir in the tapioca flour/starch or cornstarch.

Cobbler

In a cobbler, fruit filling is baked under a biscuit-style batter or dough. Dropped or spooned on top, it bakes to a bumpy or cobbled surface. Choose cobbler for a straightforward way to feed a crowd or serve individual portions. I love this cobbler because it’s like a fruit dessert topped with a vanilla sugar cookie. Adults and children are equally pleased.

Yield: 8-10 servings

What You Need:

  • 4-5 cups prepared fruit filling (see below)

  • 1¼ cup all purpose flour

  • ¼ cup sugar

  • ½ teaspoon baking powder

  • ¼ teaspoon kosher salt

  • ¼ teaspoon ground cinnamon, cardamom, ginger, etc.

  • 1 stick, 6 tablespoons + 2 tablespoons cold unsalted butter, cut into ¼ inch chunks, divided

  • 1 egg

  • 2 tablespoons heavy cream or milk

  • ½ teaspoon pure vanilla extract

What You Do:

  1. Preheat the oven to 375 degrees.

  2. In a large bowl whisk together flour, sugar, baking powder, salt and spices. Gently mix in 6 tablespoons of the butter with a pastry blender or your fingers until you have small pea-sized pieces of butter coated in flour. 

  3. In a separate bowl, whisk together the egg, cream and vanilla. Add to the flour mixture with a fork just until combined.

  4. Transfer the prepared fruit filling to one large (13x9 inch or 8x8 inch) baking dish, pie plate or 10-12 individual (3 inch) ramekins. Dot with remaining 2 tablespoons of butter. Using a spring loaded scoop, drop evenly sized mounds of dough on top of the fruit, evenly spaced out. If you don’t have a spring loaded scoop, use the 2 spoon method: with one spoon, scoop up a mound of dough, and use the second spoon to scrape it onto the fruit topping.

  5. Bake for 45 minutes to 1 hour (25-30 minutes for smaller portions) or until fruit is bubbly, top is browned and a toothpick inserted into cobbler topping comes out clean. Cover lightly with foil if topping is browning too quickly. Allow to cool completely on a baking rack.

The Fruit Filling

What You Need:

  • 5 cups fruit, (2.5 pounds peaches, plums, apricots, apples, etc. and 2 pints blueberries, raspberries, cherries, etc.) peeled if desired, pitted, sliced 1/4 inch thick or diced into 1/2 inch chunks

  • ⅓ cup sugar (white, brown, cane, turbinado, raw, maple crystals, or coconut)

  • 3 pinches fine sea salt

  • 1-2 teaspoons ground spices (cinnamon, cloves, ginger, cardamom, etc.) or the insides of a vanilla bean, optional

  • Zest and juice from one lemon*, optional but highly recommended

  • 2 tablespoons tapioca flour/starch or cornstarch

*note: with cranberries, pears and apples, try orange in place of lemon, and only use half of a medium orange

What You Do:

  1. In a large bowl, stir together the prepared fruit, sugar, salt, spices, lemon zest, and lemon juice.

  2. Cover and allow to sit at room temperature for at least 30 minutes and up to 3 hours. You can refrigerate if you choose but this is not necessary.

  3. Immediately before baking, stir in the tapioca flour/starch or cornstarch.

Thai Chili Cucumber Vodka Lemonade

Thai Chili Cucumber Vodka Lemonade

My fiery disposition requires the cooling effects of cucumbers in summer’s heat. But at the same time, I can’t resist spicing up a cocktail. The chili peppers must be ready to harvest at the same time for a good reason. Cheers to this concoction that has it all — mellow cucumber juice, tart lemon, spicy Thai basil and birds eye chili, with a touch of sweetness from watermelon and simple syrup.

Plant Based Cashew Mayo

Plant Based Cashew Mayo

Yield: 1 ½ - 2 cups mayo

What You Need:

  • 1 ½ cups raw unsalted cashews, soaked for at least 6 hours or overnight

  • ½ cup olive oil

  • 2-3 tablespoons freshly squeezed lemon juice

  • 2 tablespoons cider vinegar

  • 1 teaspoon dry mustard powder

  • 3 tablespoons warm water

  • 1 teaspoon kosher salt

What You Do:

  1. Drain and rinse cashews.

  2. In a blender, purée drained cashews with the olive oil, lemon juice, cider vinegar, mustard powder and 1 tablespoon of the water. Stop and scrape down sides. Add water 1 tablespoon at a time until mixture comes together into a smooth cream. Purée until smooth. It should be thick but spreadable, like whipped cream cheese.

  3. Taste and add salt ¼ teaspoon at a time. Purée again. Taste and adjust seasoning as necessary.

  4. Use immediately or transfer to a jar and refrigerate for up to 1 week.

Roasted Butternut Squash and Apple Soup

Roasted Butternut Squash and Apple Soup

This is my most requested recipe from clients and friends, so here it is, finally, measured and tested for you. As with most of my recipes, the herbs are optional, the type of stock is up to you, and the apple is merely a personal favorite adding a touch of tart to counteract the slight bitterness of the squash. But you can leave it out. You might also like this soup with a punch of ginger, minced and sautéed with the onion or juiced and squeezed in at the end.

Quick Spicy Tomato Basil Marinara

Quick Spicy Tomato Basil Marinara

Who needs jarred sauce when you can whip up a tasty, preservative-free, lower sodium version in less than 30 minutes? This sauce has countless uses from spreading on pizza to mussels marinara to layering into a rustic lasagna. Or simply toss with freshly cooked pasta for a simple supper all ages will enjoy.

Makes: 2-3 cups

What You Need:

  • 1 tablespoon extra virgin olive oil

  • 4-5 cloves garlic, minced

  • ⅛ teaspoon sea salt, divided

  • ½ - 1 teaspoon red pepper flakes

  • ½ - 1 teaspoon dried oregano

  • 1 large (28 oz) can crushed tomatoes

  • 1 handful basil leaves, cut into thin strips  

What You Do:

  1. Heat olive oil in a medium saucepan over medium heat.

  2. Add garlic cloves and a pinch of salt. Lower heat slightly and sauté gently until soft. 

  3. Add red pepper flakes and oregano. Saute 1-2 minutes. 

  4. Add tomatoes and remaining salt. Bring to a low boil. Reduce to medium low heat and simmer for 20-25 minutes or longer to reduce and intensify flavor. Adjust seasoning with salt and red pepper flakes.

  5. Before serving, stir in the fresh basil.