#usewhatyouhave

Pumpkin Wontons with Sichuan Chili Oil

Pumpkin Wontons with Sichuan Chili Oil

Pumpkin is not just for dessert! it is a vegetable, from the squash family, after all. You can use pumpkin to make all kinds of savory dishes. Start with this Pumpkin Wonton in Sichuan Chili Oil because it is easy and you will love it. In fact, I can’t get enough of these.

Chewy Chestnut Cookies

A few years ago, I learned about this interesting ingredient called Chestnut Spread or Creme de Marrons. It was actually an article by David Lebovitz describing the confection as having a “ruddy, nutty, almost roasted squash-like flavor” and “distinct toffee notes” that convinced me I just had to try it. So, when I came upon this chestnut spread, particularly the Clement Faugier brand, in a store - no doubt some Brooklyn foodie haven - I snatched some up.

But I had absolutely no plan for using it. The shelf stable canister weighing in at 500 grams with a pressure sealed lid was a bit intimidating to open. Once I opened this, what would I find? How much would I use and would I be able to manage the rest before it perished? What’s it good for? Will we just spread it on toast or do I need a recipe? So needless to say, that can hung out in my pantry for quite a bit, and even made a move from one kitchen to another in 2021.

Finally, I was compelled to open it, when in spring 2022, I had an intense hankering for peanut butter cookies. Problem was I didn’t have more than a teaspoon of peanut butter. And I didn’t have enough almond butter or any of my usual alternatives either. So, I held my breath and finally popped the top of this can of chestnut spread. It was not an immediate substitute for peanut butter but it is an absolute delight.

Chestnut spread is more of a confection than a nut butter. It is very sweet and almost taffy like. It’s reminiscent of marzipan, only a bit softer and with chestnuts instead of almonds. Still, I knew I could make this work into a creative take on a peanut butter cookie. As a starting point, I used my recipe for Chewy Peanut Butter Cookies.

Then I…

  • removed the white sugar entirely

  • reduced the amount of brown sugar

  • added a bit more flour

  • chilled the dough overnight before shaping and baking

  • increased the almond butter in subsequent recipe tests to cut the sweetness and add structure to the cookie

These adjustments paid off. These cookies are fantastic. They are chewy and moist and subtly sweet like snicker doodles, slightly nutty like a peanut butter cookie and have the elegance of a pignoli (pine nut) cookie. Add these to your holiday cookie baking.

Chewy Chestnut Cookies

yield: 2 dozen

What You Need:

  • ½ cup unsalted butter, softened

  • ½ cup natural almond butter

  • 1 cup chestnut spread

  • 1 ½ cup brown sugar (not packed)

  • 3 large eggs, room temperature

  • 2 teaspoons vanilla extract

  • 2 ½ cups all purpose flour

  • 1 ½ teaspoons baking soda

  • 1 ¾ teaspoon fine sea salt

For shaping:

  • 6 tablespoons granulated sugar

What You Do:

  1. In a large bowl, combine butter, almond butter, chestnut spread and brown sugar. With an electric mixer on medium high speed, beat until light and fluffy, about 3-5 minutes.

  2. Add eggs one at a time and beat until smooth. Add vanilla and beat until light and fluffy.

  3. In a separate bowl, sift together the flour, baking soda, and salt.

  4. Add the dry ingredients to the butter mixture. With a spatula, mix until just combined. Do not over mix.

  5. Chill dough for at least 6 hours or overnight (recommended). 

  6. Preheat the oven to 350 degrees F. Line a baking sheet with parchment paper or a silicone baking mat.

  7. Put the granulated sugar in a shallow bowl. Using a spring loaded scoop, portion the dough. Gently roll the portioned dough into balls in the palms of your hands. Gently roll in the granulated sugar to coat. TIP: dampen your hands and the scoop before handling the dough to prevent sticking.

  8. Arrange sugar coated dough on the prepared baking sheet, spaced out by about 1 inch. Bake at 350 for 11 minutes. The bottoms and edges should be a light golden brown and the centers should be puffed up, and set but soft. 

  9. Cool for 1-2 minutes on the baking sheet, then transfer cookies to a wire rack to continue cooling.

Cranberry Beef Ragu

Cranberry Beef Ragu

If you made a rib roast or prime rib for your holiday meal, you might be swimming in leftovers. My favorite repurposing of a leftover hunk of meat is ragu… to be served on pasta, of course. Take any hunk of meat and render the fat, cook some shallots, and in this case, hot peppers and ginger in that fat, deglaze the pot and add whatever leftovers will work with that meat. A little bit of liquid and you’re 30 minutes of pressure cooker (or instapot) time away from the most decadent (nearly free) pasta sauce your pappardelle has ever seen. Then crush this leftovers game if you have a nearly flat bottle of boozy cider, solidified gravy, and a jar of cranberry sauce just wondering its fate in that same forbidden forest.

Pantry Clean-Out Granola

I’ve been baking my own granola for years now, usually inspired by the odds and ends I find when cleaning my pantry. It’s incredibly satisfying to empty the remnants of bags of nuts, a tub of dried mystery fruit, a jar of cinnamon, and a rubber-band wrapped package of quinoa in one fell swoop! In the process, I create a wide open pantry shelf AND breakfast of champions for weeks!

Armed with some photos I took during the recent production of 60 jars for a dear friend’s wedding, I’m finally putting this granola “recipe” on the Teaching Table blog.

As the air quotes suggest, this is barely a recipe but rather a set of suggestions and instructions for assembling goodness out of any combination of nuts & dried fruit, spice, seeds, oil & sweetener. Mix and match to create a personalized granola that suits your taste and needs (or uses what you find in the back of your pantry). You can even adjust the ratios of the dry ingredients. The amounts are relative — another vote for this solution to reduce food waste! Here’s a basic formula.

Tip: For an even crunchier granola, add 1 beaten egg white to the oats mixture.

Pantry Clean-Out granola

What you need:

Ingredients for Shannon & Dylan’s Signature (vaguely Morrocan) Granola.

Ingredients for Shannon & Dylan’s Signature (vaguely Morrocan) Granola.

  • 2 ½ - 3 cups rolled (not instant nor steel cut) oats

  • ½ - 1 cup whole grains such as quinoa, millet and amaranth

  • 2 - 4 tablespoons seeds, such as sesame, chia and flax

  • 1 - 2 teaspoons of ground spice, such as ginger, cinnamon, or cardamom, or powders like cocoa and matcha tea

  • ½ - 1½ cups nuts, such as almonds, hazelnuts, walnuts, cashews and pistachios

  • ½ cup oil (melted coconut, canola, hazelnut, pistachio, grapeseed, or olive oil)

  • ⅓ cup sweetener in syrup form, such as honey, agave or maple syrup

  • ½ cup dried fruit, such as raisins, tart cherries, apricots, figs, peaches or apples, ¼ inch dice

What you do:

Some of my favorite combinations:

All of these start with rolled oats…

  • walnuts + cinnamon + canola oil + maple syrup + dried apples

  • pistachios + almonds + cardamom + sesame seeds + coconut oil + honey + dried apricots

  • almonds + cocoa powder + nut oil (hazelnut, walnut) + agave + dried cherries

  • cashews + ginger + quinoa + coconut oil + agave + coconut flakes + dried mango

  • matcha tea powder + cashews + coconut oil + agave + golden raisins

  • walnuts + pistachios + cinnamon + quinoa + grapeseed oil + honey + raisins

What goes into your favorite mixture?

What's in my pantry?

Local seasonal cooking or the “use what you have method” is reliant upon a well-stocked pantry of easily adaptable staples. Since I often talk about what I find in my pantry to combine with unexpected pounds of fresh produce to assemble a quick dinner, many of you have asked, “what should be in my pantry?” As a chef, baker, and overall food enthusiast, my pantry is abnormally stocked with 6 types of rice, 8 varieties of flour, an assortment of oil and vinegar bottles and nearly 70 spices and dried herbs, and counting. What can I say, I love spices! However, for the purposes of this post, I asked myself, “what 10 items would you keep if you had to limit your ingredient indulgence?” In other words, below are the top 10 items I always have on hand.

Note: Your well-stocked pantry is going to have a lot to do with the type of cooking you do and the diet you eat [or aspire to eat]. This is my version.

Red Lentils (and Bengali Red Lentil Dal)

Red Lentils (and Bengali Red Lentil Dal)

Freekeh

Freekeh

Dried Cranberry Beans

Dried Cranberry Beans

  1. High Quality Extra Virgin Olive Oil - Mediterranean diet, need I say more?

  2. Canola oil - sometimes you need a health supportive cooking oil that won’t impart olive flavor

  3. Apple Cider Vinegar - when I thought about it, this is the vinegar I use most in sauces, dressings, marinades, and even stews and bone broth

  4. Dry Pasta - with my Italian roots and carbohydrate loving family, we’re often one box of pasta and some veggies away from dinner

  5. Coconut Milk - for a quick curry, a creamy soup, “nice” cream, or overnight oats, it’s good to have this stuff around

  6. A variety of Spices but only those you’ll use within a year. In the spirit of this post, if I had to choose one and only, I’ll take crushed red pepper flakes, since I use them nearly every day.

  7. Red Lentils - fast cooking, no soaking required, endless possibilities…

  8. A whole grain, and if I had to choose right now, it would be Freekeh, because it’s freaking delicious

  9. Dried Cranberry Beans - New England favorite, they work in chili, make kick-ass beans and rice, and can be puréed into a smooth dip

  10. Canned Chickpeas - I often cook my own chickpeas but having canned beans on hand for unplanned uses is critical and chickpeas are of the most useful

Okay, so ten items is extremely limiting; I’m including a bonus 5 items for bakers:

Turbinado Sugar

Turbinado Sugar

  1. Unbleached All Purpose Flour - I bake with a variety of flours and meals, but you can’t beat all purpose, because, well it’s for all purposes, and I usually combine that with another variety like spelt or whole wheat

  2. Turbinado Sugar - This raw version is less refined and offers more texture and flavor than its white counterpart, but it’s also versatile and can be used in most baking recipes that call for white and/or brown sugar. It can also be ground if you need it finer.

  3. Baking Powder - Sometimes you need a leavener…and this works more often than baking soda which requires acid in the mixture. Admittedly, this baker uses both regularly.

  4. Rolled Oats - these can also be ground into oat flour using a spice grinder or food processor

  5. Pure Vanilla Extract - usually can’t go wrong with this addition to most sweets…

I forgot salt?! Bonus item: Kosher Salt. So, there you have it. 16 required items in my pantry.

Summer Succotash - New England Style

IMG_9345.JPG

It does not get more American than succotash, one of the first dishes Native Americans shared with settlers. The word, meaning "broken corn kernels" comes from the Narrangansett people, who lived in the area that is now Rhode Island. There are many ways to make succotash and an American southerner might eloquently debate a Yankee on both contents and process. I favor the New England variety, with a few tweaks, but also just assumed succotash translated to "every vegetable from the garden" or "the entire contents of your produce drawer dumped into a skillet."

Succotash is the whatever you have at the time kind of dish. Actually -- and perhaps I should put this into the procedure itself -- when making succotash, I open all drawers of my fridge, hunt behind jars and open every container of leftovers, stacking every possible vegetable that can be used on the cutting board along with the tomatoes ripening on the counter. As far as I'm concerned, the only required ingredient in summer succotash is fresh local sweet corn previously cooked or raw. The others you can take or leave or substitute, depending on what you have and what you like.

New England Summer Succotash

Yield: Serves 4-6

fullsizeoutput_1962.jpeg

What you need:

  • 2 tablespoons extra virgin olive oil or butter

  • 1 onion

  • sea salt or kosher salt

  • dried ground spices (e.g. smoked paprika, garlic powder, cayenne, optional)

  • 2 sweet peppers (any color bell, anaheim, cubanelle)

  • 3-5 cloves garlic

  • 1 cup beans (see note)

  • 2 medium zucchini or summer squash

  • 2-3 cups fresh corn kernels*

  • 1/4 cup water

  • 1-2 medium tomatoes or handful of cherry tomatoes

  • 1-2 tablespoons fresh herbs (thyme, parsley, basil, oregano, chives, rosemary), chopped

What you do:

  1. Cut all vegetables into a similar size and shape.

  2. Heat a large heavy bottomed skillet (cast iron if available) over moderately high heat. Heat the oil or butter and add the onion with a few pinches of salt. Sauté until soft and lightly browned, about 5-8 minutes.

  3. Add spices if using and sauté about 1 minute.

  4. Add the peppers, garlic, a pinch of salt and sauté until peppers are softened.

  5. Add fresh beans (if using), zucchini and corn kernels with a few more pinches of salt. Sauté 1-2 minutes. Add the water and cook until liquid is absorbed.

  6. Add the tomatoes and cook until they break down. Add cooked dried beans if using.

  7. Right before turning off the heat, add the fresh herbs.

Note on beans: Traditional New England succotash uses cranberry or "cattle beans" like the ones pictured here. See that beautiful cranberry color marbled throughout? If you can get fresh cranberry beans straight from the shell for your summer succot…

Note on beans: Traditional New England succotash uses cranberry or "cattle beans" like the ones pictured here. See that beautiful cranberry color marbled throughout? If you can get fresh cranberry beans straight from the shell for your summer succotash, that is ideal. Or substitute fresh shelling peas, snap peas, green beans, or lima beans. You can also cook up the dried ones, like you make any dried bean and add to the succotash at the very end.

Variations:

  • Use leftover already cooked vegetables, such as corn boiled on the cob or grilled zucchini and squash. Simply reduce the cooking time for the already cooked vegetables. Add them to the succotash a little later than the recipe calls for, omit the water and reduce the salt.

  • Serve the succotash as a brunch hash topped with crispy fried eggs. Push the succotash to the side, add a touch more oil and fry the eggs in the same skillet.

  • In place of tomatoes, try a tablespoon or two of apple cider vinegar or other vinegar.

  • Use salt pork or bacon for the fat. Render the fat in step 2 in place of oil or butter. Add the onion to the rendered fat and bacon pieces.

  • Crisp up small slices of dry salami in the oil. Remove before adding the onion, set aside and return to the dish at the end.

Shopping in your Freezer

Miso Ramen Noodle Soup with Broccoli, Edamame and Jalapeno

Miso Ramen Noodle Soup with Broccoli, Edamame and Jalapeno

Every once in a while, I attempt to dig out my freezer and use up all of its contents, to save $ at the grocery store and free up space for new creations and the bounties I'm anticipating from local crops. It's my version of spring cleaning, aptly named using a term coined by my Grammie. She routinely bears gifts of clothing, fabric and housewares. When asked if she's been shopping, she says, "oh yes, shopping in my closet!" 

I've been sharing some of my recent mouth-watering creations out of goods I found stashed in my freezer, which prompted many of you to ask, how big is your freezer? How do I get that out of my freezer?

IMG_6176.JPG

So, in response...

...my freezer is pretty standard. I live in a Brooklyn apartment, after all.

...here's a list of my tips for finding ingredients and inspiration in your own freezer. Armed with these, you too can make a quick meal, prevent waste and avoid the grocery store, but you might also discover a new family favorite, test your culinary muscles and make something out of the ordinary.

  1. Organize it. Occasionally, take everything out of the freezer and sort it, consolidate similar items and return them to the freezer in an organized fashion. For example, put all animal proteins in one corner, vegetables in another, and stack ready-made meals, like soups and stews together. I also use a narrow bin for lining up my purées and sauces in their liquid storage bags (I use re-purposed breast milk storage bags I have in excess).

  2. Choose wisely. Either randomly select two items, such as one protein and one vegetable to give yourself a challenge or choose two to three items you know go together well (more on that later). Better yet, have your partner, child, roommate, or sister that you're texting, choose the items for you. Set those chosen items in the fridge or out to thaw. Now you're stuck with those, Chopped style. So make it work.

  3. Use formulas. Refer to a list of go-to recipe templates. The types of recipes I'm talking about are best described as "plug and play". Think of general recipes that have a base, a procedure you are familiar with, and a few interchangeable components. My templates include pasta dishes, soup, stew, muffins, quiche, pizza, risotto, grain bowls, pot pie, or stir fry.

  4. Brainstorm flavor combinations. Determine which ingredients and flavors go together. Did you just take peas and ground turkey from the freezer? So ask yourself, what else do I make with peas or what spices and vegetables were in that poultry dish from my favorite restaurant? Or conduct a quick internet search for recipes by ingredient. One resource I love for brainstorming flavor and ingredient combinations is the Flavor Bible. A dear friend gave me this book years ago and I still reference it weekly. Just learned that there is a Vegetarian Flavor Bible now too.

  5. Ignore measurements. It does not matter if the package is half full, or if you don't have as much sauce as you usually use. It's not an exact science. Just add more or less liquid or crunch as needed.

  6. Set a time limit. Again, Chopped style. If you limit how much time you have to either think about what you are going to make with the freezer finds or actually cook dinner or both, you will force your creative side without losing too much time.

  7. Re-purpose freezer finds. Turn something you don't like into something you love or that the kids and picky eaters of the world will eat. Change the texture and overall structure of the ingredient. For example, I had a purée of steamed sweet potatoes, apples and carrots that the baby suddenly turned his nose up at (after liking it for a few months). That purée just became the star ingredient in my famous sweet potato waffles. And all the rejected old bread ends that will never qualify for a BLT or PB&J make beautiful garlicky croutons for a panzanella salad.

  8. Allow yourself an out. You do not have to eat your failures. If it is truly terrible, you can toss it, compost it or feed it to the dog. It's okay, you shopped in your freezer and you gave it a try. Or you might even re-purpose it to another step. We made a risotto out of crab meat, sofrito and peas. It was just okay, and there was a lot remaining, so rather than force ourselves to eat the leftovers, I thought, why not mix in some cheese, roll into balls and pan fry for arancini magic!

And many of you want to know, how do I get all of these things into my freezer to begin with? That's a topic for another day or series of posts. Stay tuned and in the meantime, see here for my chowder freezing tip.

Lemon Ricotta Blueberry Pancakes

IMG_7792.JPG

Our family honors Pancake Saturday. My older son has even created a song and dance to celebrate it. With a little extra time on the weekends to prepare and enjoy breakfast, and because we're all in need of a sweet treat at the end of the week, pancakes are perfect. This is also a great dish for kid kitchen assistants. My little helper measures ingredients, cracks eggs, and mixes, while repeating the mantra "we never over mix the batter." Don't over mix your pancake batter.

fullsizeoutput_1214.jpeg
IMG_5251.JPG

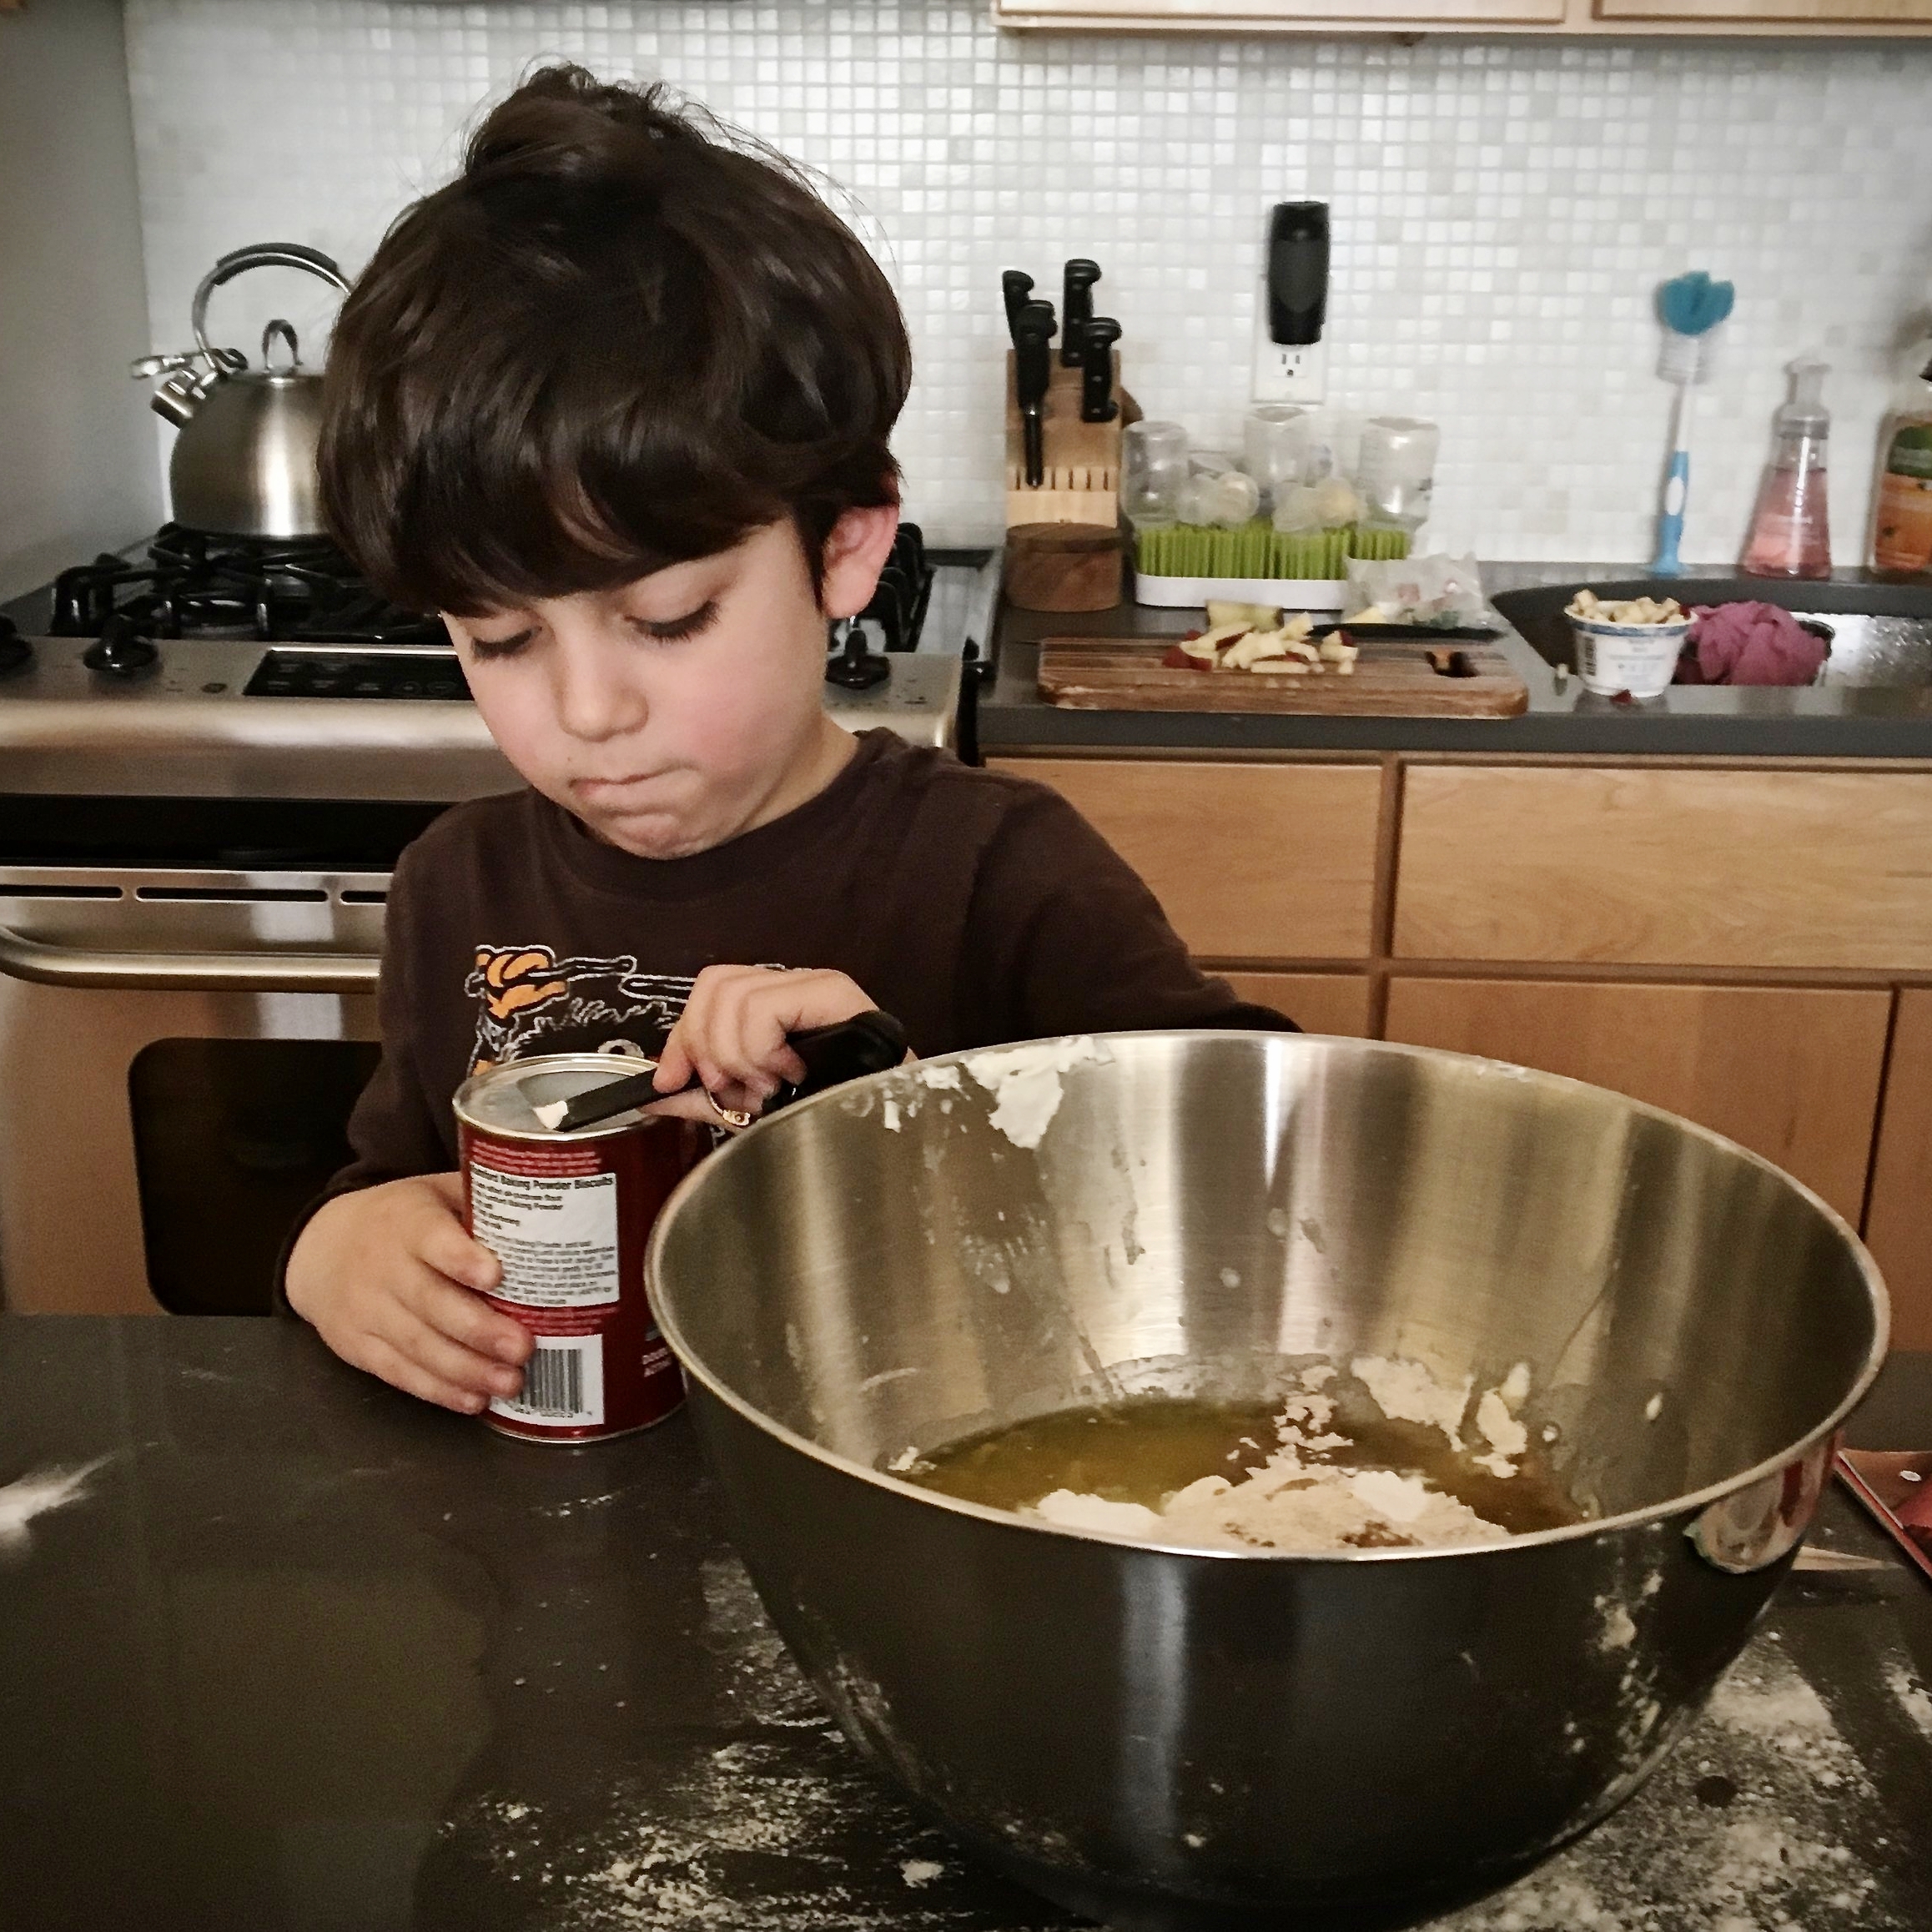
To save yourself even a little bit of time and a lot of mess when making weekly pancakes, mix your dry ingredients (flours, sugar, baking powder, baking soda, salt) in a large batch and store in the pantry. If you are like me and use multiple flours (I like a blend of whole wheat all purpose, white AP and cornmeal for most of my pancakes), this will allow you to just take one canister out of the pantry instead of 3 or 4! Now you have absolutely no reason to buy that packaged stuff. PLEASE don't buy that packaged stuff anymore.

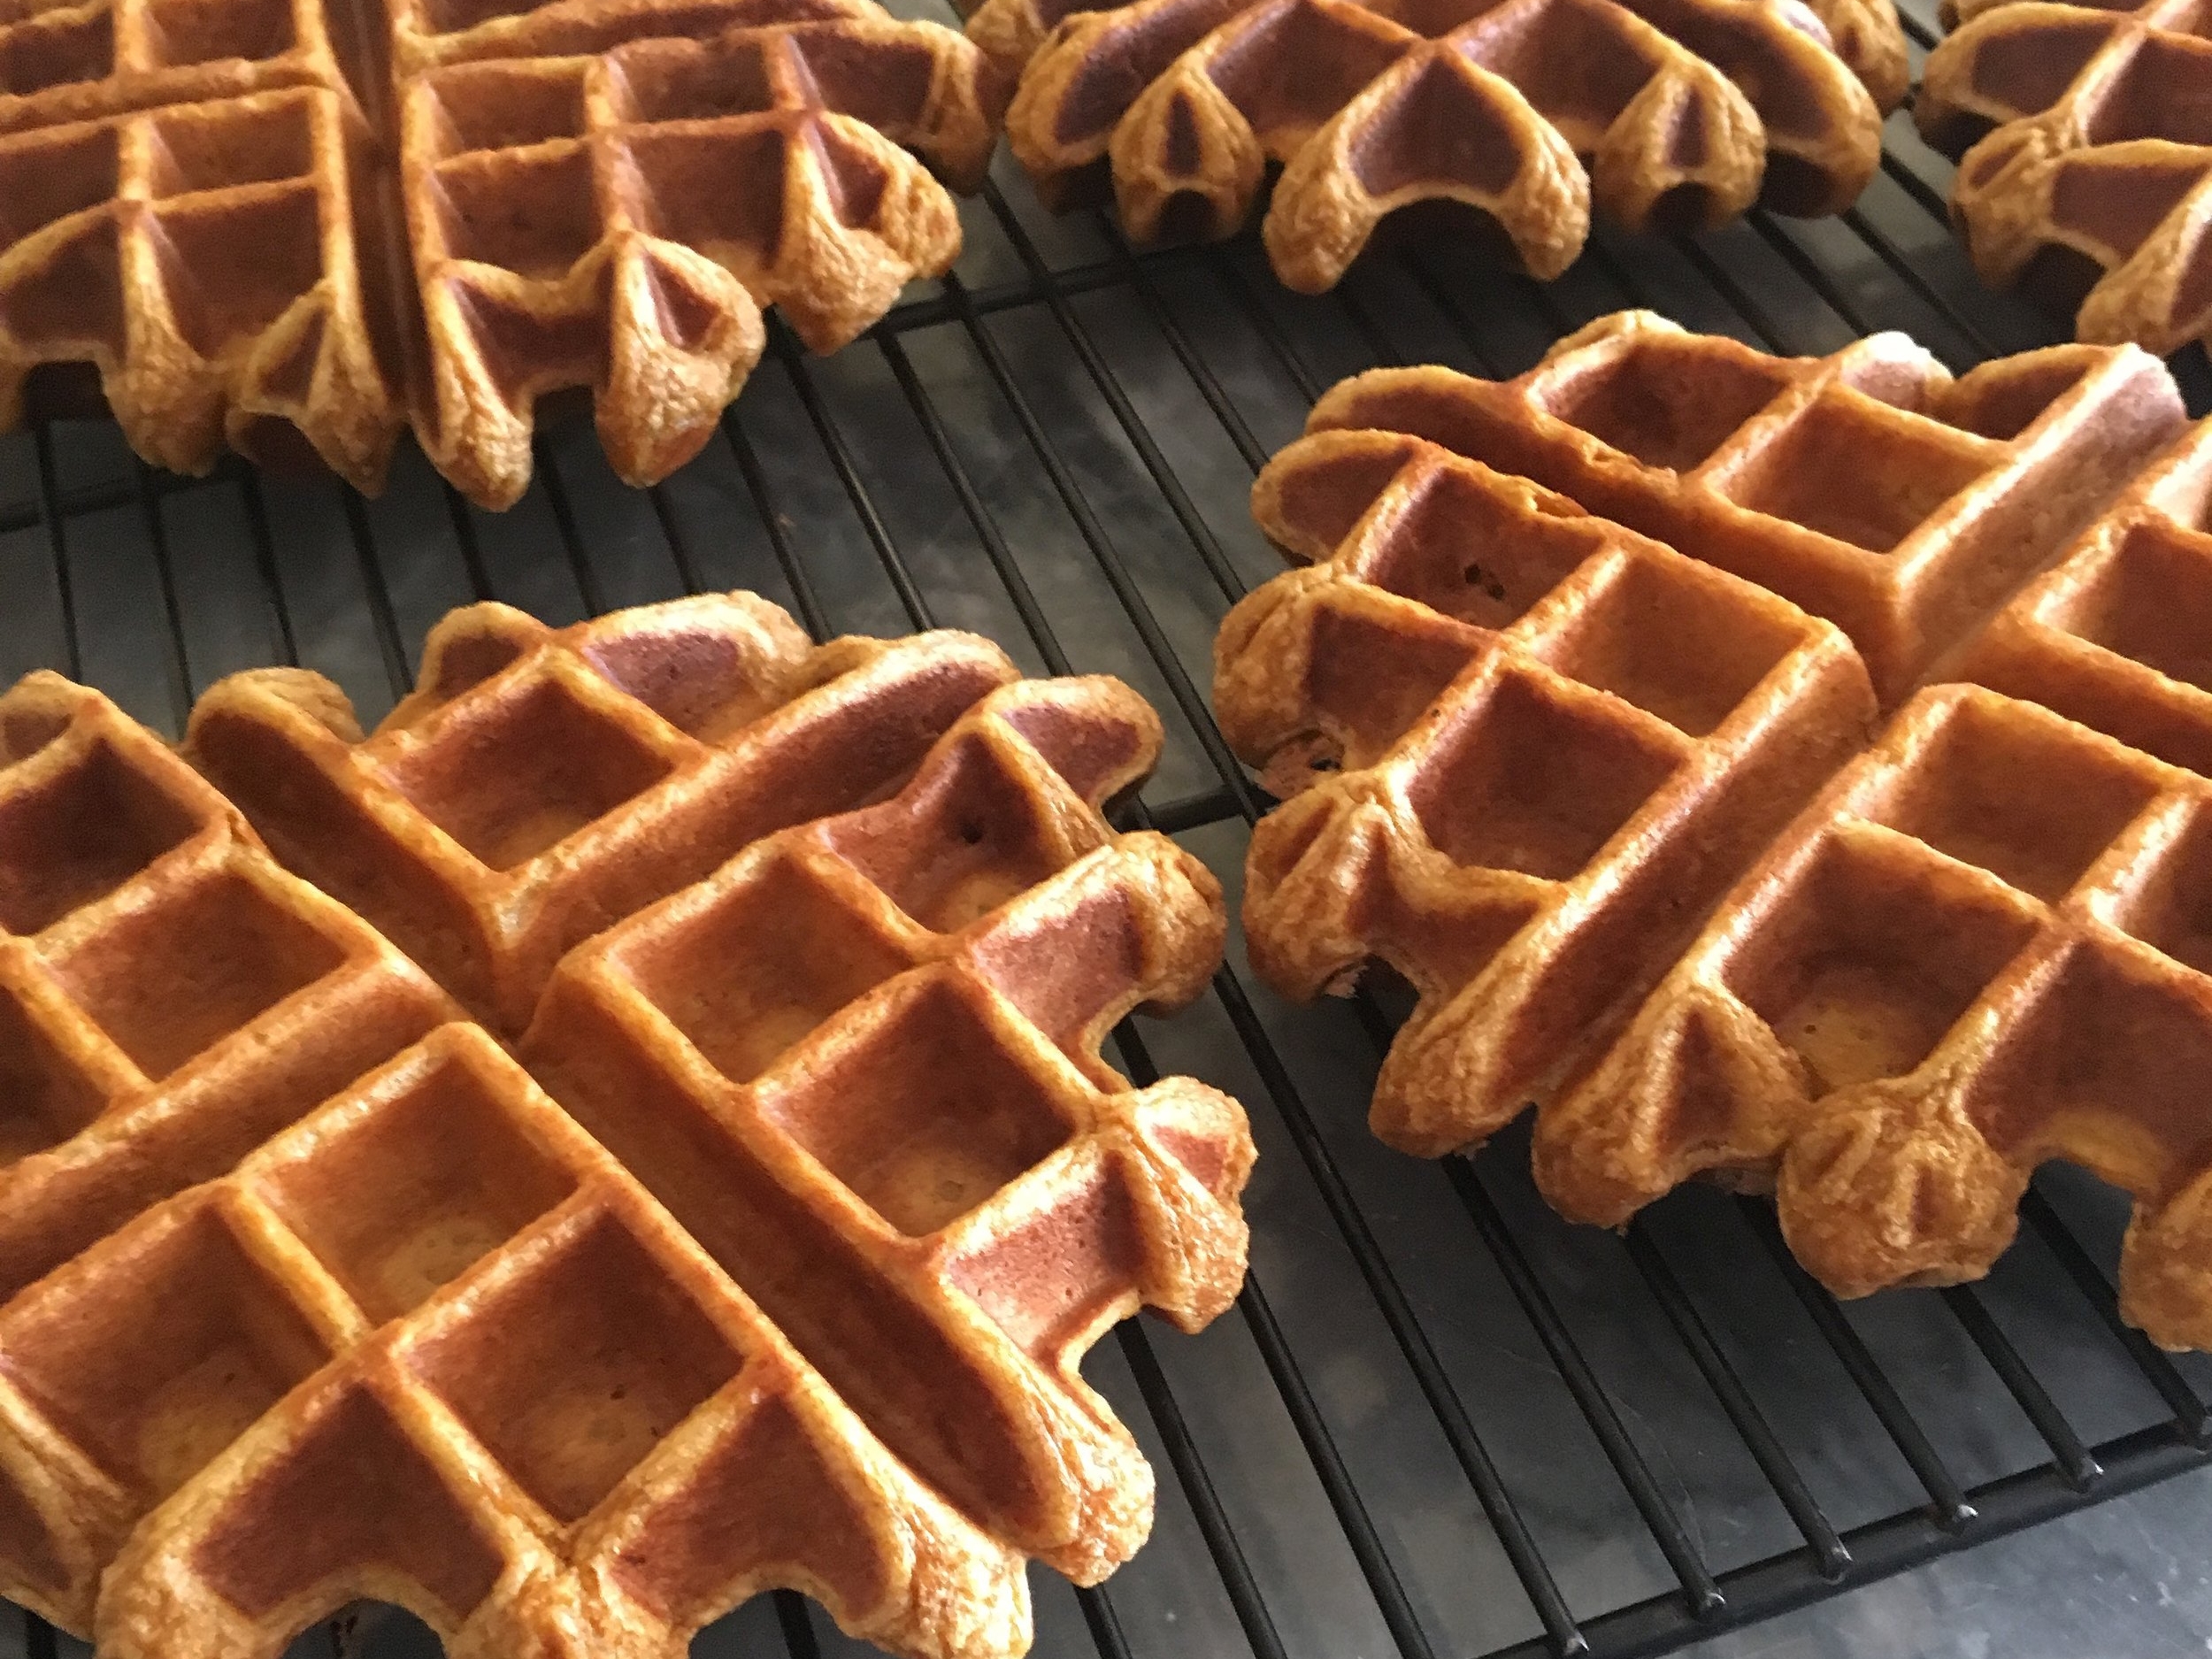
We make a variety of pancakes but a favorite go to for their classic Italian origin and to help fatten up our skinny baby is Lemon Ricotta. While visiting my sister last week, I was inspired to make these after cleaning out her fridge and finding a pound of ricotta cheese and fresh local Florida blueberries. In return, she documented the finished stack you see above. It's nice to have a professional photographer for a sister.

These lemon ricotta pancakes are fluffy and creamy all at once. I adapted the recipe from a few sources, but mostly from Cooking Classy.

Makes ~8 6-inch pancakes

What You Need:

  • 1 1/2 cups flour (I like a blend of 1 cup white AP and 1/2 cup whole wheat AP flour)

  • 3 tablespoons sugar

  • 1 tablespoon baking powder

  • 1/4 teaspoon baking soda

  • 1/4 teaspoon fine sea salt

  • 2 tablespoons unsalted butter, plus more for brushing the pan

  • 3 eggs, room temperature

  • 3/4 cup whole milk

  • 1 cup ricotta

  • zest and juice of 1 large lemon

  • 1 pint fresh blueberries, rinse and drained

What you do:

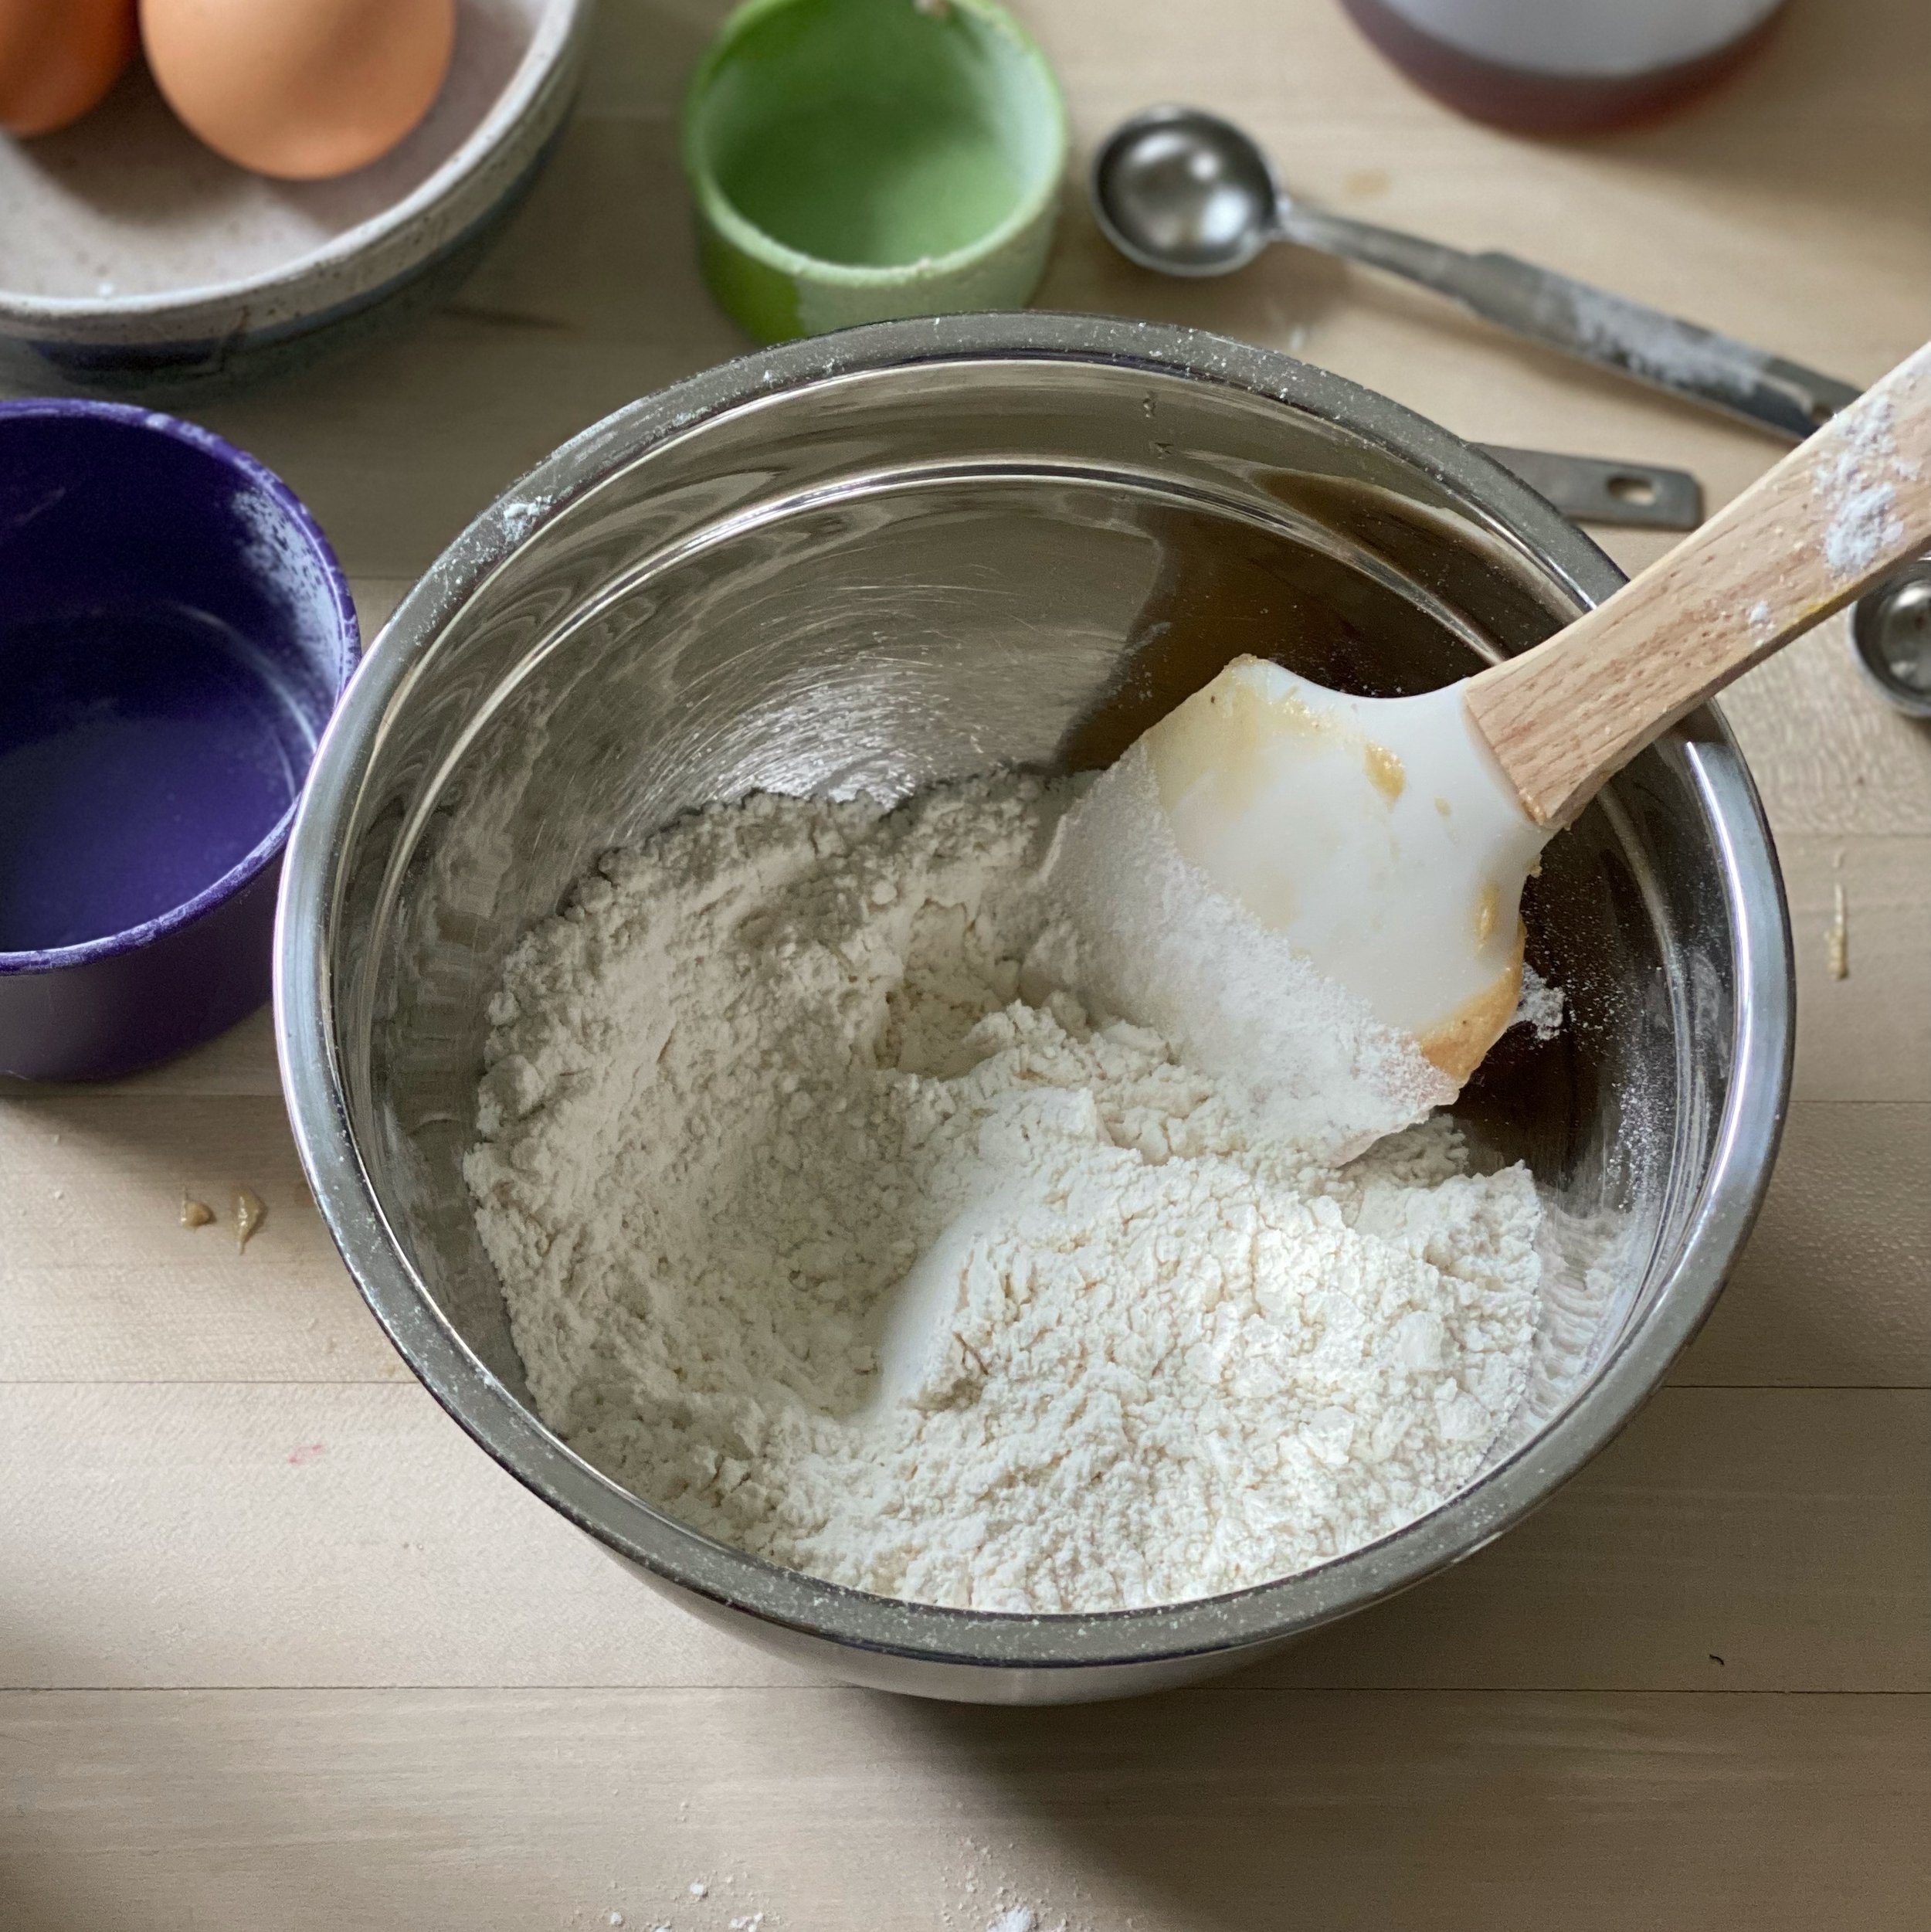
1. Whisk together the flours, sugar, baking powder, baking soda, salt. Or if you have premixed your dry ingredients, measure out 1 3/4 cups dry ingredients and add to a large bowl.

2. Melt the butter. [tip: if you’ll be using a skillet to bake the pancakes, heat the skillet and melt butter in there to save yourself a dish to wash and to grease the pan).

3. In a medium bowl, whisk together the melted butter, eggs, ricotta, lemon zest and lemon juice. It may curdle a little bit, but that is okay. You also do not need to break up all pieces of ricotta. It's nice to bite into that creaminess in the pancakes.

4. Make a well in the dry ingredients and pour in the wet ingredients. Stir a few times with a spatula just to combine. Do not over mix. Fold in the milk and blueberries just until combined.

5. Reheat the skillet over medium high heat. Brush with more butter if needed. Drop 1/3 cup of batter onto the hot pan and top with additional blueberries if desired. Flip after 2-3 minutes or when you see bubbles on top and edges are lightly browned. Cook another 2-3 minutes.

IMG_5303.JPG

Roasted Romanesco with Lemony Anchovy Dressing & Garlic Herb Croutons

Roasted Romanesco with Lemony Anchovy Dressing & Garlic Herb Croutons

Armed with a can of anchovies, a lemon, and herb garlic butter from my freezer, I was determined and craving caesar salad. That’s when I discovered a head of romanesco. So I married my simply roasted romanesco with the components of caesar salad. Make this dish for an easy and healthy, vegetable forward weeknight dinner, perfect for the busy holiday season. It serves two as a main dish or 4-6 as a side or appetizer.

Possibilities for Fresh Pumpkin Puree

Possibilities for Fresh Pumpkin Puree

American supermarkets have it all wrong. Those aluminum pyramids of mashed orange pulp should be displayed in March, not November. Why, at the height of harvest, would I eat last year’s (at best) pumpkin packed into a can when I can eat this week’s pumpkin fresh from the oven? Furthermore, what else are we going to do with the pumpkins we bought at Halloween and had every intention of turning into jack-o-lanterns?