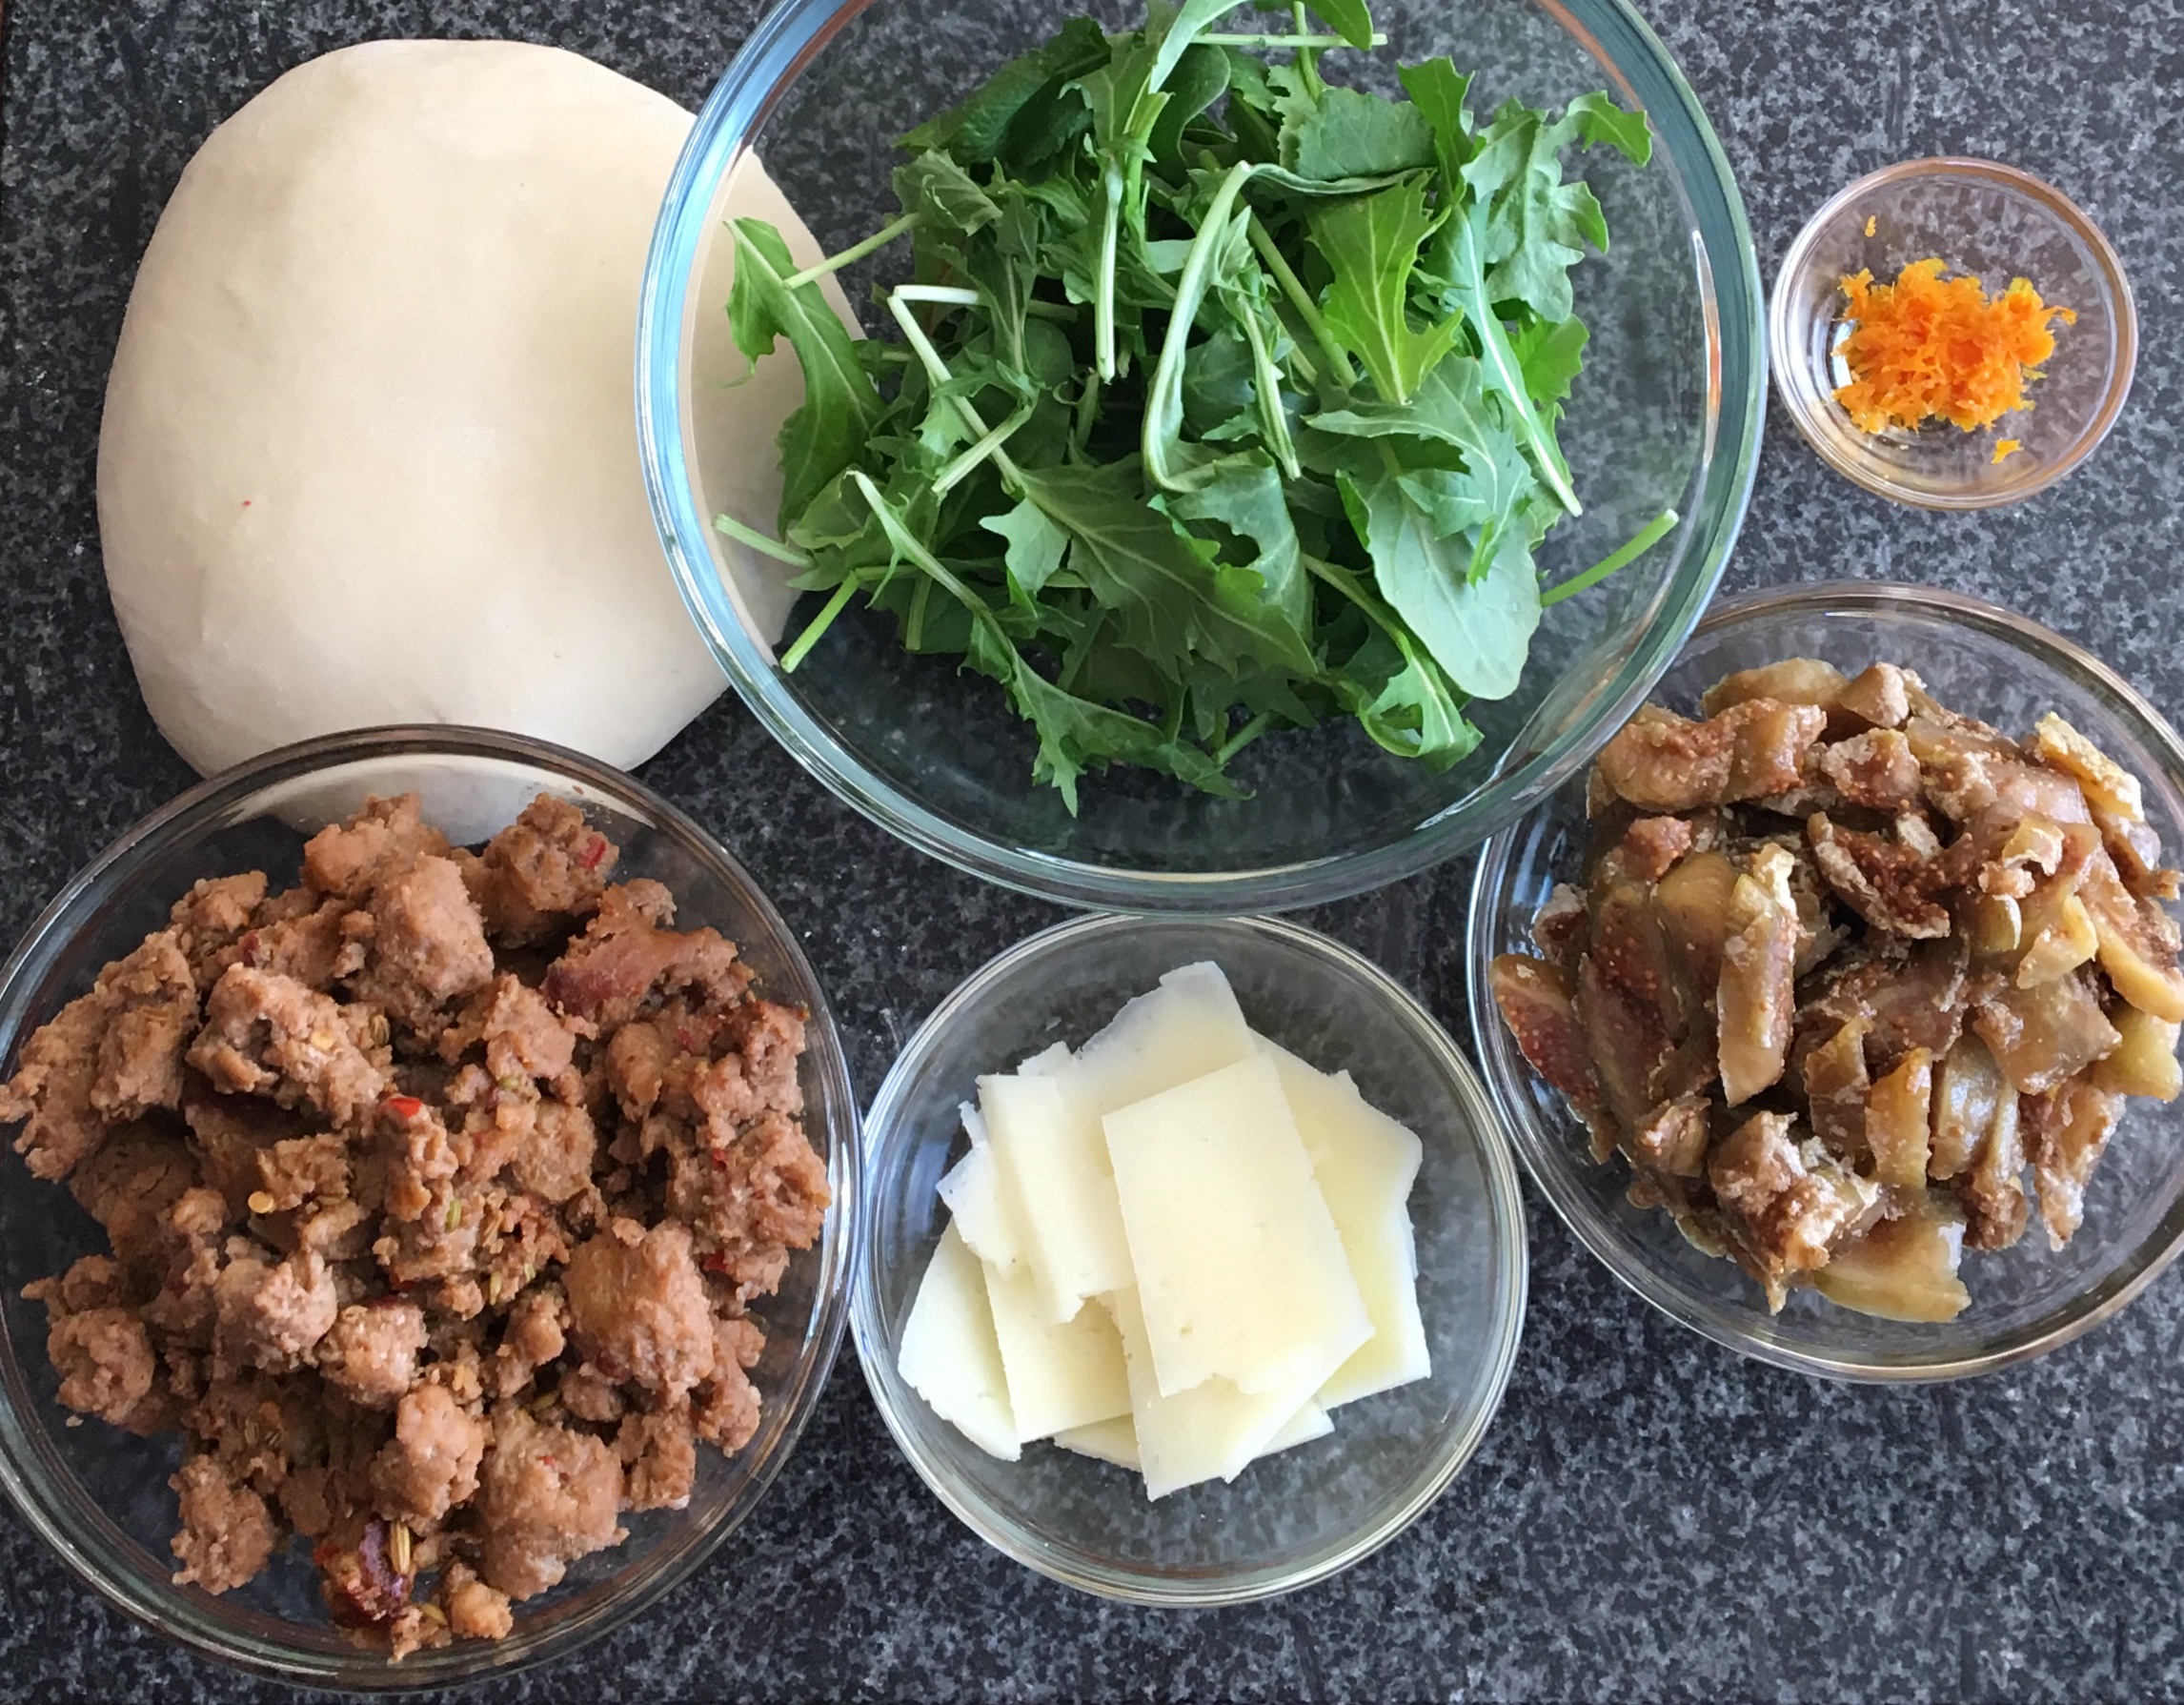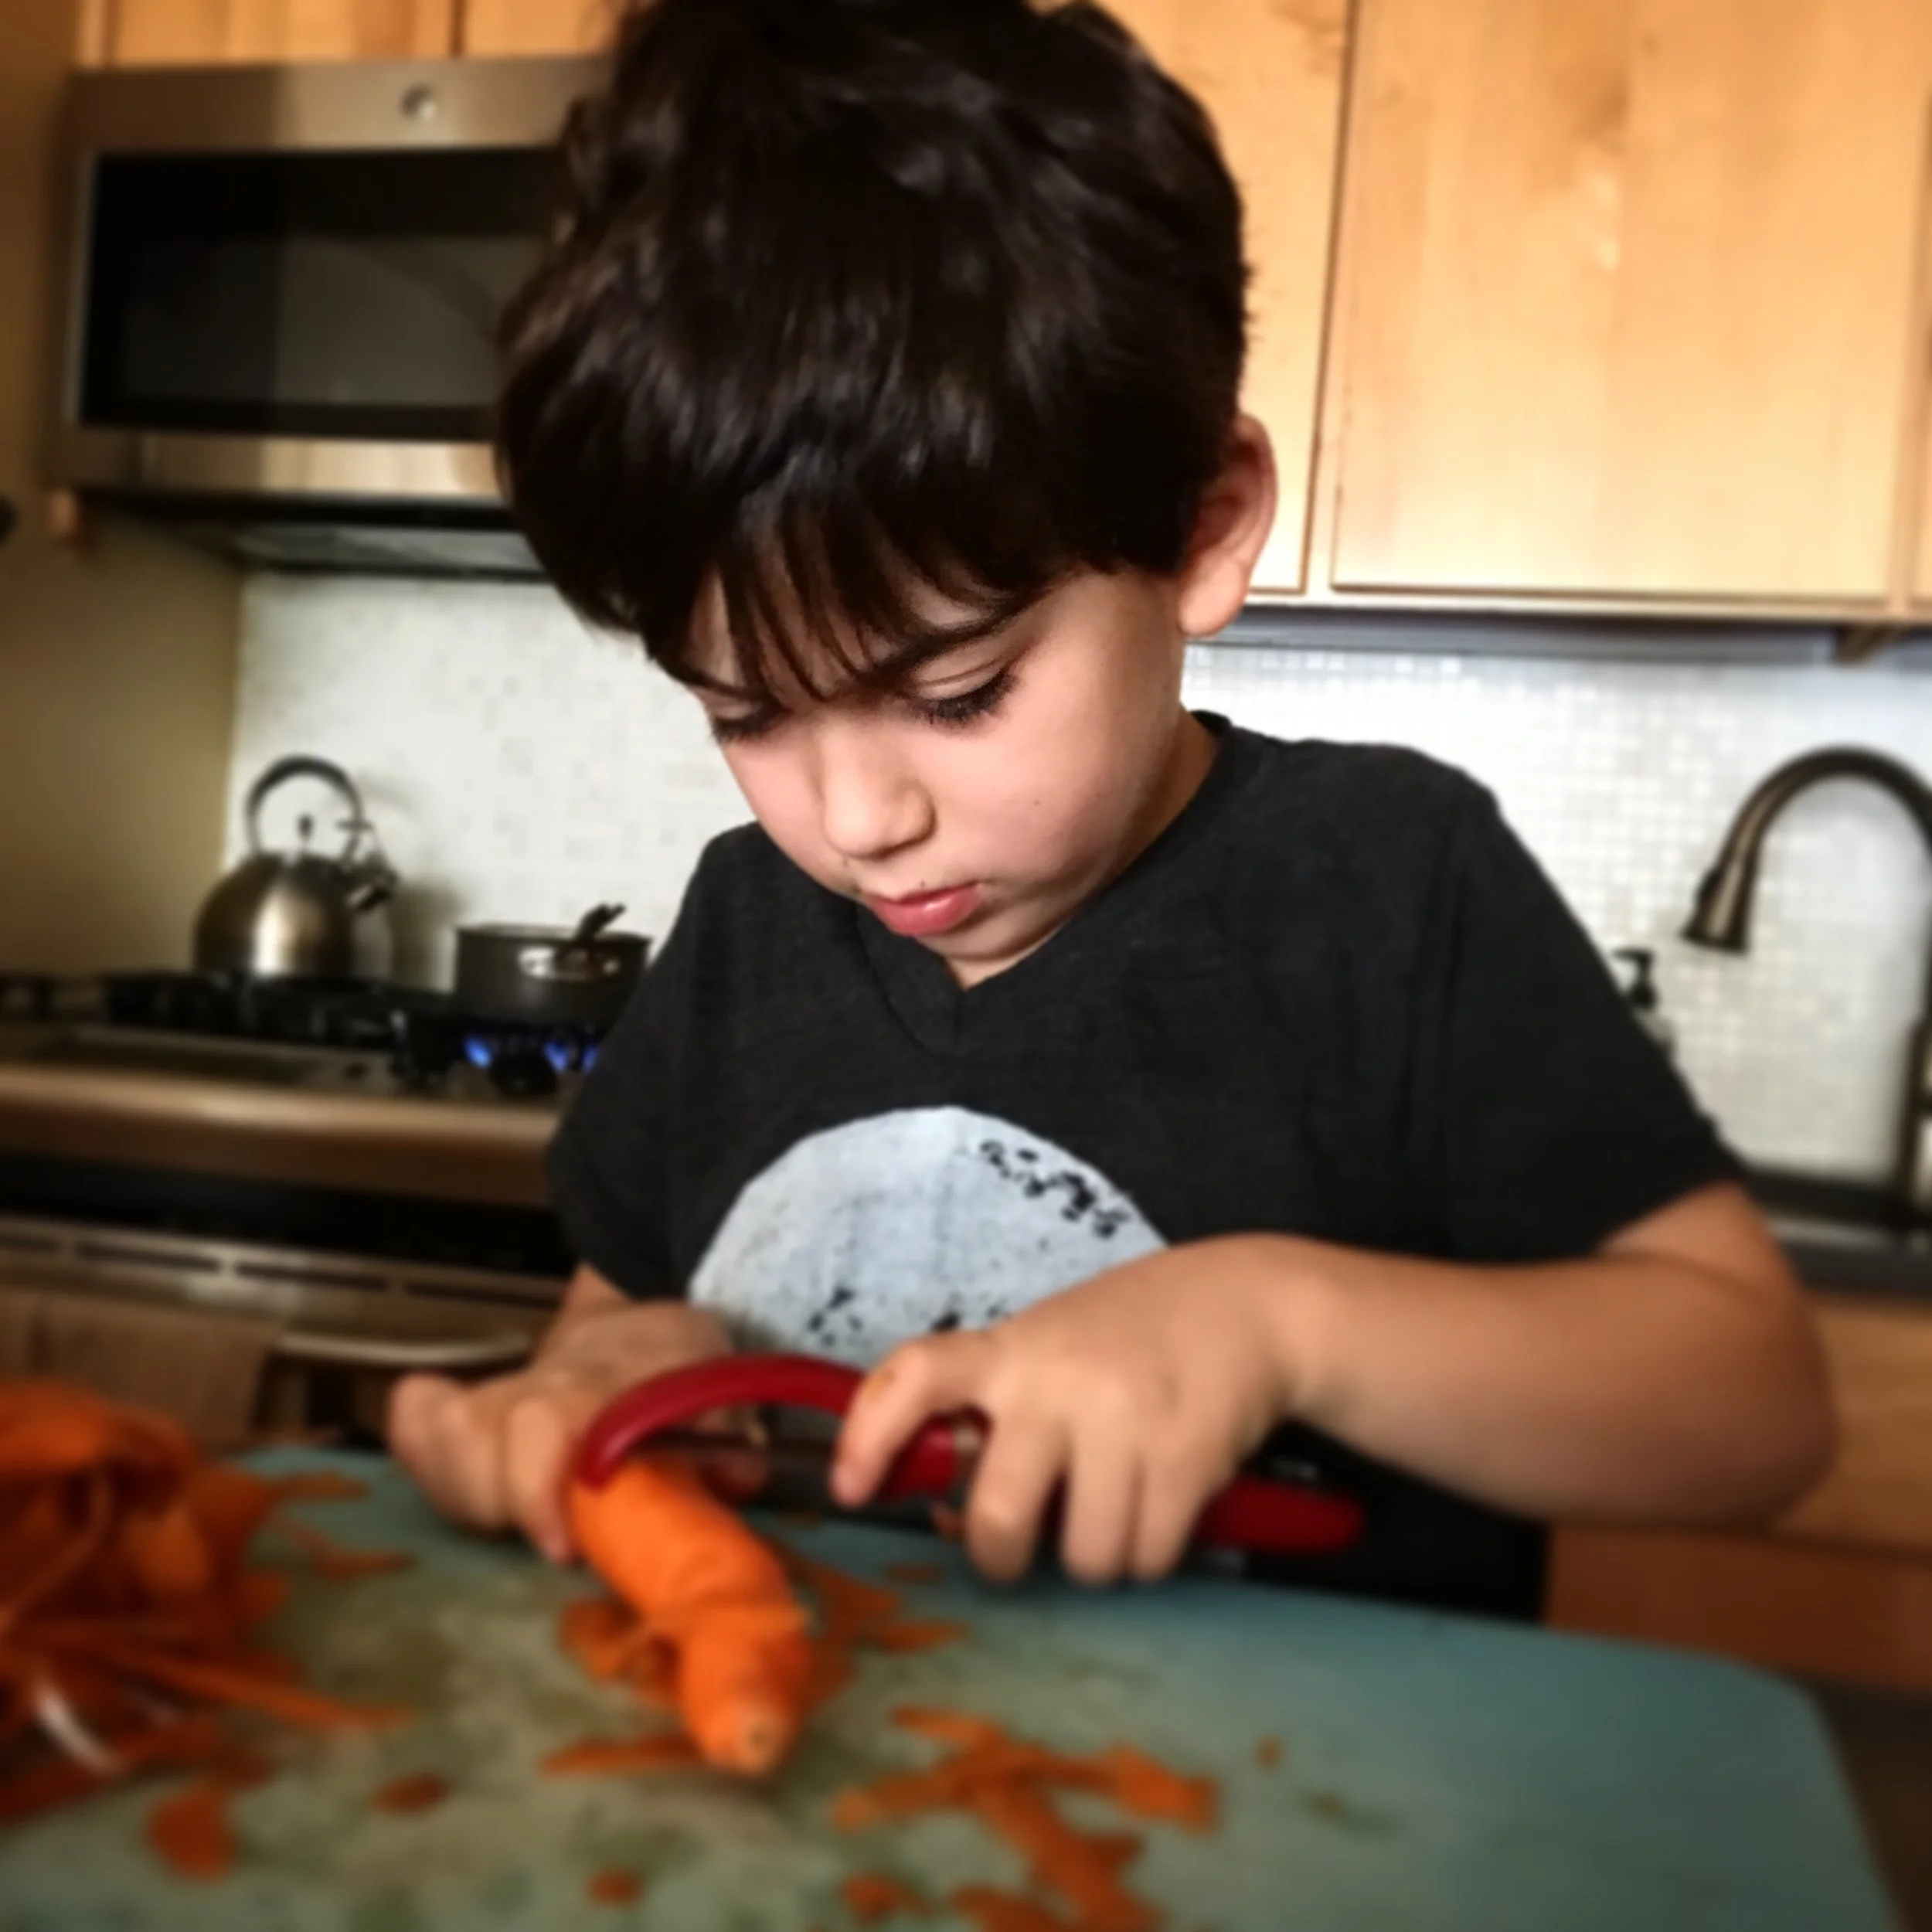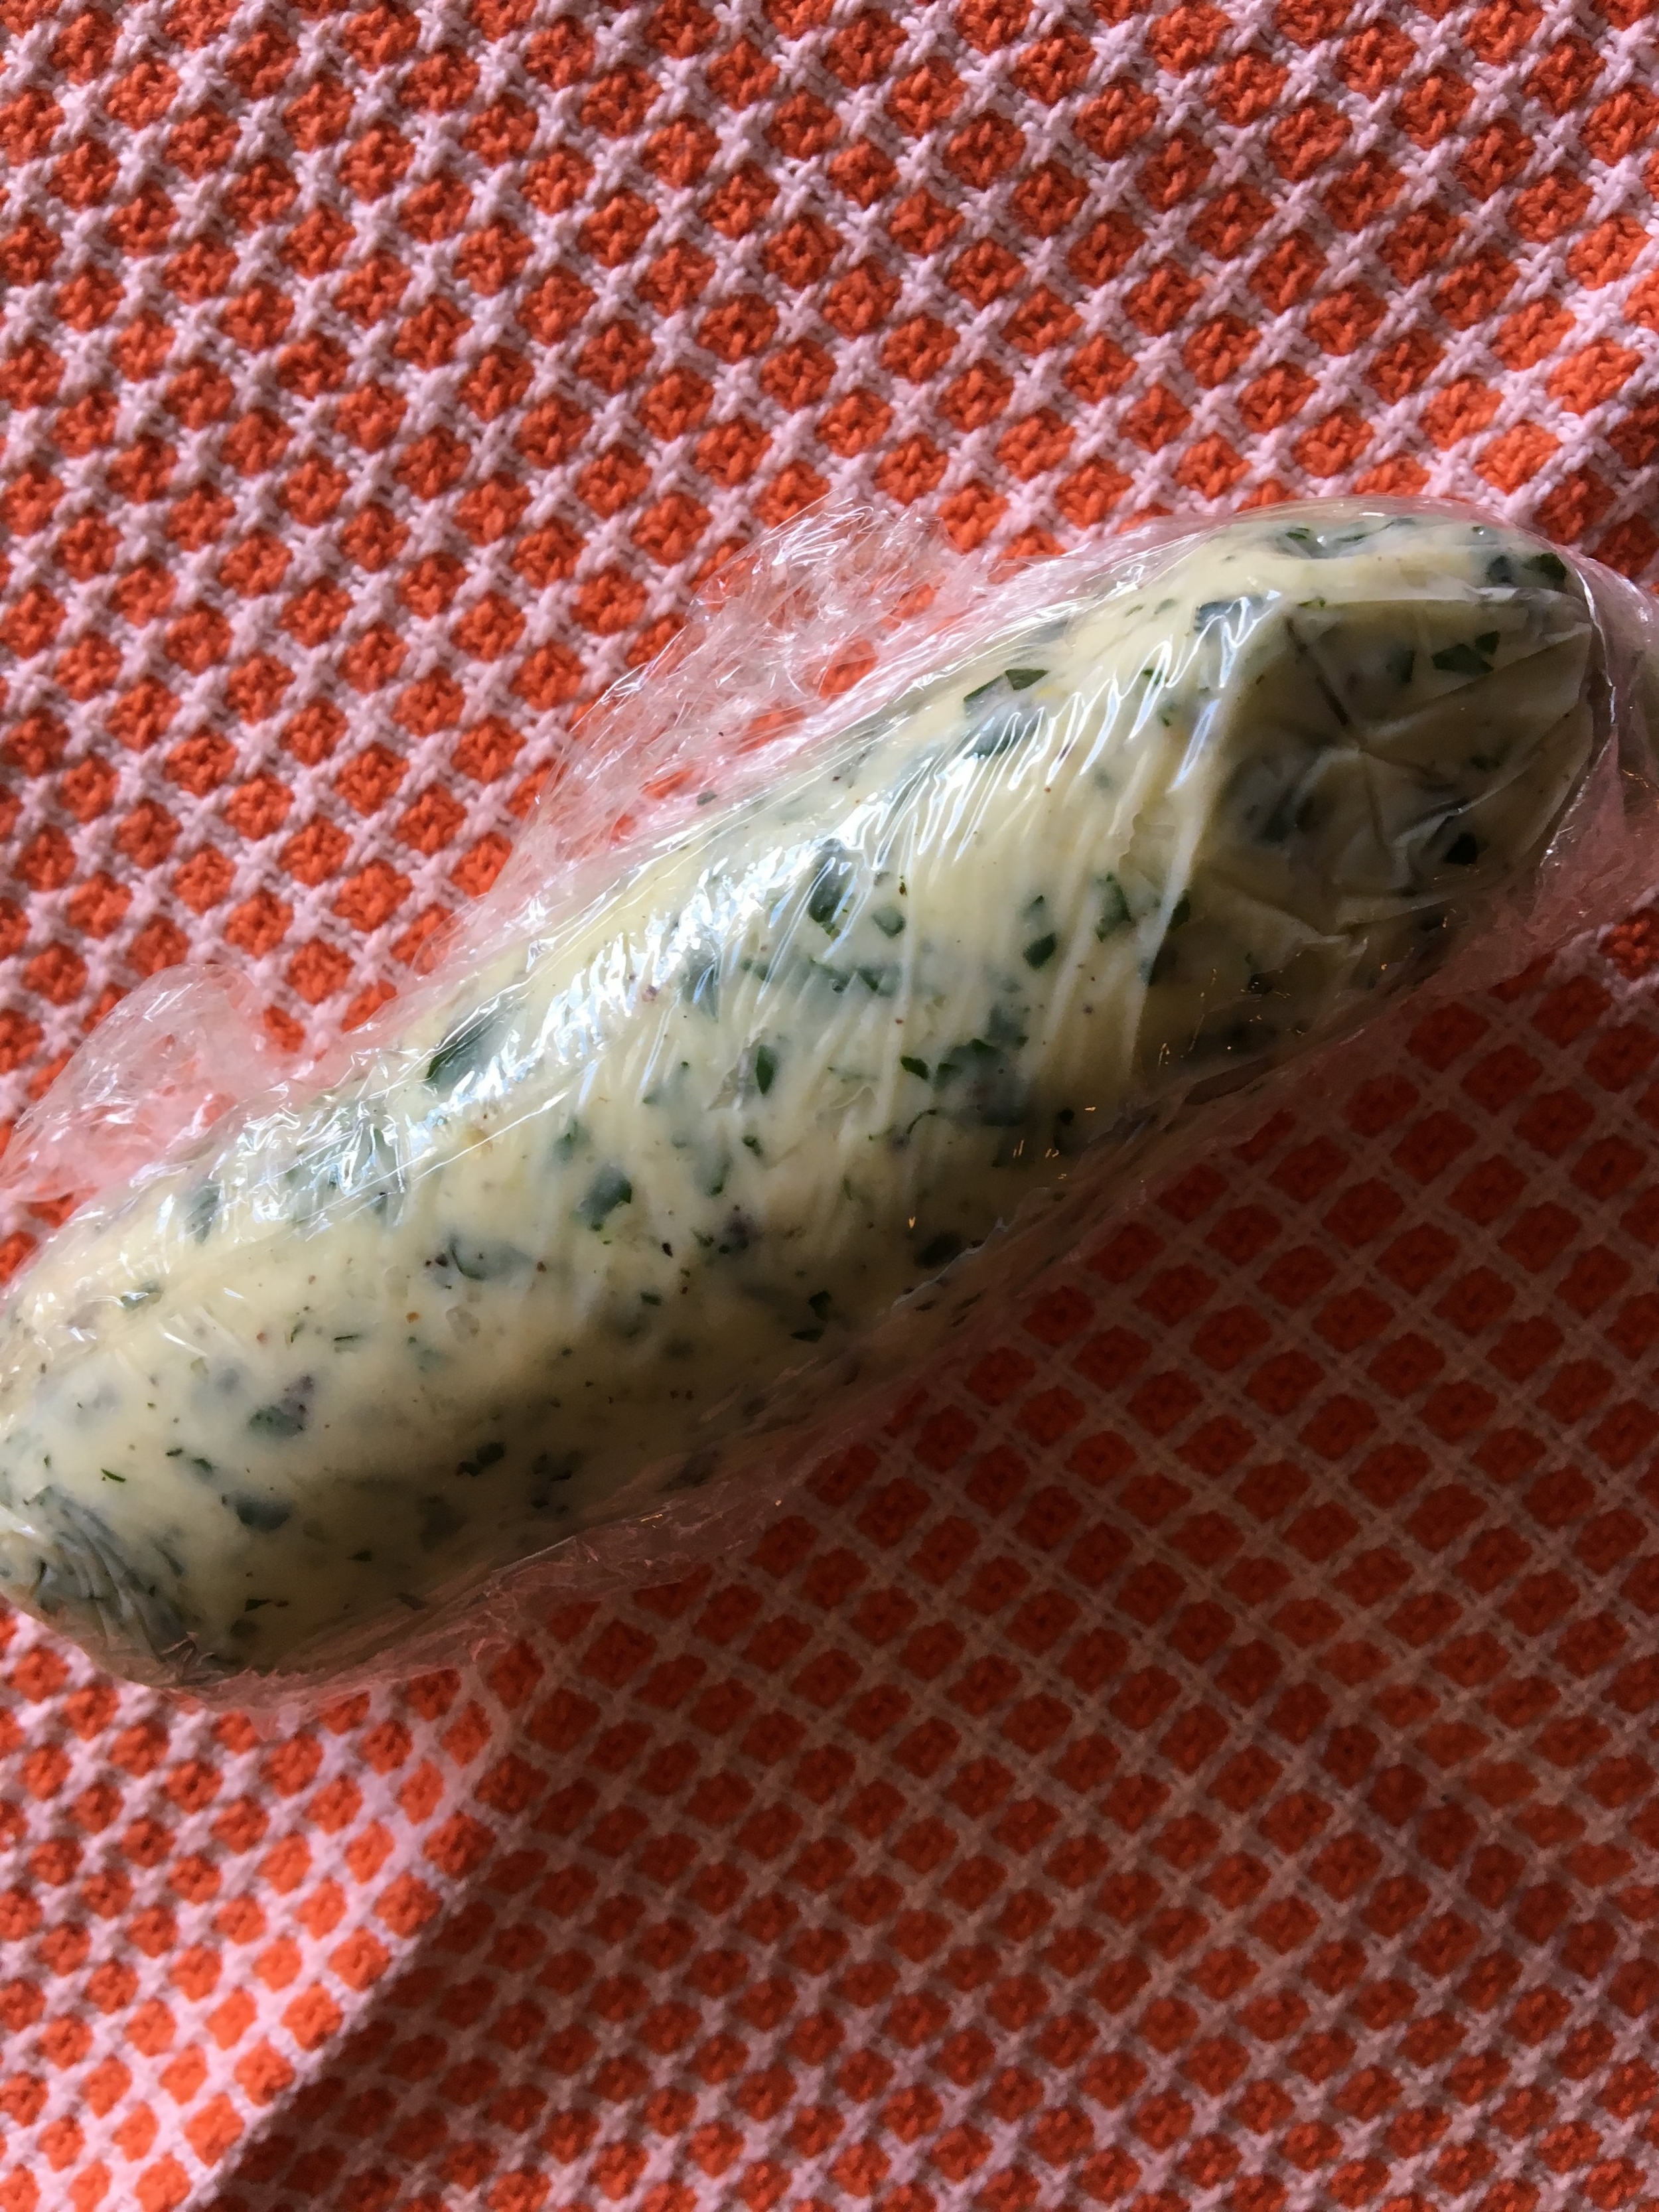

Wrapped and rolled foods are the ultimate kids-in-the-kitchen activity. After preparing all of the components, allow kids to help combine the filling. Then enlist their support to do all of the wrapping and rolling. After a brief demonstration, some coaching and practice, you can probably even walk away and allow your little one to complete the job. Share this instructional video provided by 6-year-old Emory with your child.
Vegetarian Dolmas: Grape Leaves Stuffed with Spiced Lentils and Rice
Dolmas or stuffed grape leaves are often made with a combination of gently spiced ground lamb and rice. We make a savory and satisfying plant-based version using french lentils. I also choose brown basmati rice for additional fiber, nutrients and texture. Omit the honey entirely or substitute agave nectar to make this recipe suitable for vegans.
Yield: approximately 3 dozen
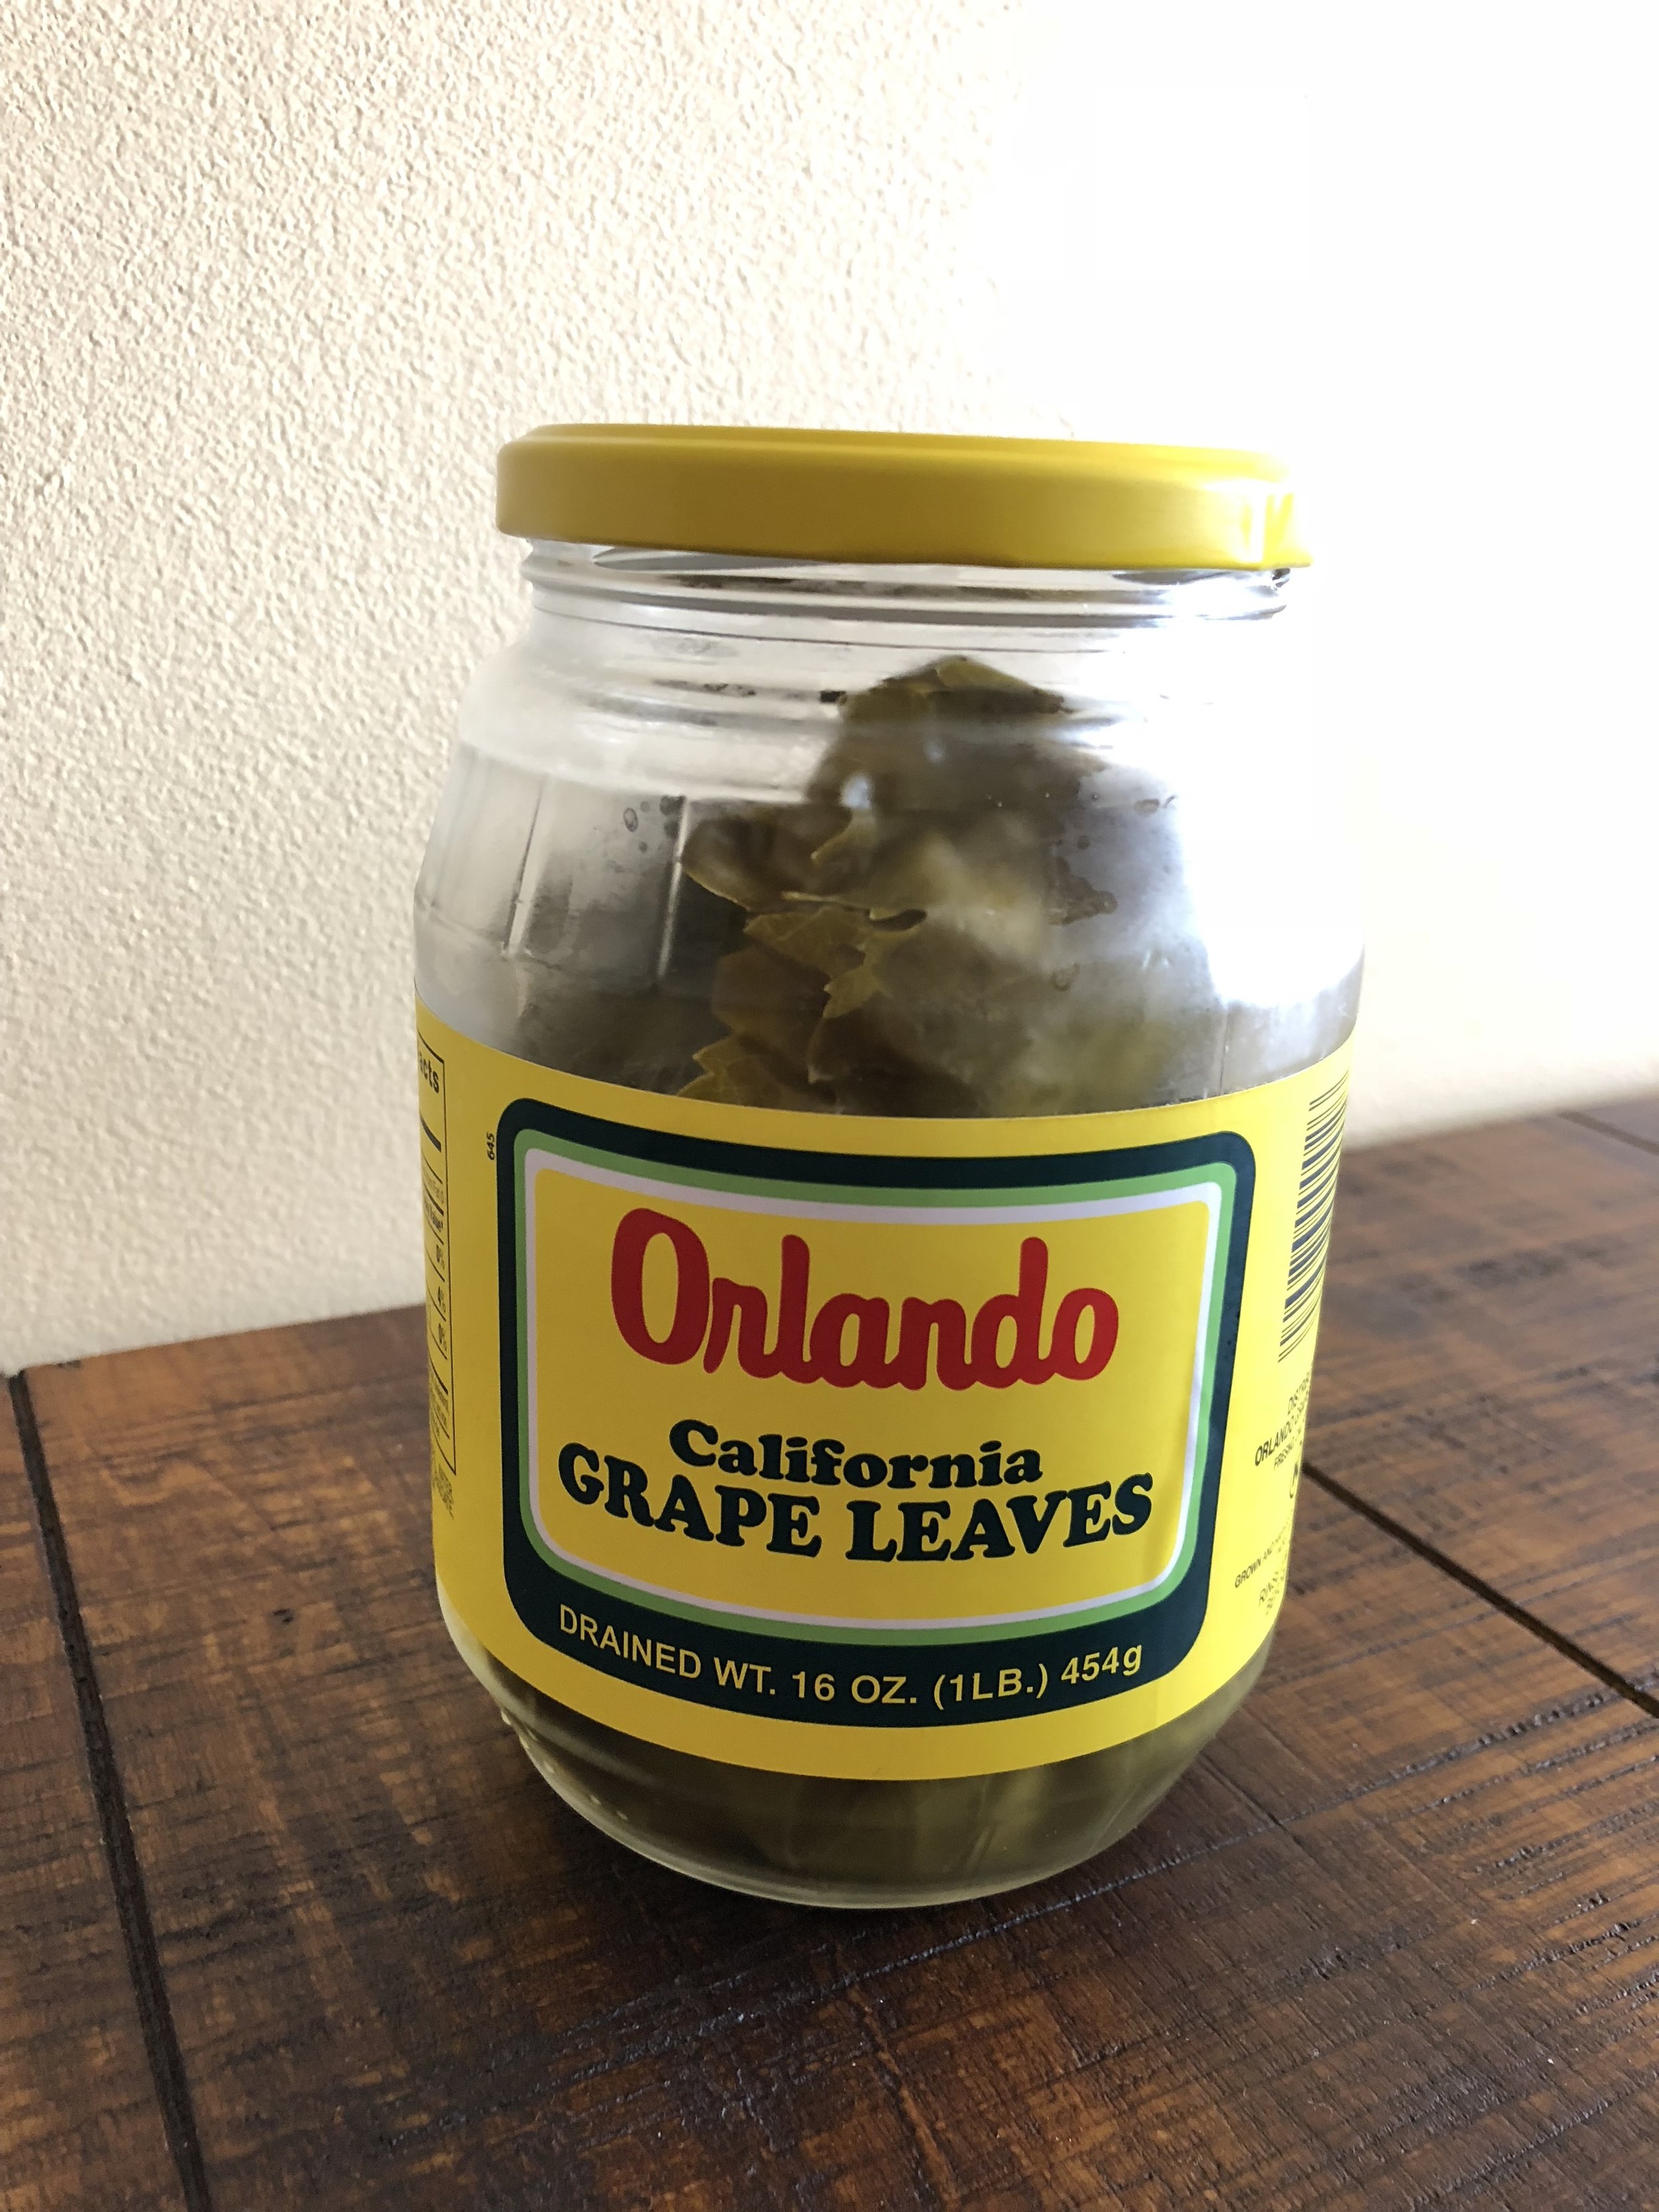
I generally use jarred grape leaves. They work just fine but, of course, if you are on the west coast or are fortunate enough to have access to fresh grape leaves when they are in season, use them. Just soak fresh leaves in hot water while you prepare the filling.
What you need:
Grape leaves:
½ pound fresh grape leaves, soaked in hot water or 1 pound jar preserved grape leaves, rinsed and drained well, picked through with broken or ripped leaves reserved for lining the bottom of the pot
Rice:
2 quarts water
1 cinnamon stick
½ cup long grain brown rice
¼ teaspoon salt
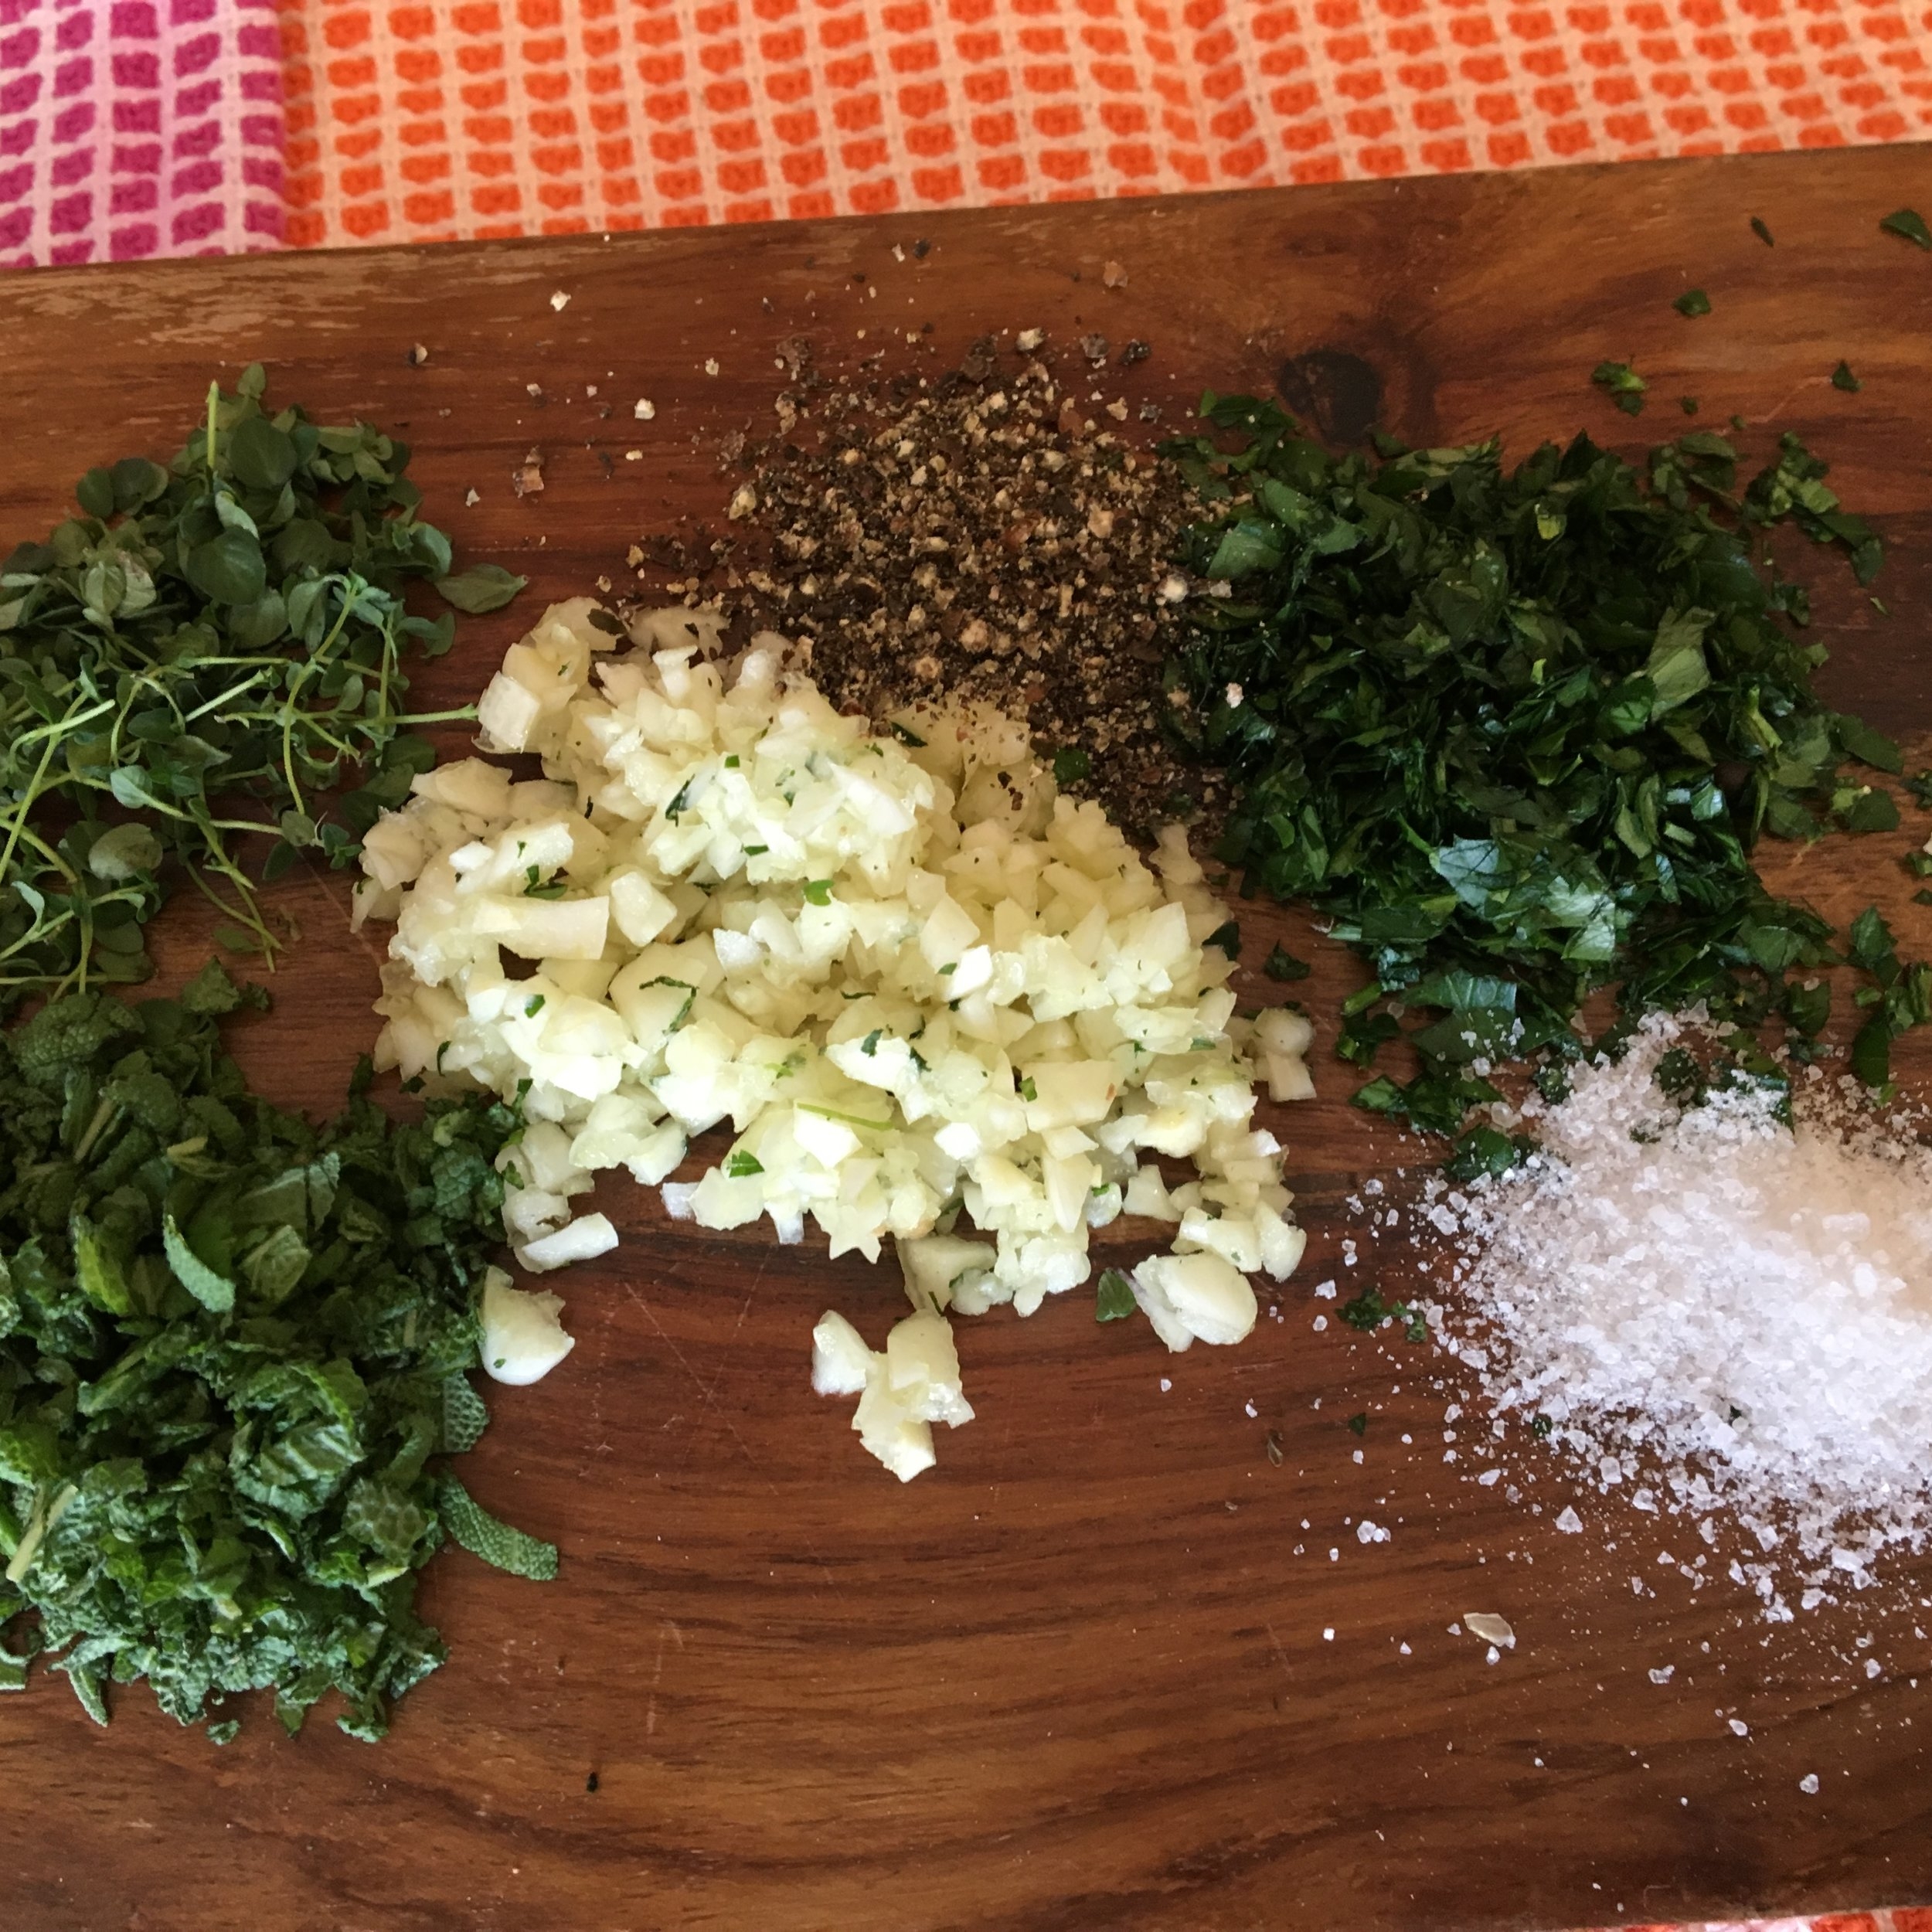
½ cup mint leaves, minced
2-4 scallions, minced
⅓ cup pine nuts, chopped
⅓ cup currants or raisins
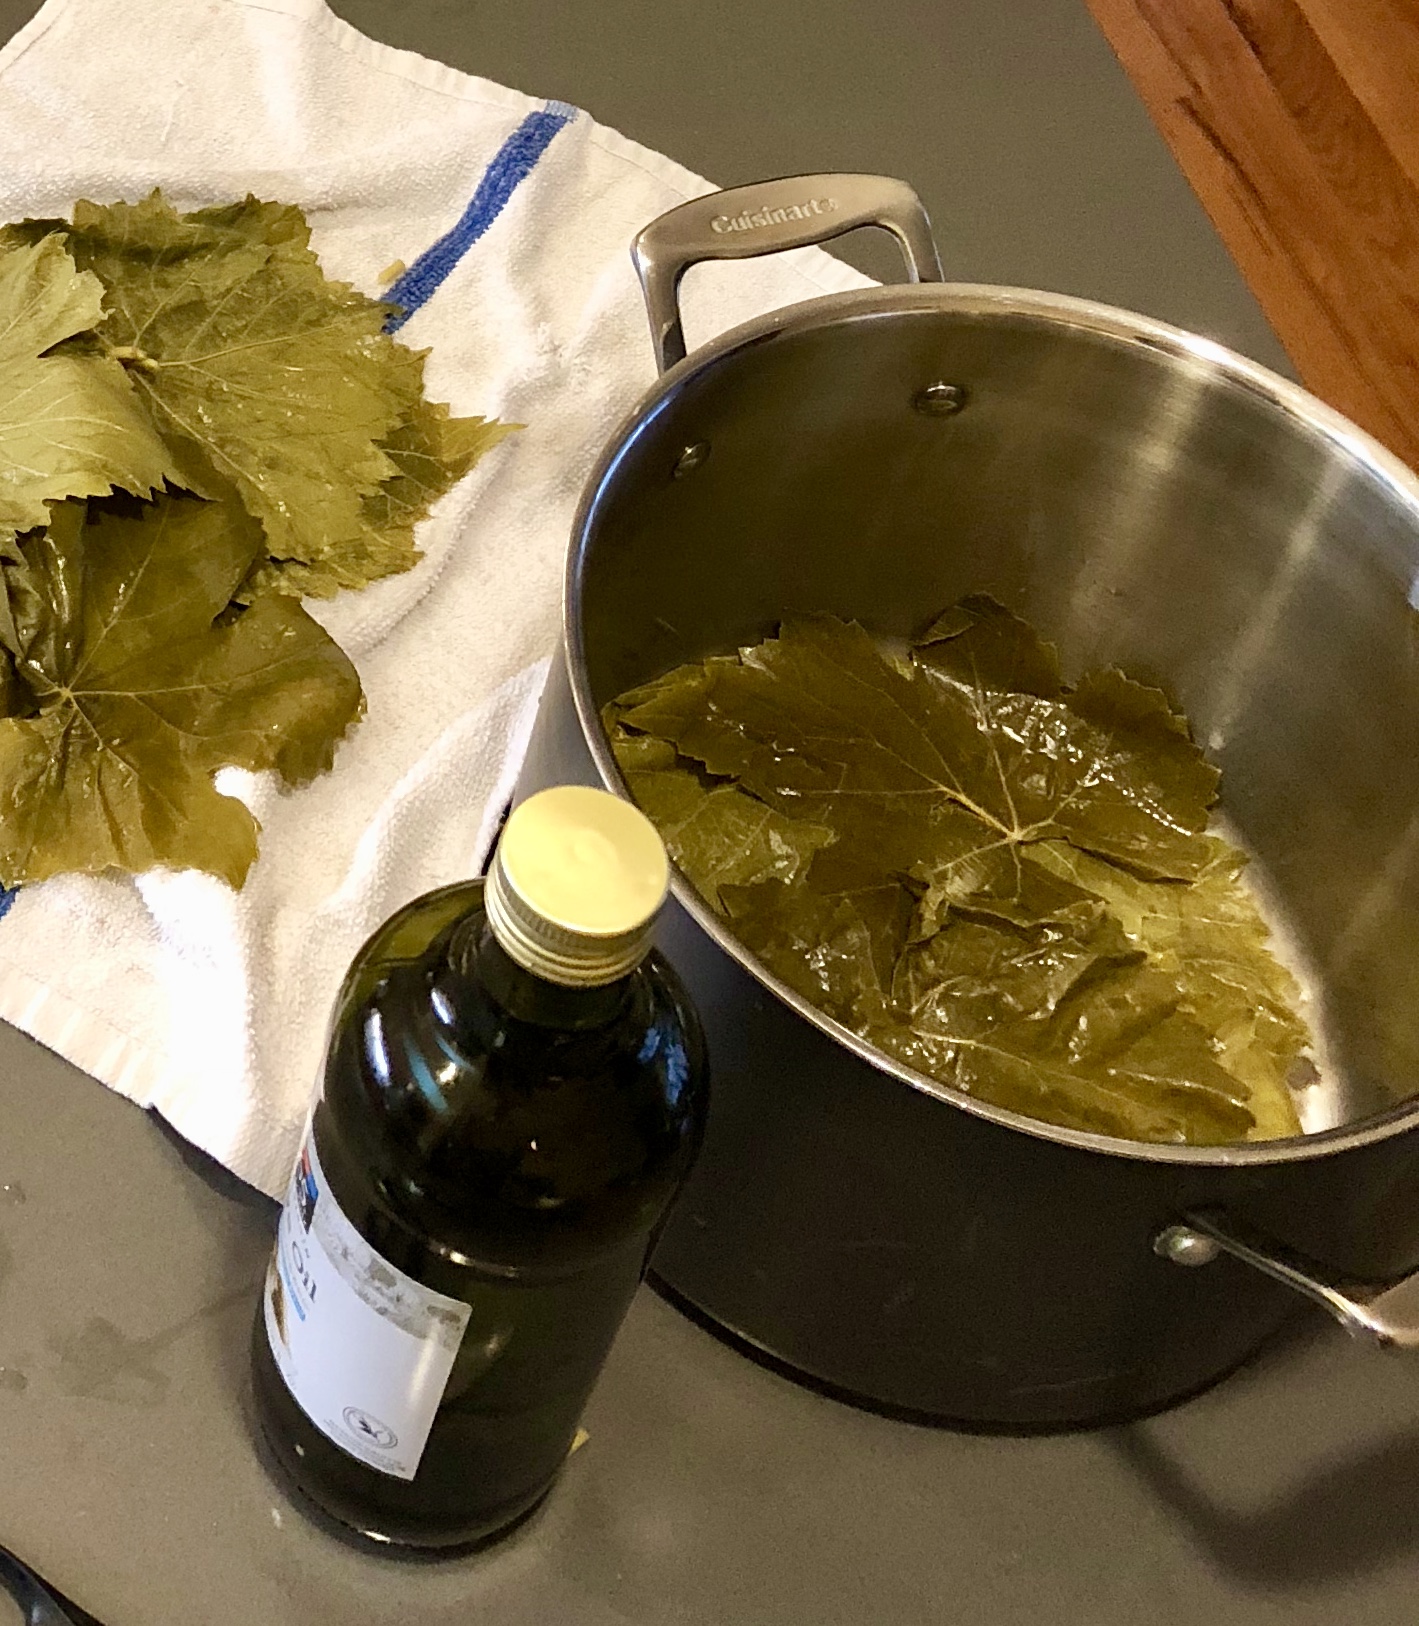
Line the bottom of the stock pot with grape leaves to prevent your dolmas from burning or browning. Use the broken or torn leaves.
Lentils:
2 tablespoons extra virgin olive oil
1 small onion, small dice
2 cloves garlic, minced
1 ¾ cup cooked lentils (dark brown, green, or beluga)
1 teaspoon nutmeg
½ teaspoon cinnamon
1 teaspoon cumin seeds
1 teaspoon dried oregano
½ teaspoon allspice
1 tablespoon dried mint (or one mint tea packet)
Simmering Liquid:
¼ cup lemon juice
½ cup olive oil
2 teaspoons honey (omit or agave for vegan)
1 cup water or vegetable broth
½ teaspoon salt
freshly ground black pepper
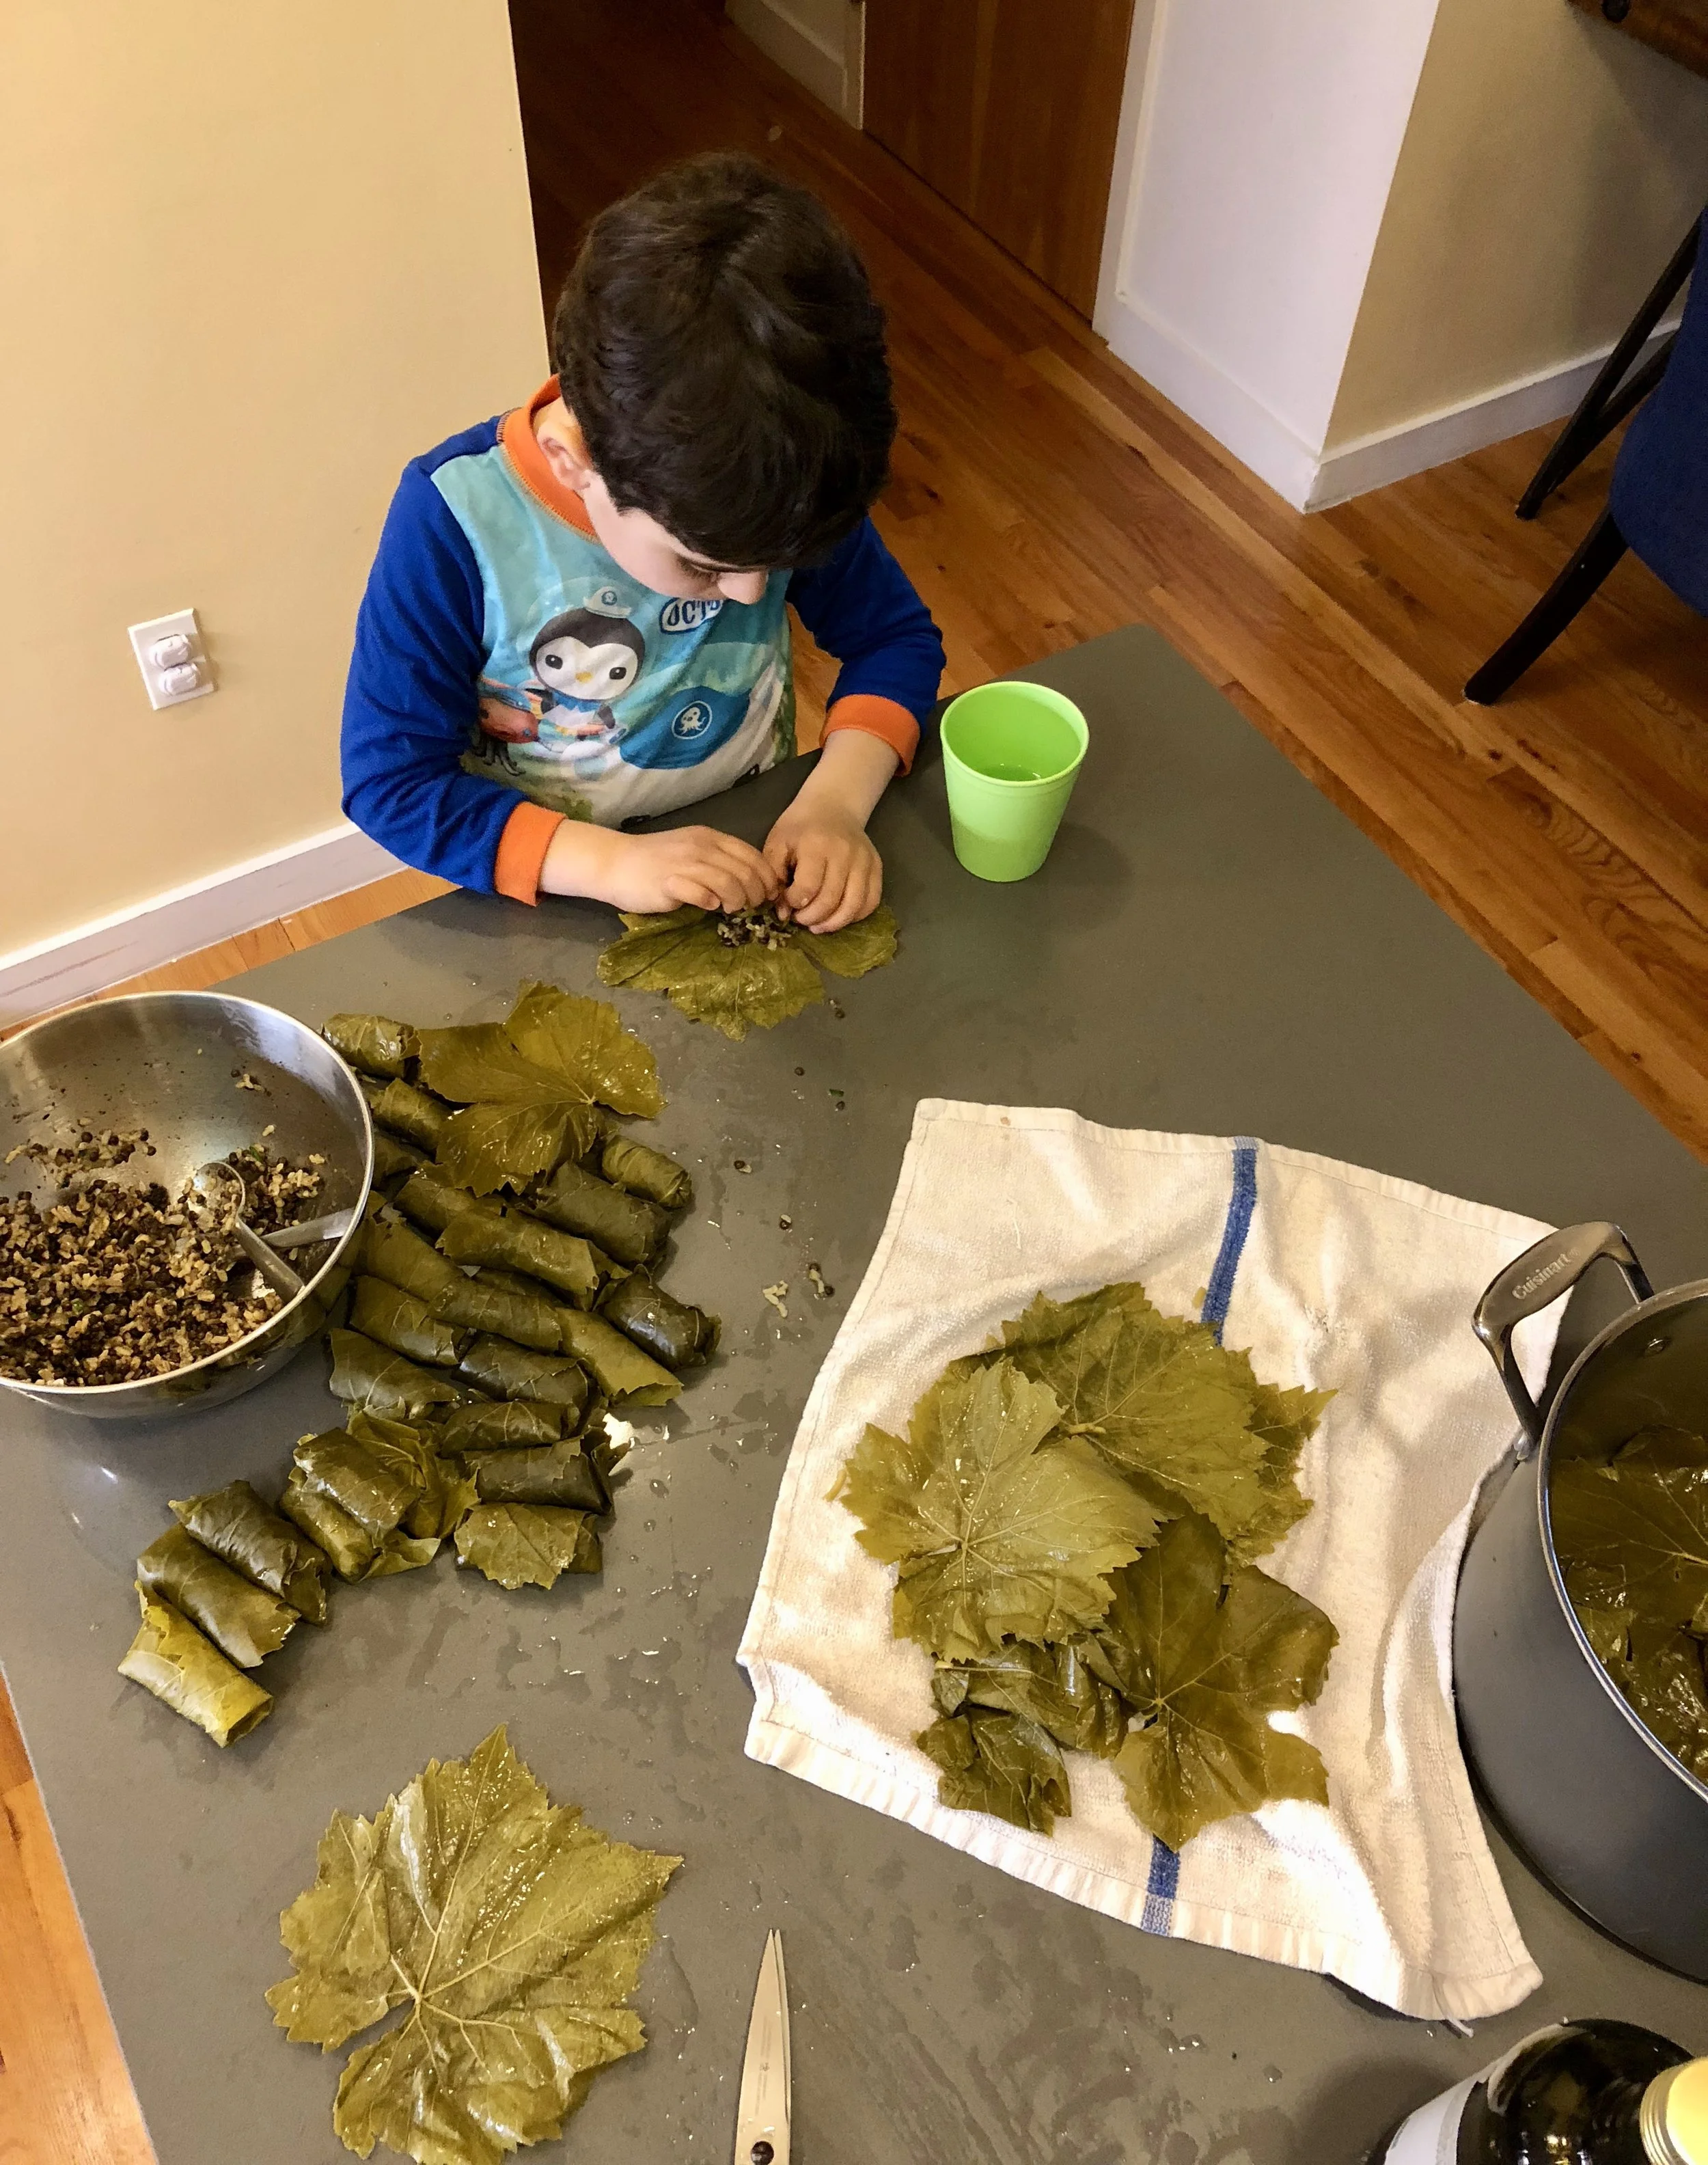
Roll tightly, but gently, so as not to tear the leaves, pushing in the sides as you go. Walk away, and let the kids do all the rolling while you do the dishes...or take a nap.
What you do:
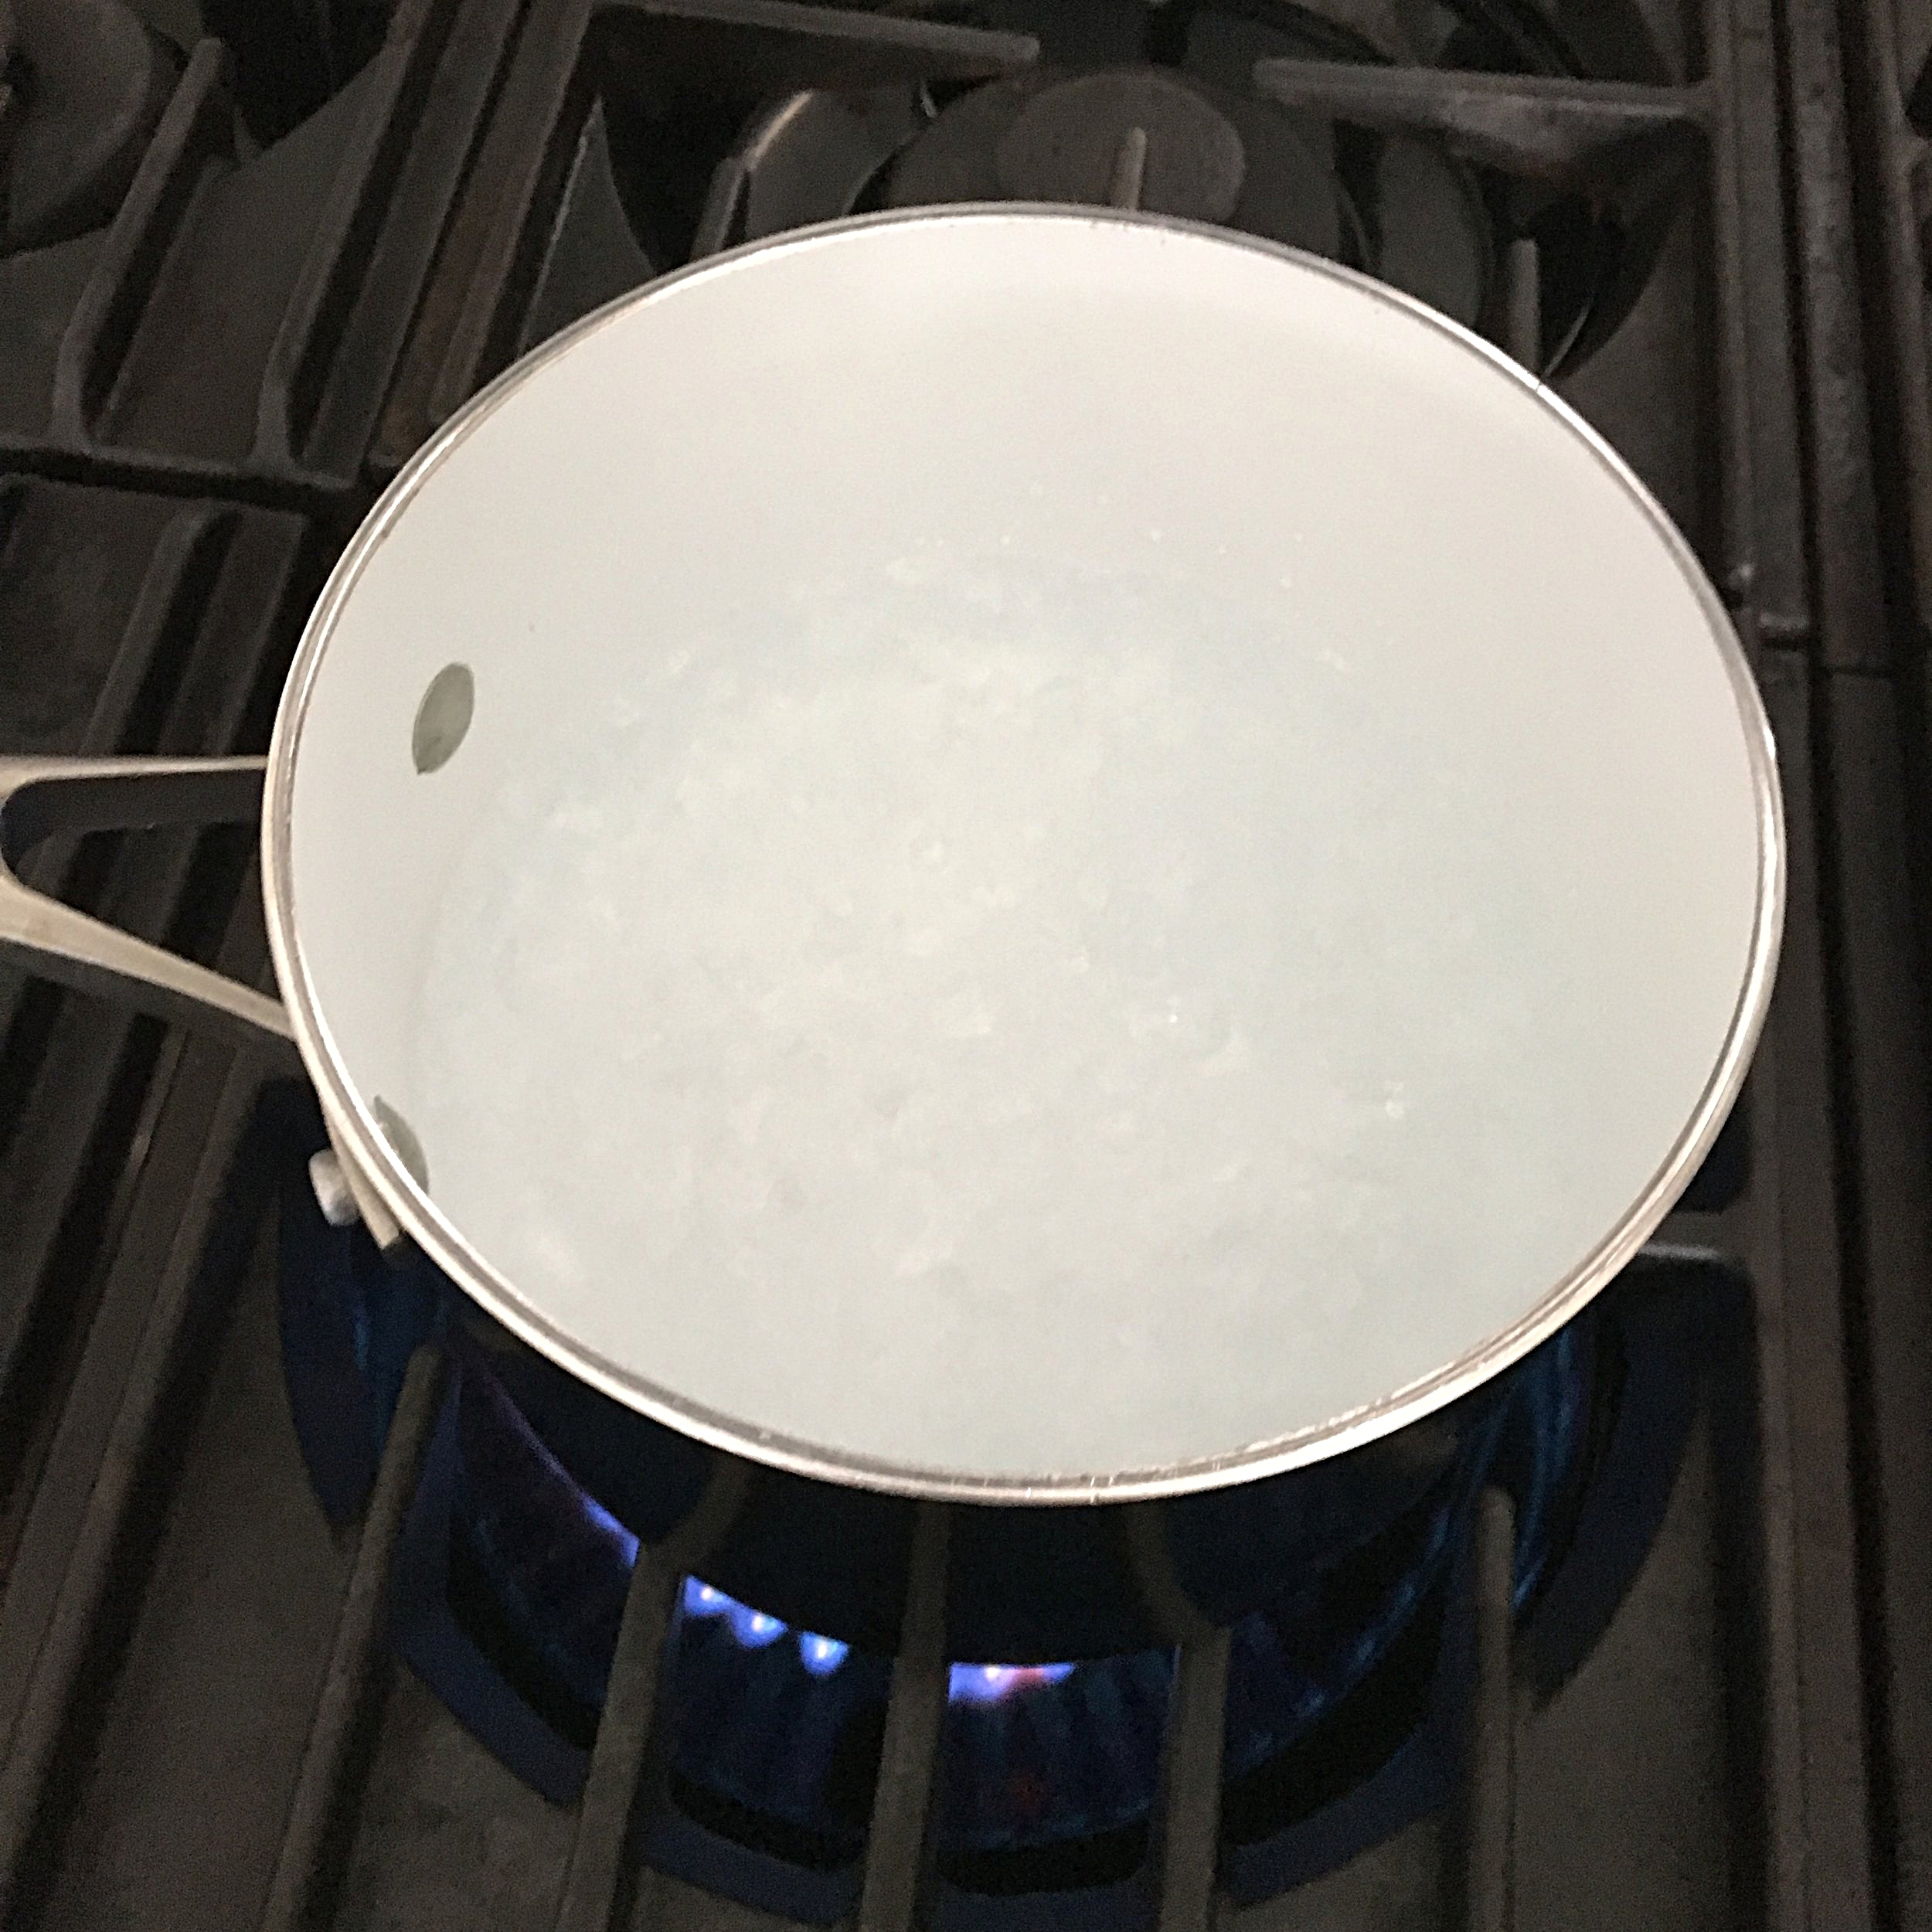
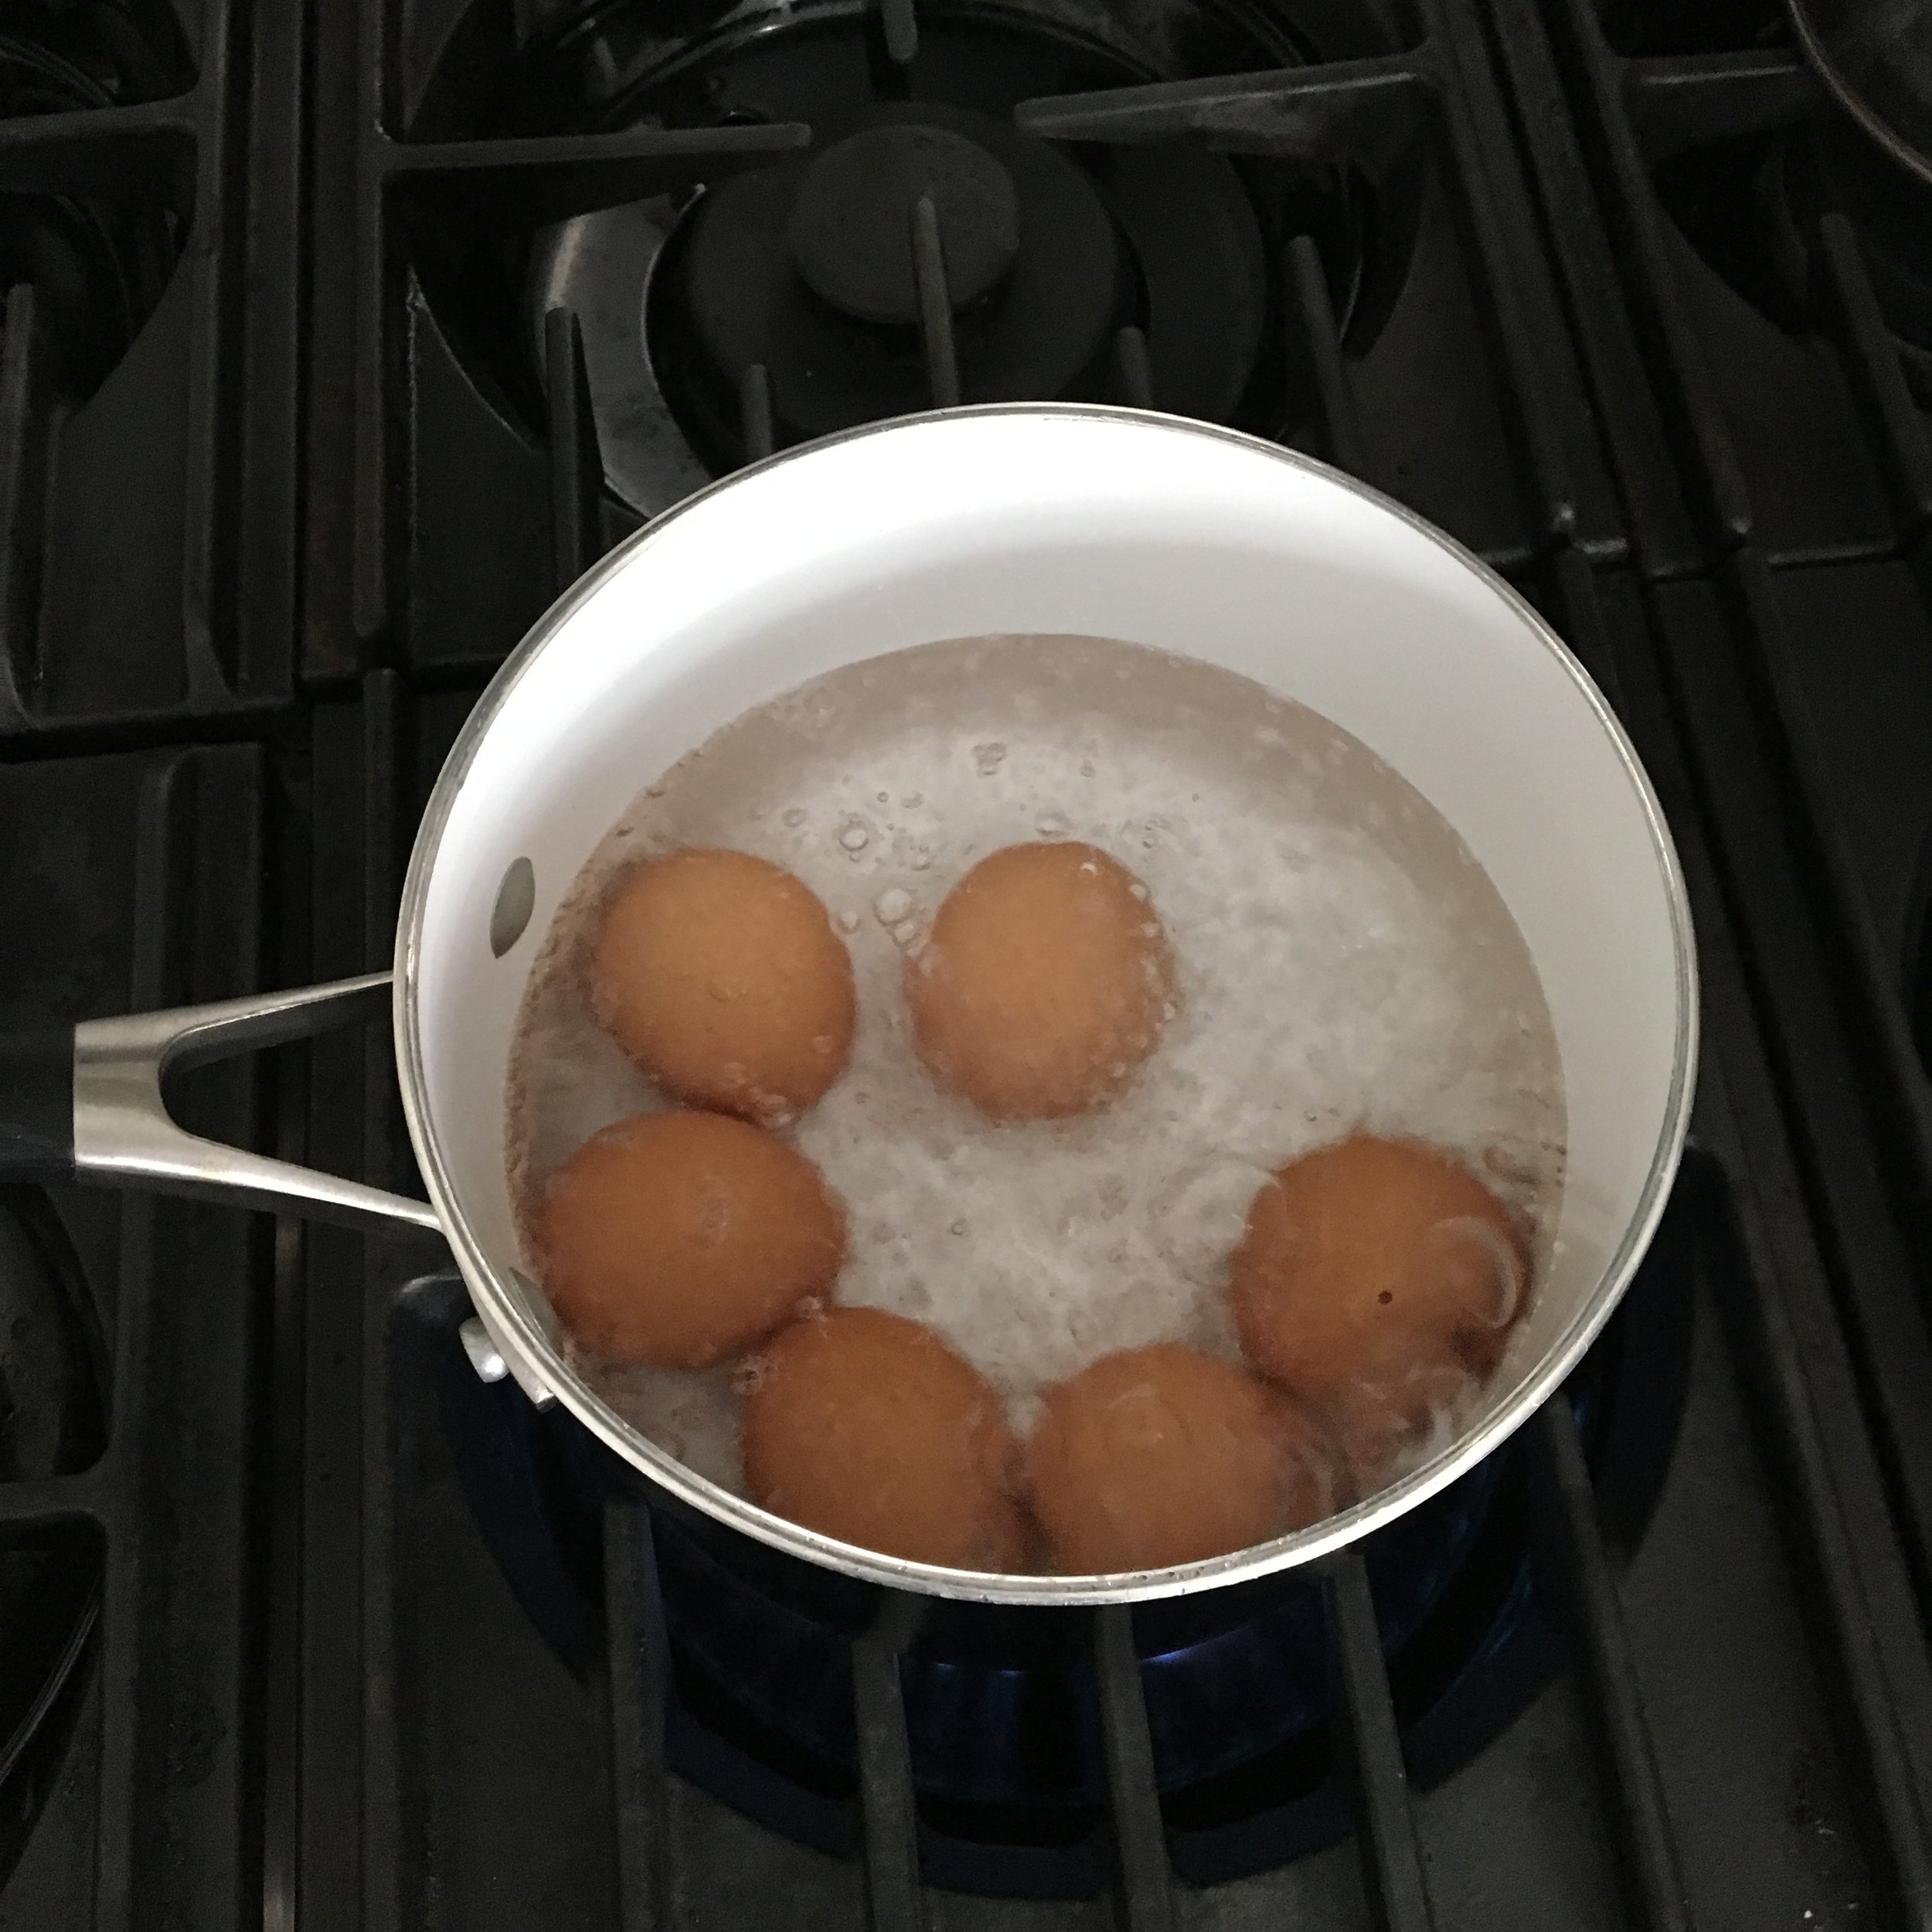
Bring 2 quarts (8 cups) water to a boil. Add cinnamon stick, rice and ¼ teaspoon salt. Reduce to a rolling boil and cook 20 minutes or until just tender. Drain and rinse in cold water.
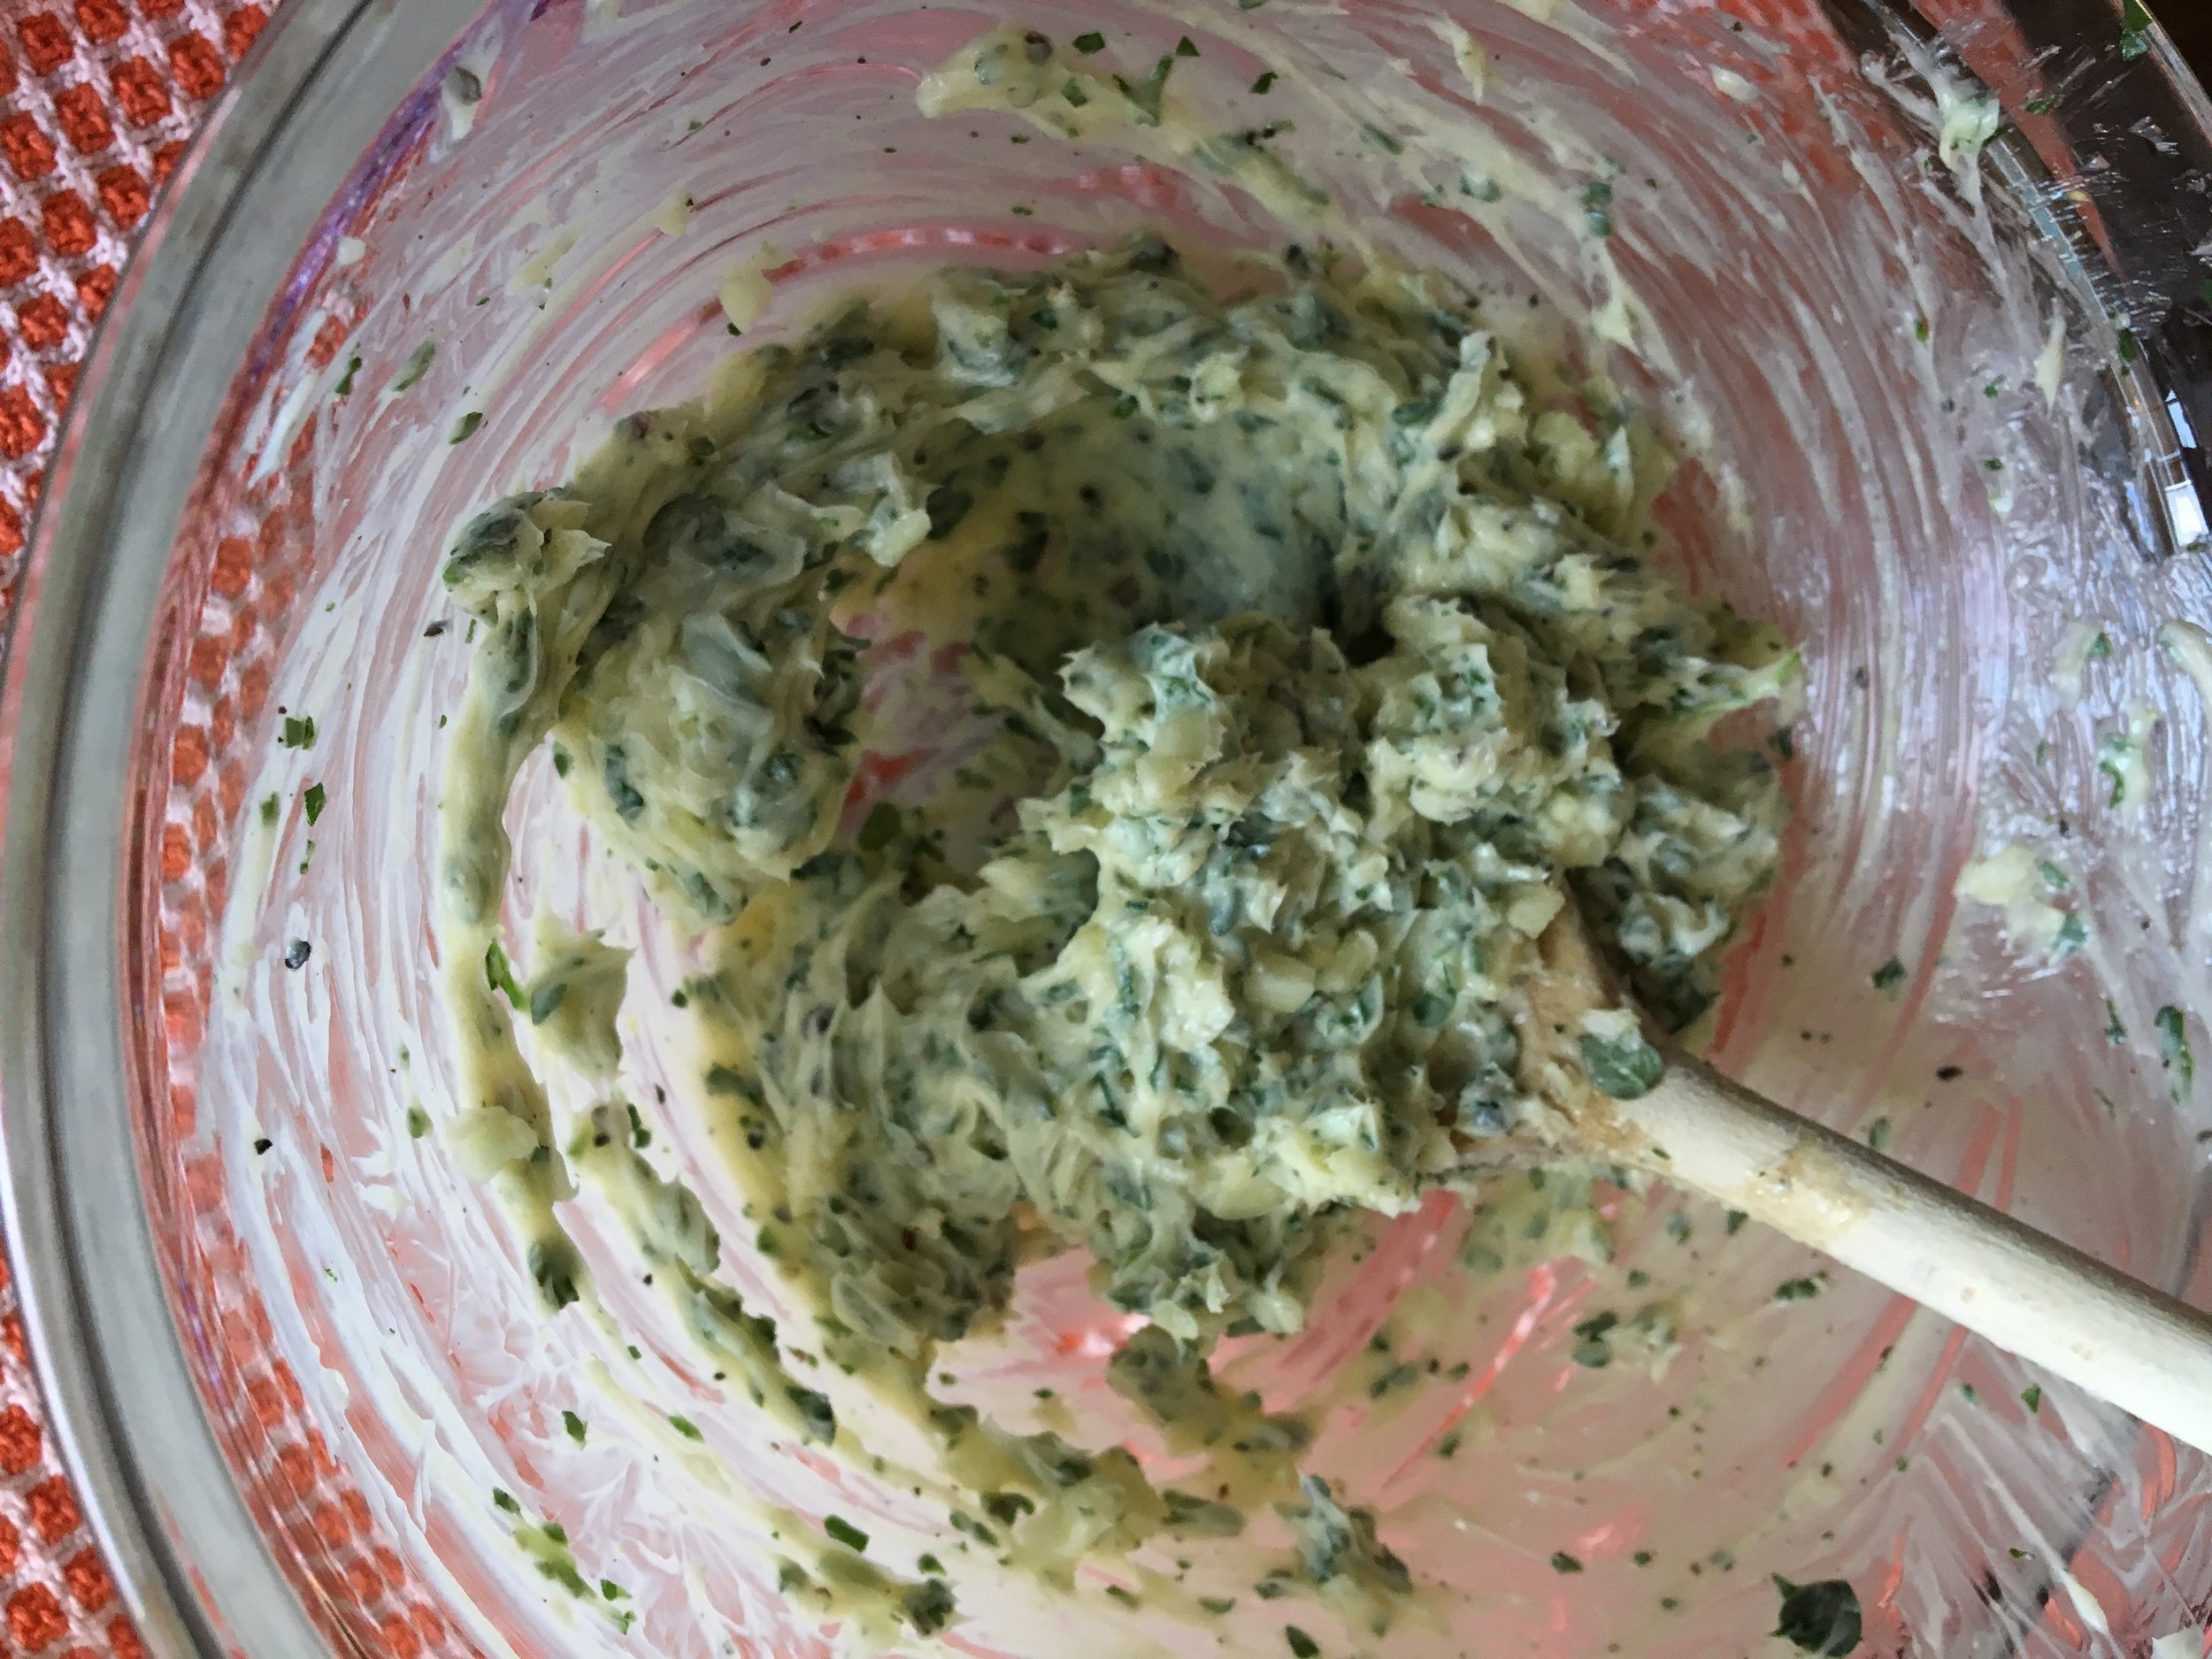
Combine cooked rice with fresh mint, scallions, pine nuts, and currants.
Heat olive oil in a large sauté pan over medium high heat. When it shimmers, add onion and a pinch of salt. When onion is soft, add garlic and sauté 1 minute. Add lentils, nutmeg, cinnamon, cumin, oregano, allspice, and dried mint/tea. Combine with rice mixture. Allow to cool slightly.
Set aside the 36 best leaves for stuffing. Line the bottom of a heavy stock pot with the remaining leaves. Stuff each with about 1 to 2 teaspoons of rice/lentil mixture. Place leaf smooth side down, with stem close to you. Trim long or thick stems. Fold stem end over rice and hold in place. Fold in sides and roll away from you. Use any broken leaves for lining the bottom of the pot. Arrange dolmas (stuffed leaves) snugly in the pot, in layers if needed.
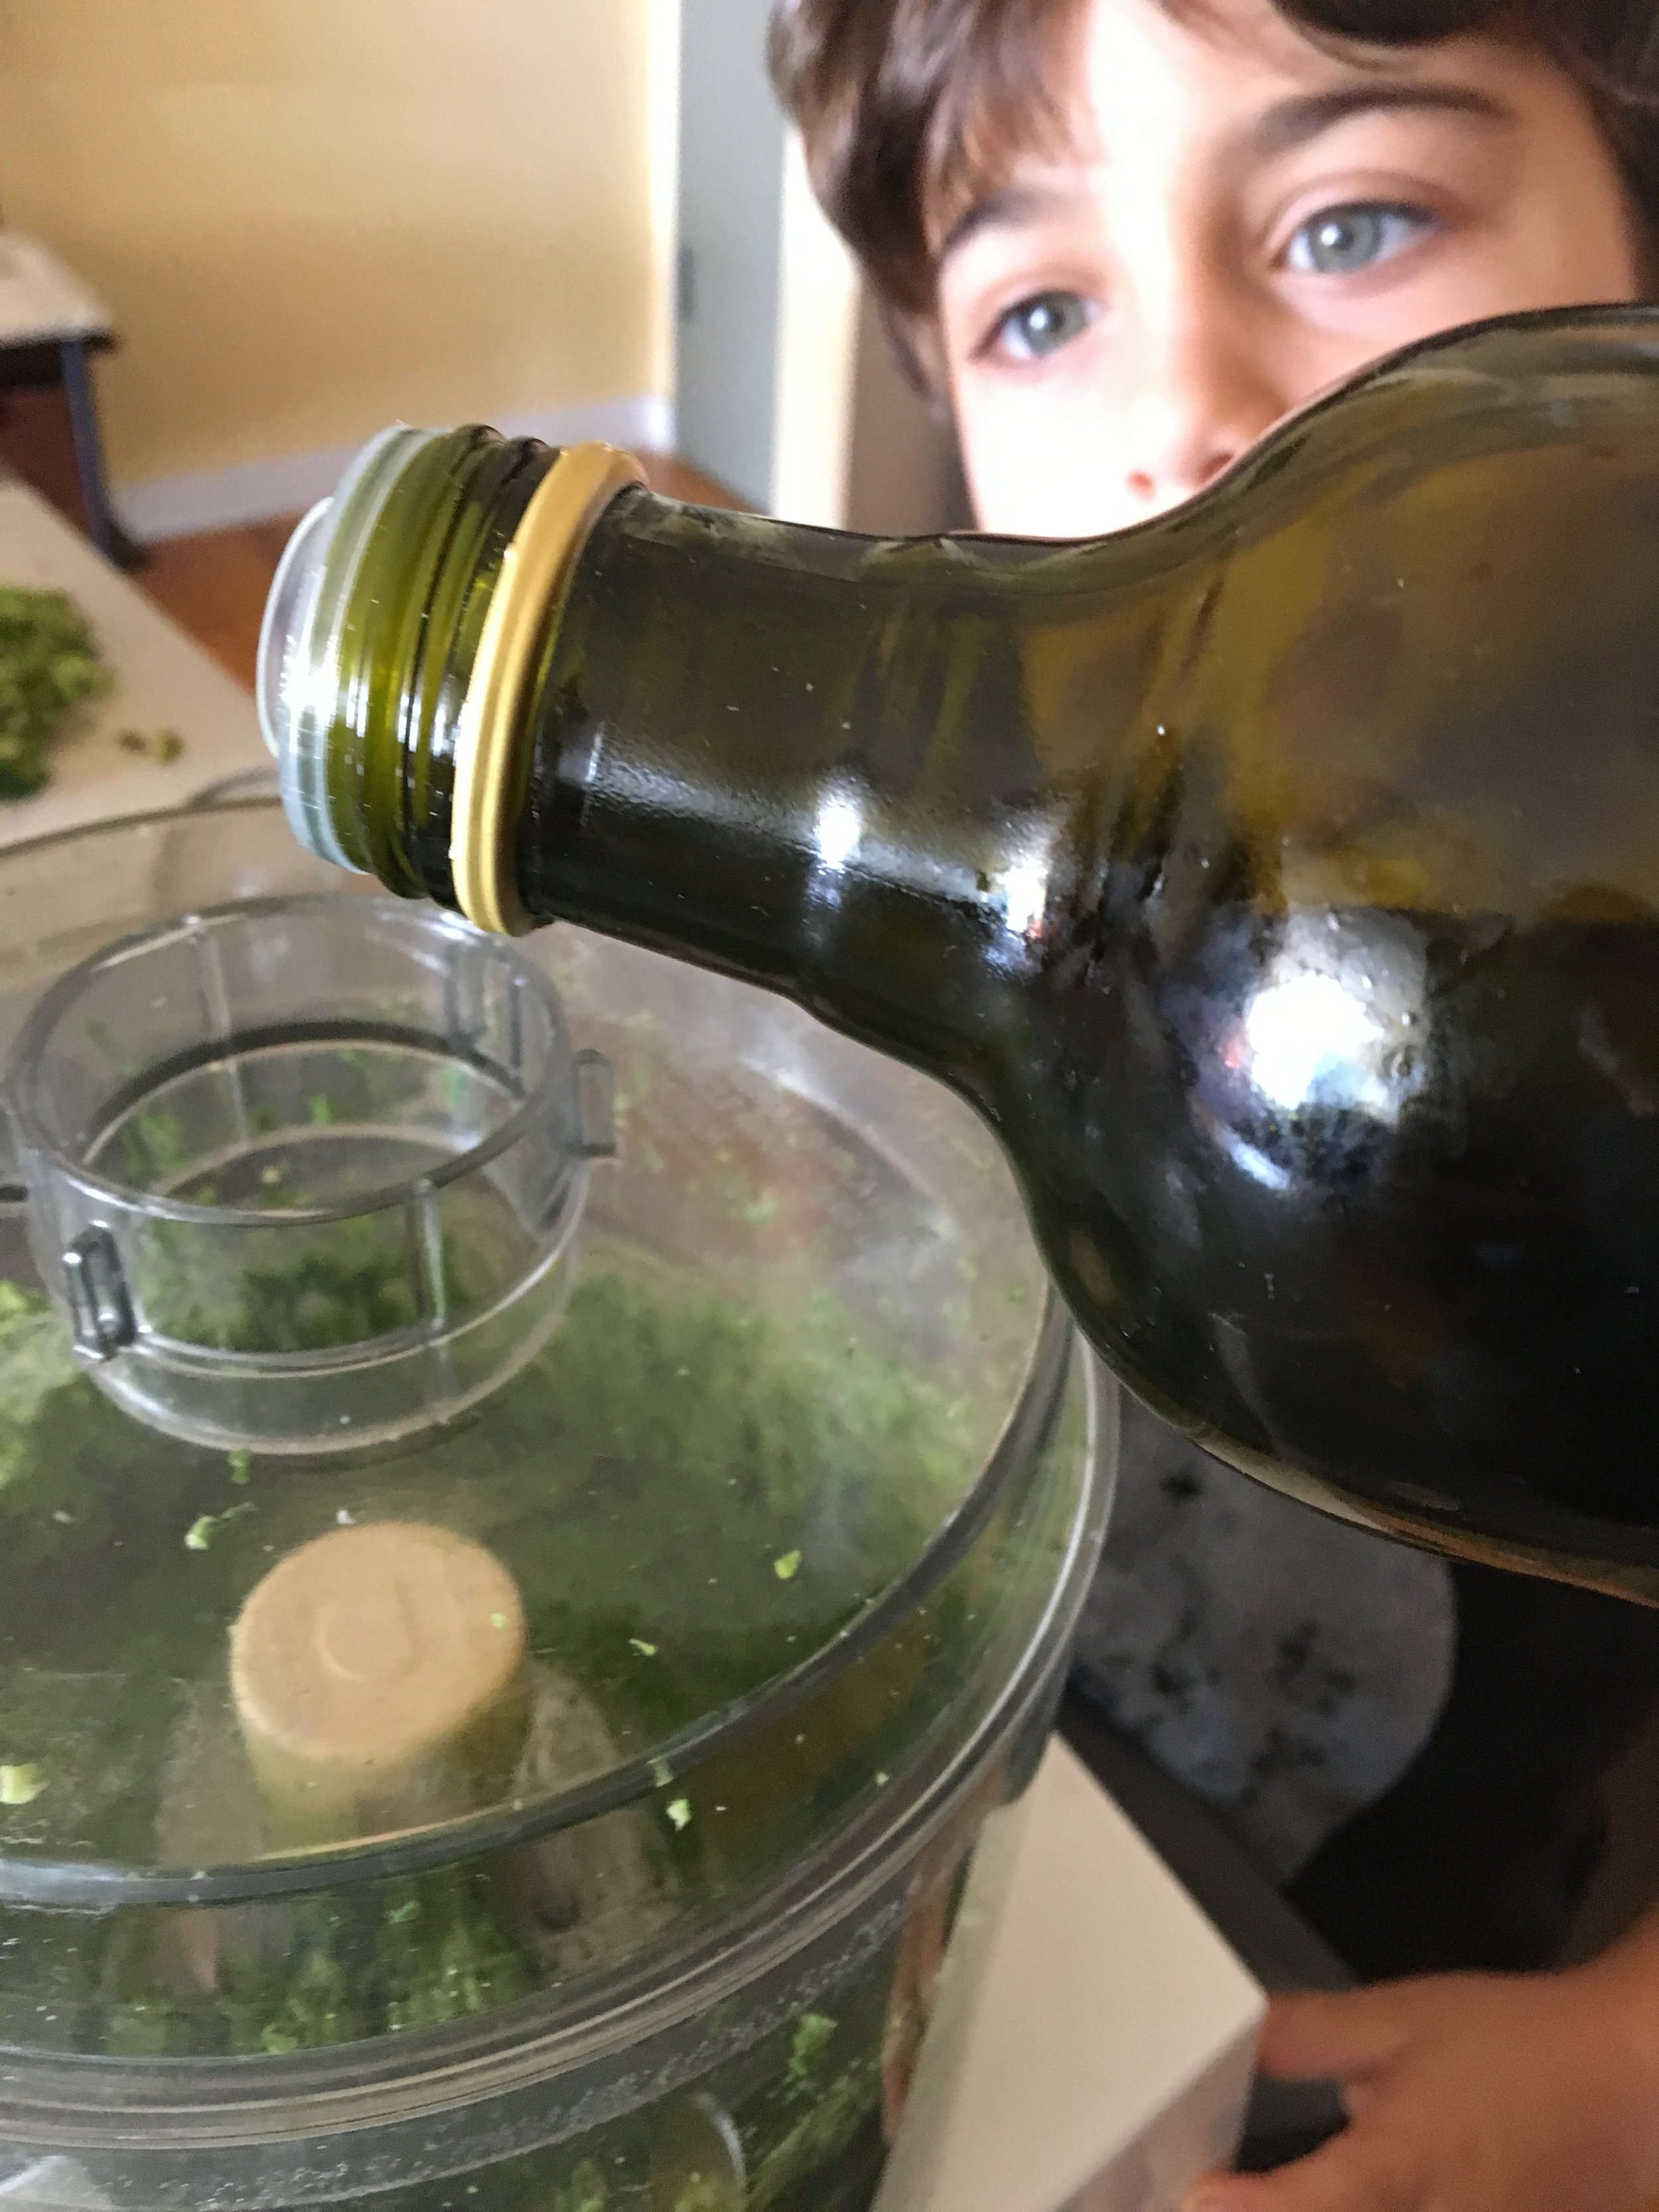
In a medium bowl, whisk together the lemon juice, olive oil, honey or agave, water or stock, salt and pepper. Pour this mixture over the leaves, cover with a plate to hold dolmas down.
Cover, bring to a simmer, and cook 1 1/2 hours, basting occasionally.
Note: Use the "pasta method" for cooking the rice used in dolmas. Rather than steaming rice with an exact ratio of water, you will boil the rice in a large pot of salted water until al denté and then drain. You could certainly use leftover rice that was made using the standard rice cooking method but the texture may be slightly mushy in the grape leaves.
Tip 1: The simmering liquid makes a delicious soup or broth after the dolmas are done simmering in it. Use it to store dolmas in the fridge up to one week, drink it or serve as soup!
Tip 2: When I don't have fresh mint available, I just increase the amount of dried mint used. Just add all of the dried mint together to the lentil mixture to sauté before adding to the rice. I've also successfully substituted chives for the scallions in a pinch.